Tutorials > Payments > Develop a payment plug-in > Payment Service Provider Simulator
Generate the Payment Service Provider Simulator Web service client project
- Prerequisites
- Import the Payment Service Provider Simulator EAR file into the WebSphere Commerce Developer workspace
- Set up the Payment Service Provider Simulator database
- Configure the virtual host and transport chain of the Payment Service Provider Simulator Web service
- Add the Payment Service Provider Simulator project to the WebSphere Commerce Test Server
- Test the Payment Service Provider Simulator
To generate the Payment Service Provider Simulator Web service client project:
Procedure
- Open WebSphere Commerce Developer.
- Click Window > Preferences.
- In the left navigator list, select Web Services > WebSphere > JAX-RPC Code Generation. Select the WSDL2JAVA tab.
- Make sure that the Disable data binding and use SOAPElement option is cleared.
- Open the Java EE perspective.
- In the Enterprise Explorer view, right-click Web Services > Services > PSPSimService ; then click Generate Client from the pop-up menu.
- In the Client proxy type field, select Java proxy.
- Click Next.
- Click Next.
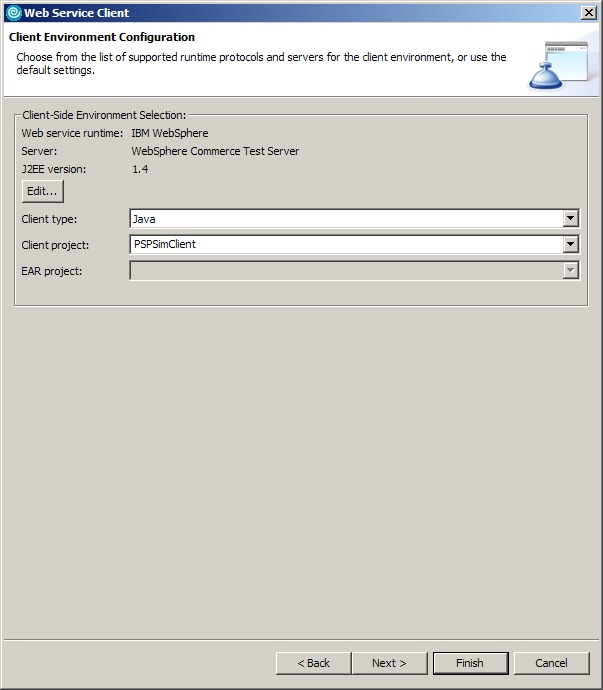
- In the Client type field, select Java.
- In the Client project field, type PSPSimClient:

- Click Finish.
- In the Enterprise Explorer view, expand Other Projects. Confirm that the PSPSimClient project has been created.
Previous topic:
Test the Payment Service Provider Simulator
Next topic:
Add the Payment Service Provider Simulator Web service client project as a utility JAR file to the WebSphere Commerce EAR file