Tutorials > Payments > Develop a payment plug-in > Payment Service Provider Simulator
Configure the virtual host and transport chain of the Payment Service Provider Simulator Web service
- Prerequisites
- Import the Payment Service Provider Simulator EAR file into the WebSphere Commerce Developer workspace
- Set up the Payment Service Provider Simulator database
Procedure
- Open WebSphere Commerce Developer.
- Open the Java EE perspective.
- In the Servers view:
- Right-click WebSphere Commerce Test Server and select Start from the pop-up menu.
- Wait for the status of the server to change to Started.
- Right-click WebSphere Commerce Test Server and select Run administrative console from the pop-up menu.
- Right-click WebSphere Commerce Test Server and select Start from the pop-up menu.
- In the Admin Console:
- Click Log in.
- In the left navigator section, select Environment > Virtual Hosts.
- Click New.
- In the Name field, type PSPSimService_host:
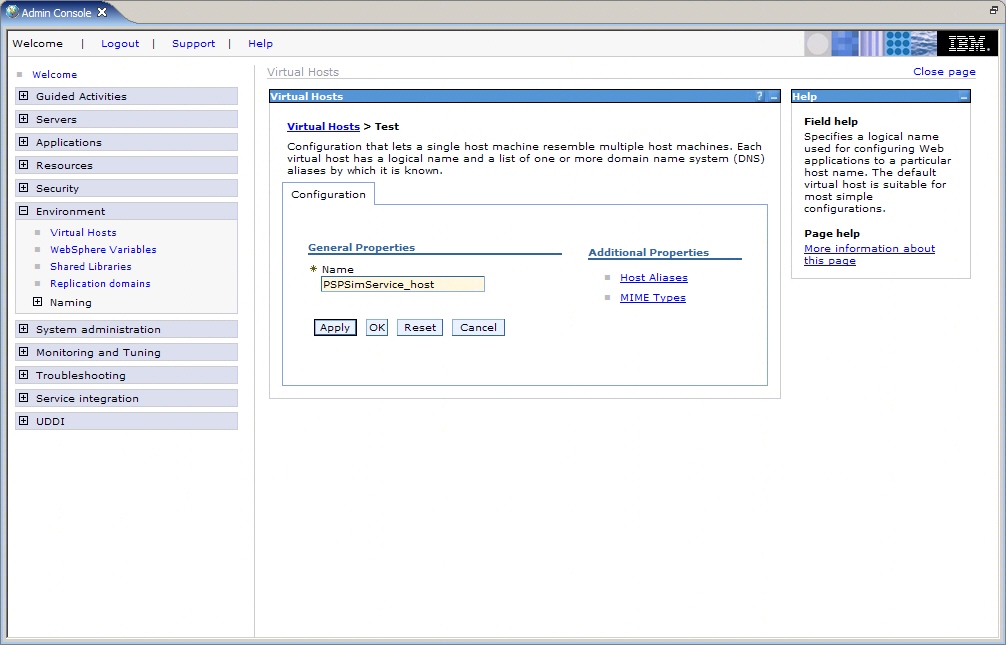
- Click Apply.
- Click Host Aliases.
- Click New.
- In the Port field, type 9080.
- Click OK.
- In the left navigator view, click Servers > Application servers.
- Click server1.
- Expand Web Container Settings under Container Settings:

- Click Web container transport chains.
- Click New.
- In the Transport chain name field, type PSPSimService_chain.
- In the Transport chain template field, select WebContainer(templates/chains|webcontainer-chains.xml#Chain 1):
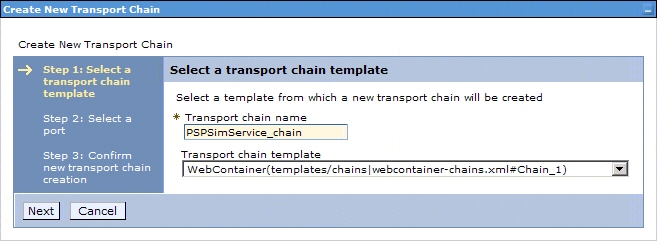
- Click Next.
- In the Port name field, type PSPSimService_port.
- In the Port field, enter 9080:

- Click Next.
- Click Finish.
- Click Logout.
- Click Save.
- Click Log in.
- Close the Administration Console.
Previous topic:
Set up the Payment Service Provider Simulator database
Next topic:
Add the Payment Service Provider Simulator project to the WebSphere Commerce Test Server