Record a WebSocket request
NeoLoad can record a WebSocket request automatically, composed of a WebSocket channel and a number of WebSocket requests.
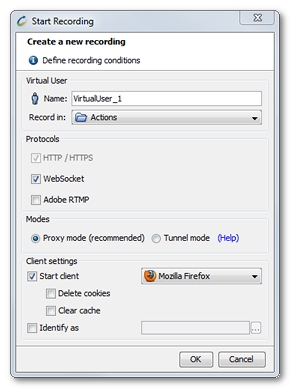
In NeoLoad, a click on the Start Recording toolbar button displays the Start Recording dialog.

The WebSocket protocol option is checked by default : when the web application establishes a WebSocket connection, NeoLoad automatically detects it and records it. The WebSocket request detects the presence of a proxy server and automatically sets up a channel to pass through the proxy. The channel is established by issuing an HTTP CONNECT statement to the proxy server, which requests for the proxy server to open a TCP/IP connection to a specific host and port. Once the channel is set up, communication can flow unimpeded through the proxy.
If the application is not WebSocket-compliant, NeoLoad switches to the low mode: client-side polling, server-side long polling, or some sort of HTTP streaming.
When recording a WebSocket request, NeoLoad logs the WebSocket channel and actions:
- The WebSocket channel established is automatically placed into a fork due to the asynchronous nature of the WebSocket protocol. Multiple WebSocket channels can be recorded.
- The WebSocket actions are stored in the recorded User Path according to the order they have been transmitted.
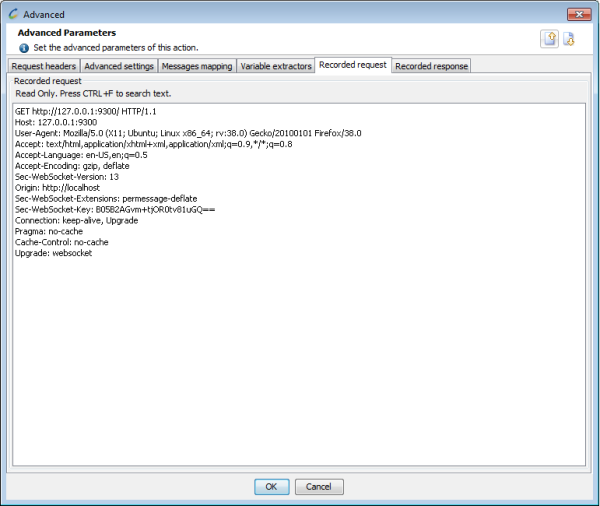
In the recorded WebSocket channel Advanced properties, the Recorded request tab shows the connection request.

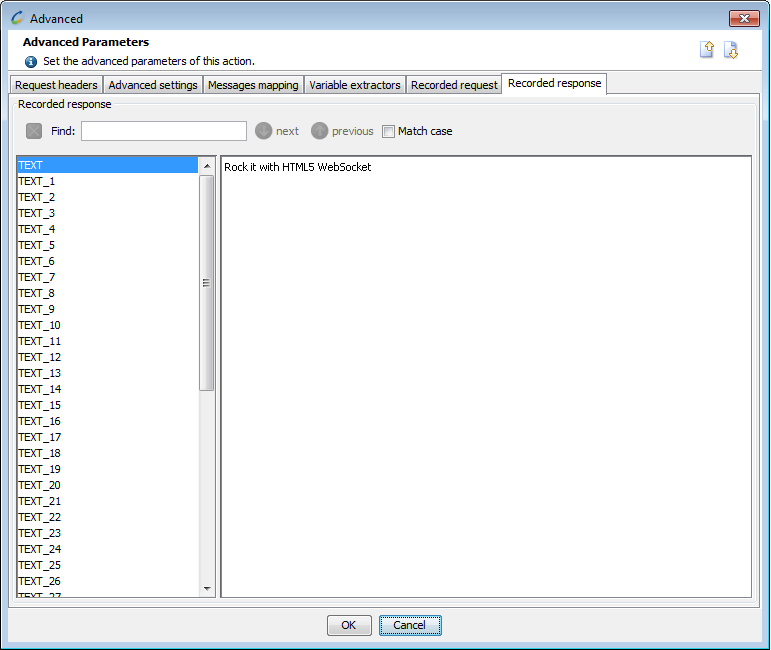
In the recorded WebSocket channel Advanced properties, the Recorded response tab shows the response recorded in the WebSocket.

For more information about the Advanced tabs, see WebSocket channel specificities and Advanced parameters.
- To record a WebSocket request
- Click on the Start Recording toolbar icon.
- In the Start Recording dialog, ensure the WebSocket option is checked.
- Click OK.
- Browse the WebSocket application.
- Click Stop.
- Configure your scenario further in the Post-recording wizard.