Portal Express, Version 6.0
Operating systems: i5/OS, Linux, Windows
Step 3.3: Creating new Content
Step three of this tutorial walks you through creating new content.
Now that you have created a site area and a copy of the announcements list template, you need to create the content for the list.
To create new content:
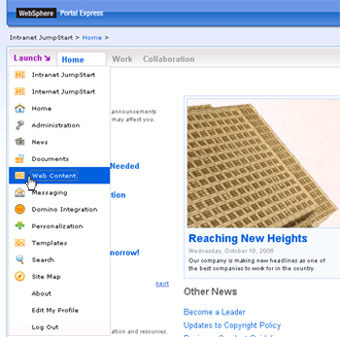
- Select Web Content from the main menu.
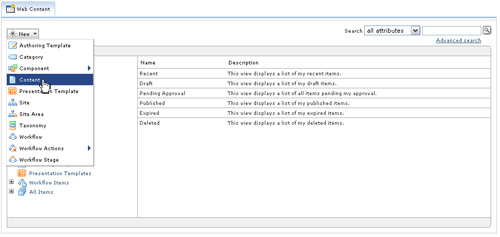
- Select the Web Content Management tab to open the Web Content Management Authoring portlet.

- Click New > Content.
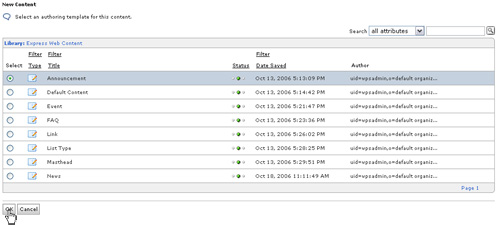
- Select Announcement and click OK.
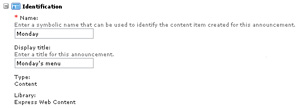
- Under Identification, enter a name and display title for the announcement. For this example, add the following for each field:
- Name: Monday
- Display title: Monday's menu
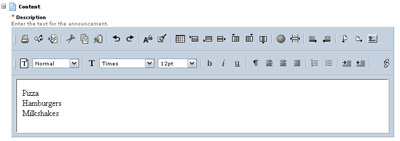
- Modify the Content section. For this tutorial, add the following to the rich text editor
- Pizza
- Hamburgers
- Milkshakes
.
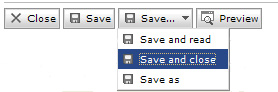
- Click Save... > Save and close.
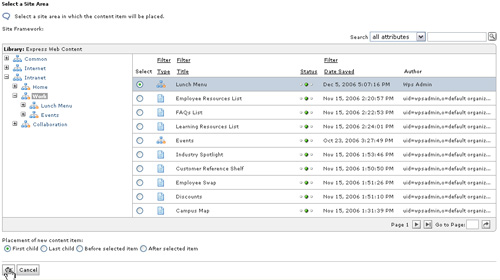
- Expand Intranet > Work in the navigation, and select Lunch menu from the list. Select First child for the placement of the new menu, and click OK.
Lesson checkpoint
During this segment of the tutorial, you have learned the following:
- How to create content that will appear in the new site area.
- How to add a menu to your site area.
< Previous | Next >