Portal Express, Version 6.0
Operating systems: i5/OS, Linux, Windows
Step 3.2: Copying a default authoring template
Step two of this tutorial walks you through copying the Announcements List default template for use in the site area that you created in step one.
The Web Content Management Authoring portlet contains several authoring templates out of the box. You can create copies of these authoring templates and modify the copies to contain content that is specific to your site.
It is not recommended to make modifications to the original templates.
To make a copy of a default template:
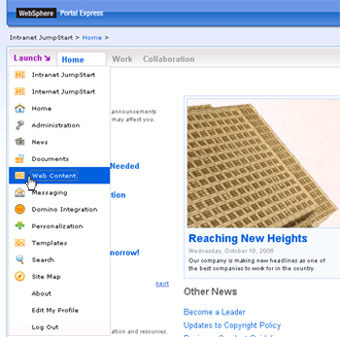
- Select Web Content from the main menu.
- Select the Web Content Management tab to open the Web Content Management Authoring portlet.

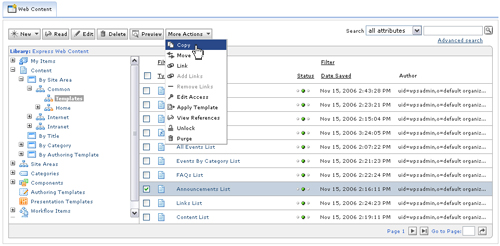
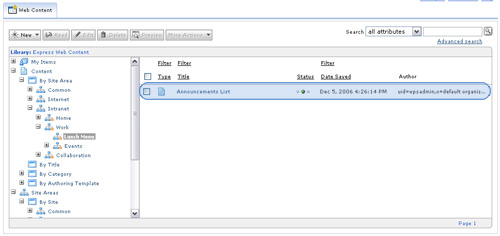
- In the Web Content Management Authoring portlet, expand Content > By Site Area > Common > Templates, select Announcements List from the list and click More Actions > Copy.
Always make copies of the templates and only work on the templates. Do not modify the items that are included out of the box directly.
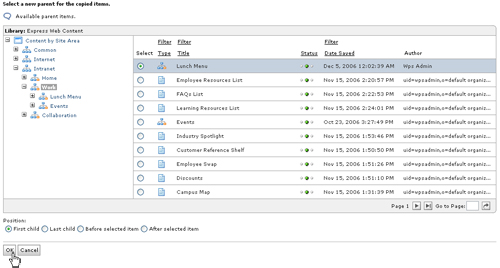
- In the list of available parent items window, select Content by Site Area > Intranet > Work from the navigation, select Lunch Menu from the list. Select First child for the position and click OK.
 You should see a confirmation that the Announcement List was copied.
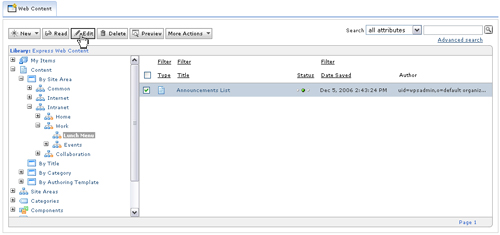
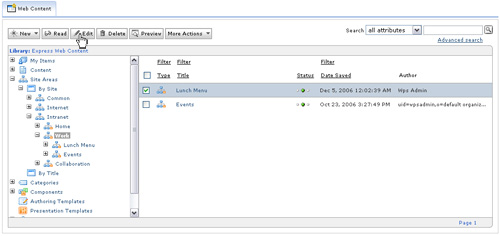
- Expand Content > By site area > Intranet > Work > Lunch menu in the navigation, select Announcements List from the list, and click Edit.
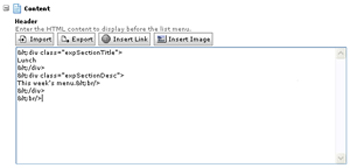
- Under Content > Header, add HTML content to display. For this example, type the following for the header:
<div class="expSectionTitle">
Lunch </div>
<div class="expSectionDesc">
This week's menu.<br/>
</div>
<br/>
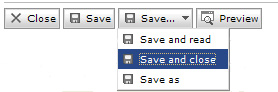
- Click Save... > Save and close.
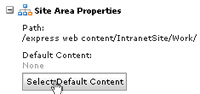
- From the Authoring portlet, expand Site Areas > By Site > Intranet > Work in the navigation, then select Lunch menu and click Edit.
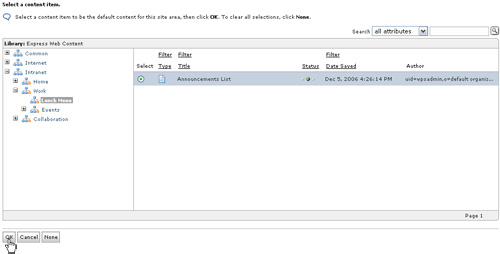
- Under Site Area Properties, select Select Default Content.
- In the Select a content item window, navigate to the Announcements list you copied to your new site area by expanding Intranet > Work > Lunch Menu, select Announcements List and click OK.
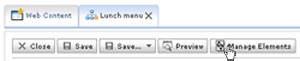
- Click Manage Elements.
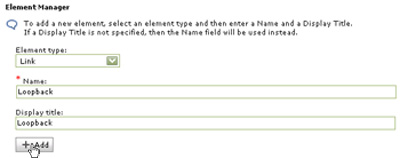
- Under Element type, select Link.
Enter Loopback for the name and display title of the link and click Add.
 You should see a table that lists the new link element. Click OK to close the Element Manager.
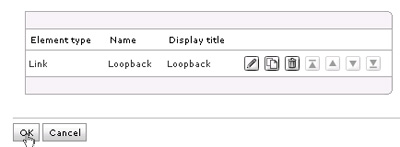
- Click Save... > Save and close to return to the Web Content Management Authoring portlet. You should see a confirmation that the Lunch menu was saved.

Lesson checkpoint
During this segment of the tutorial, you have learned the following
- How to copy one of the Authoring templates and modify the copy to contain content specific to your site area.
- How to set the default content of a Site area.
- How to create a link in the menu item that links back to the menu list.
< Previous | Next >