Portal Express, Version 6.0
Operating systems: i5/OS, Linux, Windows
Step 3.1: Creating a new site area
Step one of this tutorial walks you through creating a new site area.
A site area is a container that holds the content that will appear in the new portlet. After creating the site area, you will be able to create a new template and the content for the portlet within the site area.
To create a new site area:
- Select Web Content from the main menu.
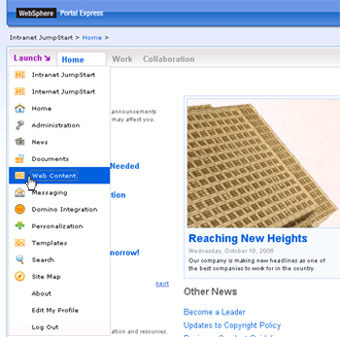
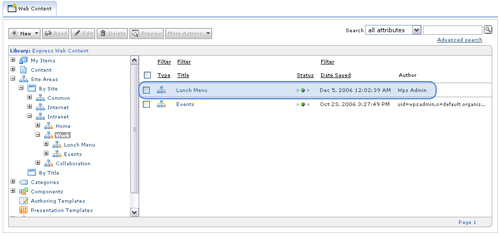
- Select the Web Content Management tab to open the Web Content Management Authoring portlet.

- Create a new site area by clicking New and selecting Site Area from the drop down menu.
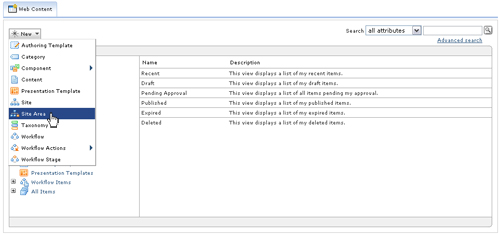 authoring portlet showing drop down menu to create new objects" />
- Select Intranet from the navigation, and then select Work from the list. Select First child for the placement of the new site area, and click OK.

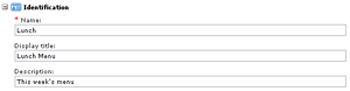
- In the Identification section, type a name, display title, and description for the new Site area. For this example, type the following for each field:
- Name: Lunch
- Display title: Lunch menu
- Description: This week's menu
The name field only supports ASCII characters.
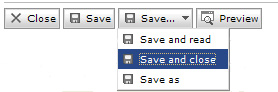
- Click Save... > Save and close to return to the Authoring portlet.
 You will see a confirmation that the site area was created successfully.
Lesson checkpoint
During this segment of the tutorial, you have learned how to create a new site area using the Web Content Management Authoring portlet.
< Previous | Next >