Empty AssemblyLine editor
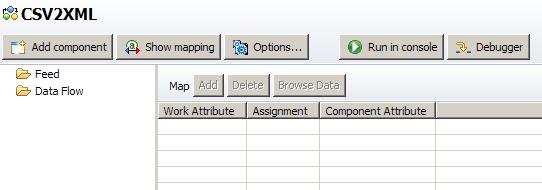
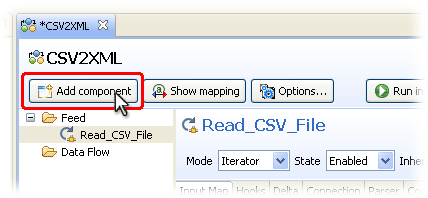
The left part of the AssemblyLine editor contains the list of components that make up this AssemblyLine and is empty right now except for the section names:
- Feed
- Data Flow
The right-hand area displays all Attributes being mapped in and out of the AssemblyLine.
For each line in the CSV file we will create a new node in the XML output document. Looping behavior is provided automatically by the TDI kernel, driving components listed under the AssemblyLine Data Flow section as long as there is input data coming from Connectors in the Feed section1.
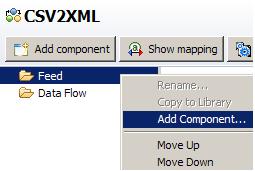
On the Choose Component wizard panel select File System Connector.
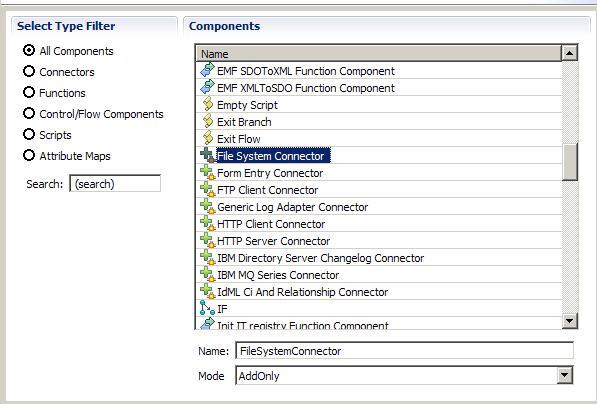

Mode settings of a Connector inform the AssemblyLine execution logic what role the component plays in the flow. Iterator Mode results in the for-each behavior required to drive data from the CSV file, one entry at a time, to the components we will add to the Data Flow section.

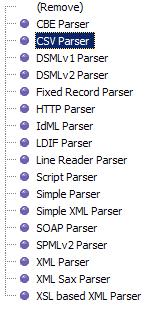
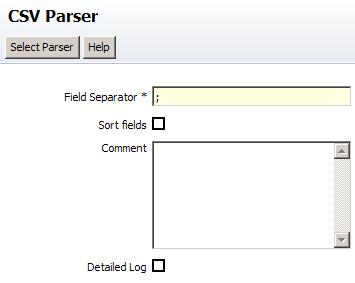
We will now see the Parser Configuration panel.
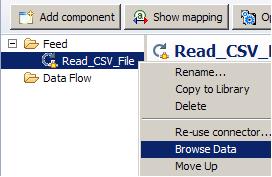
This will open the Data Browser in a new editor tab.

| Area 1 | Choose the selected Parser. |
| Area 2 | Details tab that shows the raw byte stream to be parsed. There are also tabs for changing connection parameters and configuring the chosen Parser. |
| Area 3 | For connecting to the data source and discovering which Attributes are available. |
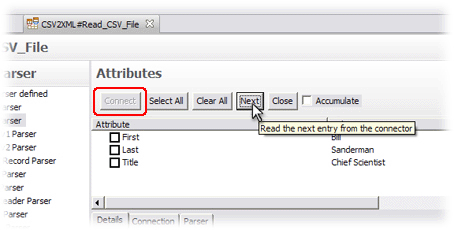
We have now discovered the schema of this file.

Details for the selected component are shown to the right of the AssemblyLine component list, including the three mapping rules we just set up in the Input Map. Each Attribute Map item has an Assignment, which is a snippet of script that is evaluated in order to set the value (or values) of the target Attribute.
Before continuing, take a moment to reflect on these Assignments: We will recall from the Entry-Attribute-value data model section that the AssemblyLine has a globally available Work Entry that carries all data being transported down the AssemblyLine. This object is referenced in script code by using the pre-registered script variable work.
The Interface of every Connector has its own Conn Entry that is used as a cache for reads and writes. This component-specific object is accessed from script through the pre-registered variable conn. The conn variable is only available for limited periods, as shown in the TDI Hook Flow Diagrams. Outside this scope it is still accessible by querying a component for its conn Entry.
Consider the first mapping rule which creates an Attribute in the Work Entry named 'First'. Its value is derived from the following assignment:
- conn.First
This shorthand notation references the Attribute called 'First' that was just read into the conn Entry, and its values are used to populate the new Work Entry Attribute. A comparable assignment script would be:
return conn.getAttribute("First");
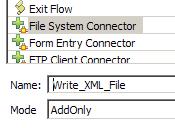


Note that in the case of the output Connector, we can't do Schema Discovery since there is no Output.xml file to discover from.
AssemblyLine with two Connectors in place...
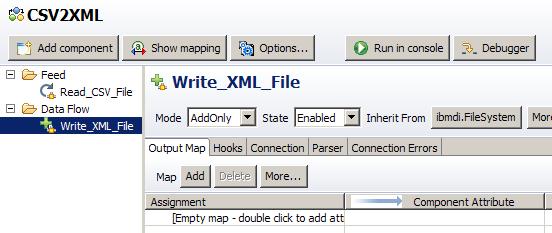
You may have noticed that when we select a component, its details appear in the right part of the editor screen. Whenever we select either the 'Feed' or the 'Data Flow' folder, you are presented with the overview of all Attribute Maps for this AssemblyLine. This is a handy display for copying your input Attributes to the Output Map of the latest Connector,
Here we see the list of Attributes (three in total) that are being brought into our AssemblyLine by the Iterator-mode Connector.

We can Control-click to select multiple, or use Shift-click to select a range.

The Assignment is automatically converted from input format to output.
For example, the first map item in the Input Map of the 'Read_CSV_File' Connector will create an Attribute in the Work Entry named 'First' to hold any values found in conn.First (that is, the Attribute called 'First' that was read into the Conn Entry).
When you drag this input mapping rule to an Output Map then its assignment is changed so that the value now comes from the Work Entry instead, and it is creating a target Attribute in the Connector's cache (the Conn Entry).


Adding the 'FullName' Attribute to the Output Map


This opens up the Script editor panel and presents you with a default assignment script:
-
work.FullName
There is no FullName attribute in the Work Entry, so this map will not be able to set any values. Instead, compute this value by changing the script so that it concatenates the First and Last Attributes, leaving a single space between these values:
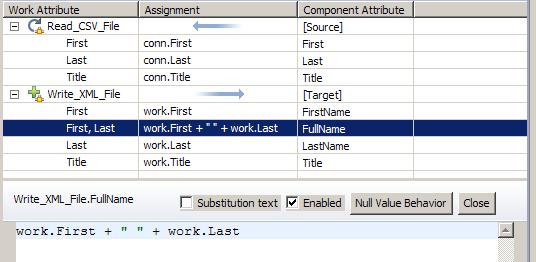
The script should read as follows:
- work.First + " " + work.Last
Note that no terminating semi-colon is required for one-liner Attribute Map assignment scripts like this9.