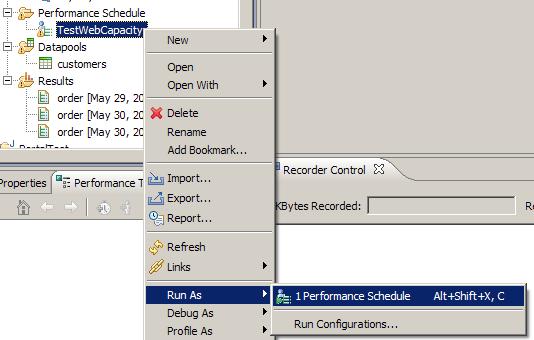
Create a schedule
- Right-click the project, and then click...
-
New | Performance Schedule

- Type the name of the schedule, and then click Finish.

- Set schedule options...

Select...
-
Add loops to each user group
When a schedule contains stages, set time limits in the stages, and set infinite loops. This prevents virtual users from finishing the stage before the allotted time.

- Click Finish
- The Performance Schedule editor opens...
- If loops did not get added, click add loops to each user group.
Right-click a user group and click...
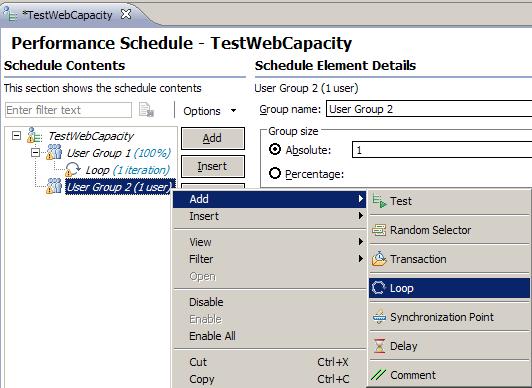
Loops are used to...
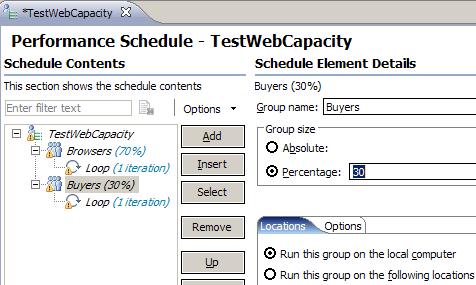
- For each User Group, set descriptive names and set appropriate group size percentages...
- For each loop, set iterations and iteration rate...

- Add tests to each user group.
Right-click the schedule element to contain the test, and click...
-
Add | Test
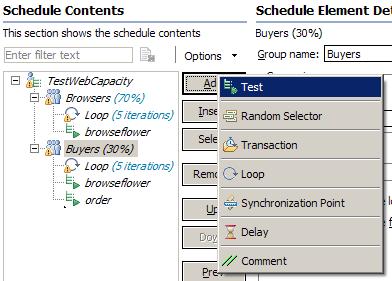
- You can add more than one test...

- When you are done, each User Group should have one or more Tests.

- To set where user group will run, highlight a user group and on the Locations tab select Run this group on the following locations

- On the Add Location page configure the remote location...

- Run schedule to verify it works...
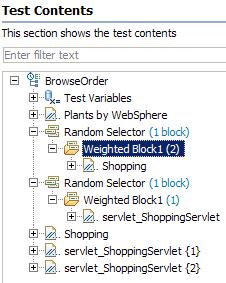
- Add selectors and their weights.
Right-click the schedule element to contain the selector, and click...
-
Add | Random Selector
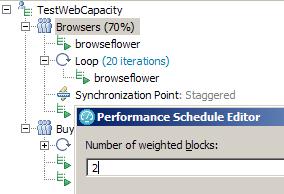
Selectors are used to run a series of tests in random order, thus emulating the varied actions of real users, instead of running each test within a user group sequentially. The weight that you assign each selector determines the statistical probability that its child element will be selected during an iteration.
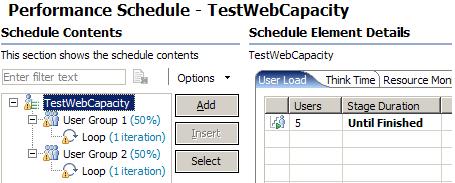
- Set the stages for the schedule.
Each stage lasts for a specific amount of time and contains a specific number of users. By setting stages, you can model workloads that reflect real-world usage over time. Putting the tests in a stage in an infinite loop prevents virtual users from finishing before the stage ends.
To set a stage:
- Open the schedule, and click the User Load tab.
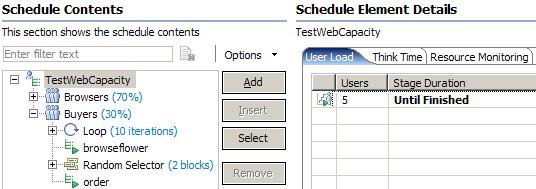
- On the User Load page, click Add.
- Enter the number of users in the stage and the duration of the stage.

- The User Load page is updated.

- Open the schedule, and click the User Load tab.
- Add other schedule elements to refine the schedule structure:
Right-click a schedule element, and click Insert (adds the new element before the selection) or Add (adds the new element after the selection).
Element Purpose Synchronization point Coordinate the activities in a schedule, such as forcing virtual users to wait at a specific point Delay Emulate user actions accurately; for example, a user might delay before placing an order Comment Notes and comments regarding the schedule element - Set the schedule options:
Tab name Typical setting Enable resource monitoring You can capture resource monitoring data from these sources: - IBM DB2 monitoring
- IBM Tivoli monitoring
- IBM WebSphere PMI
- JBoss Application Server Managed Beans
- Oracle WebLogic Server Managed Beans
- SAP NetWeaver Managed Beans
- The rstatd daemon (UNIX)
- Windows Performance Monitor
Response time breakdown On Common Options tab, select Enable collection of response time data You can collect response time breakdown data from HTTP or SOA tests.
Think time The default is to use the recorded think time. Use the options on this page to increase, decrease, or randomize the think time. Statistics log level Typically, keep the default settings. For a long test, change the sampling rate from the default 5 seconds to a larger interval.
Test log level Typically, keep the default setting of... -
Primary test actions
You need at least this level of logging to...
Problem definition log level Change the default settings only when requested to do so by IBM Software Support. - Run the schedule against successive builds of the application under test or with an increasing number of virtual users.
- Make export backup of project containing schedule.
Next
Related