Omnifind Search with WebSphere Portal
Overview
Although IBM WebSphere Portal Server contains its own built-in search capability, this search engine has several significant limitations. It is intended to index and search only a few hundred-thousand documents. Furthermore, it must be used within WebSphere Portal and has no stand-alone capability.
WebSphere Portal search cannot see foreign content repositories (such as FileNet, Documentum, OpenText, and so on), so it cannot be used to index and search these data sources. Therefore, it cannot be used as the single, complete search solution for all enterprise content. To get to all information, users are forced to use WebSphere Portal search plus one or more other search tools.
OmniFind does not have these restrictions. It can index a much larger number of documents than Portal search: up to tens of millions. OmniFind can see foreign content repositories, so it can index all enterprise content, no matter where it is stored. OmniFind can also be used outside of WebSphere Portal, so it can be the single enterprise search tool for all users, and for all content.
OmniFind has many other features that Portal search does not have, such as extensive national-language functionality, including Asian language search support. OmniFind also supports the open-source Unstructured Information Management Architecture (UIMA), used to build annotators to capture concepts that have special meaning for a particular industry. For example, the term "trial" has one meaning to the pharmaceutical industry, but a very different one in the legal field. Although it is possible for customers to write annotators, they can also be obtained from IBM business partners.
Information between WebSphere Portal and OmniFind flows in a couple of different ways:
For content ingestion, crawlers from OmniFind access Portal content in three different ways, and the retrieved content is indexed on the OmniFind server.
For searching, search portlet delegates the search facility to OmniFind to retrieve the search results that are indexed on the OmniFind server.
Architecture
The salient aspects of this architecture are:
Searchable content Searchable content is available as...
- Portal pages
- IBM Lotus Workplace WCM content
- Documents on Portal Document Manager
Hence, three different crawlers are defined.
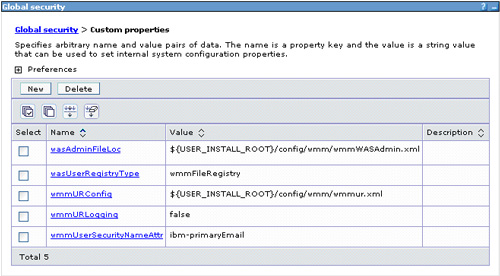
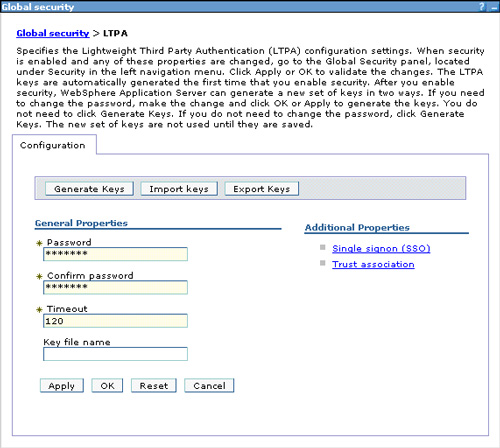
Portal UI The search portlet included with OmniFind has been customized for use in the portal. The portlet uses the existing themes for the rest of the project and the search bar has to use the OmniFind search rather than the native Portal search. The instructions for how to do this are in the OmniFind administration guide. Security Security is limited to system access and only authenticated users are allowed to access the search facility. Single sign-on is enabled across Portal components and OmniFind. Schedules All three crawlers are active at different times of the day at times of low-expected usage of the search facility -- that is, late night or early morning. Parsers are always active. Indexing follows nightly for delta builds, and complete reorganization occurs on weekends. Configuration In this reference architecture, OmniFind is deployed as a single server configuration since the number of documents is limited to less than a million documents. Failover has not been accounted for. In case failover is required, consider using the two-server or the four-server deployment of OmniFind. Portal deployment: Portal is deployed as a cluster of two nodes and search facility is expected to be accessible from both nodes, so access to portal content from the crawlers is via the proxy and load balancers.

In the figure below the portal cluster is under the light-blue oval with the individual portal servers shown in light-green. The stand-alone WAS-ND server shown in light-green to the lower left controls the portal cluster and hosts WebSphere Member Manager (WMM). WMM is used by the portal clusters (in a federated deployment) and OmniFind (non-federated server) for authentication and single sign-on using a common realm. The OmniFind-specific components that are deployed to the portal servers are shown in yellow packages. The OmniFind server shown in the light-blue rectangle to the lower right is the single-server deployment of OmniFind.

The yellow areas (packages) are artifacts that are added to the system in different places and the red text highlights items that typically need action or items that need to be defined. Access rights to individual configuration files and applications need to be defined in the java.policy file in the jre for the individual portal servers.
Packages and variable definitions need to be defined on the portal servers through the deployment manager, synchronize and restart. Also, individual portal servers need WebSphere Information Integrator Content Edition (IICE) connector deployment.
The edge server is exploited for hiding URLs in the search results. An alternate approach to hiding or rewriting the URLs is to modify the appropriate metadata of the crawled content by plugins defined using Search and Indexing API (SIAPI).
Guidelines
The scripts supplied along with the OmniFind Enterprise Edition 8.4 installation software (included in es.wp6.install.jar or es.wp5.install.jar) are usable for a WebSphere Portal Deployment over WAS.
The scripts included in Version 8.4 of OmniFind MUST NOT be used with Portal when it is deployed over WAS ND. In other words, they are not meant for a clustered Portal use. Hence, if you have a clustered Portal instance deployed over WAS ND, do NOT use the script included in the product. Instead, follow the steps mentioned below for deploying the individual components through the deployment manager.
If you do use the scripts (because you are not in a clustered environment), they set up all integration points between enterprise search and WebSphere Portal. For example, you cannot selectively install the portlet and not install EAR files that support the WebSphere Portal and Web Content Management crawlers.
In your initial configuration, you choose whether or not to include WebSphere Information Integrator Content Edition, which is used by OmniFind for crawler connectivity to Portal Document Manager.
If at first you do not set up WebSphere Information Integrator Content Edition, and then later decide that you want to be able to search Portal Document Manager documents, run a script to remove enterprise search from WebSphere Portal. You can then run the setup script again and ensure specified the WebSphere Information Integrator Content Edition installation path during the configuration.
The scripts stop and restart WebSphere Portal. You might want to run the scripts after normal working hours to ensure that your user community is not affected by the unavailability of portal services.
If an error occurs while the setup scripts are running, run the setup script again. Tasks that completed successfully during the first attempt might report errors, but the setup process continues and completes the remaining tasks.
The first time that you access the Enterprise Search portlet page after you run the setup script, the page might be slow to appear because the system must compile Java Server Pages for the portlet.
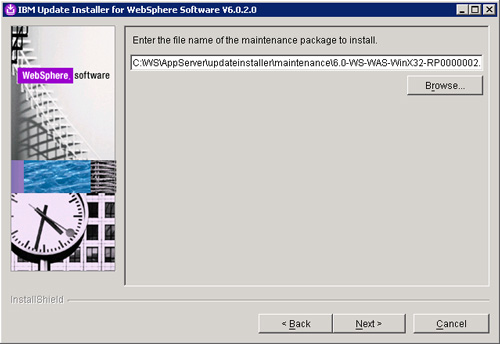
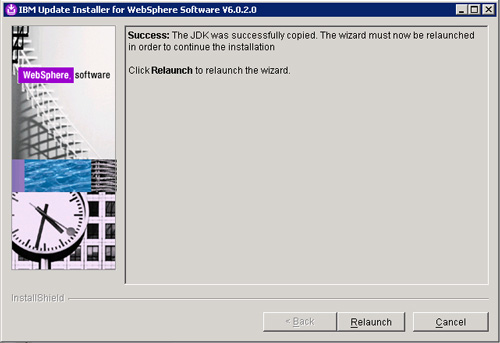
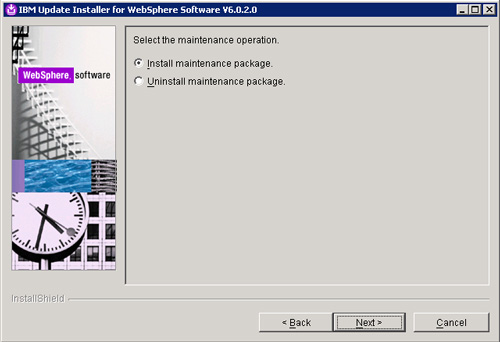
Step 1: Install OmniFind on a single server
Follow the screenshots below, using the instructions and default settings unless otherwise noted. In case you see a screen not included here, please accept default options, and proceed to the next step by clicking the Next button.
- Review the installation requirements.
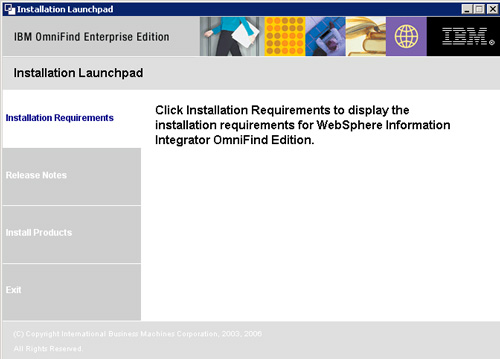
Review installation requirements - Select Install Products.

Select install - Accept the license agreement by clicking the Accept button.
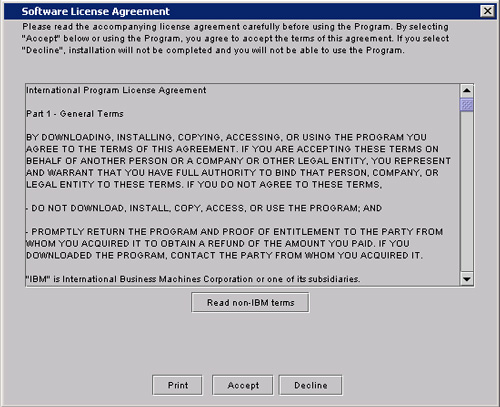
License agreement - From the Welcome screen, click Next to proceed.
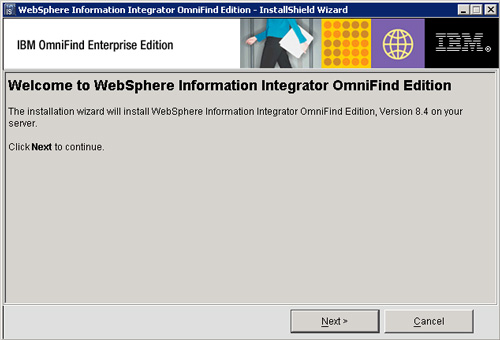
Welcome screen - Select Install a new version of WebSphere Information Integrator OmniFind Edition and click Next.

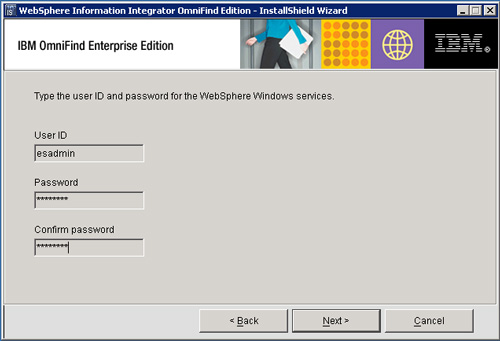
Select to install a new version - Select Create a new ID and password. (This is for a fresh install on a new machine where the user "esadmin" does not exist. If the user exists, select the option Use an existing ID and password.)
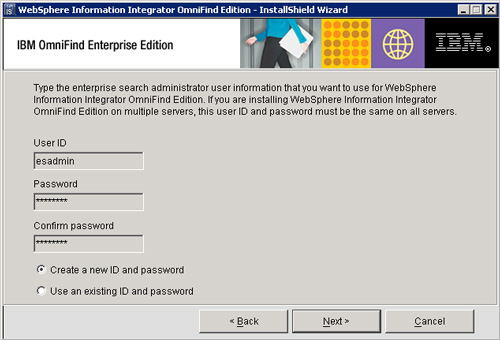
Specifying user ID and passwordIf the option Create a new ID and password is selected, the installer creates a new user. Please ensure that this user does not exist prior to the installation process. Remember, the default is "esadmin."
This user is a local user, and it cannot be a domain user.
Please ensure that the appropriate privileges have been assigned to the user.
Often local policies get overridden by the periodic update of globally-defined policies which may interfere with the installation process, or, even after successful installation, interfere with the normal functioning of the server. If you notice that the WAS server (ESSearchServer) goes down periodically, there is a high likelihood of local user properties getting modified by the global policies.
The search admin user should be an administrator on the server on which OmniFind is being installed.
The following User Rights Assignments in the Local Security Policy must be set:
- Act as part of the operating system
- Lock pages in memory
- Create a token object
- Replace a process level token
- Impersonate a client after authentication
- Adjust memory quotas for a process. (Increase quotas) Windows 2003 Enterprise Server has the property listed as "Adjust memory quotas for a process" and not "Increase quotas".)
- Log on as a service
- Select installation directory.
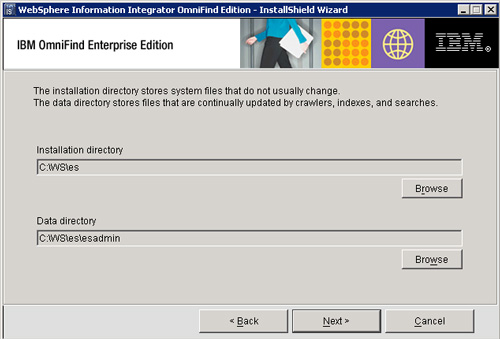
Specifying installation directory - Select Single Server as per the initial requirements. In case the capacity requirements change, please refer to the product manuals

Specifying Single Server - Read and acknowledge then next screen by clicking Next.

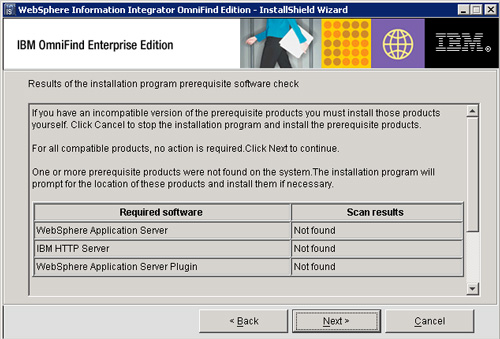
Requirements screen - Read and acknowledge the detected software and system check results. You may scroll down for more information. No action needs to be taken, simply click Next .
Detected software - Select Install WebSphere Information Integrator Content Edition connectors.

Select Content Edition connectors - Select defaults, and click Next.

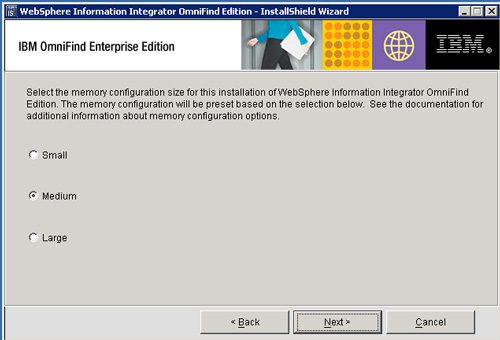
Specifying hostname, port, and data storage port - Select the default Medium for memory configuration size.
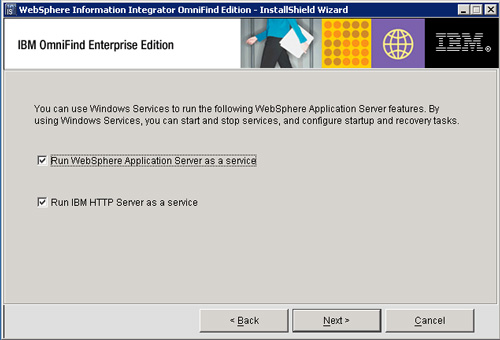
Memory configuration - Select Install WebSphere Application Server .- the refresh pack can be installed after the installation completes.
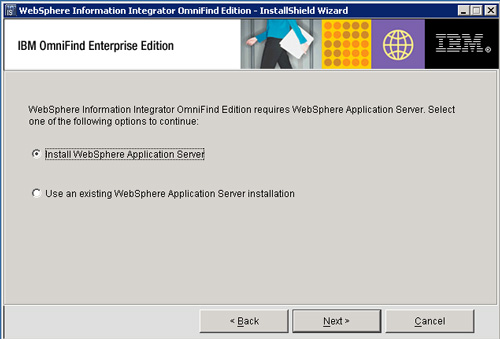
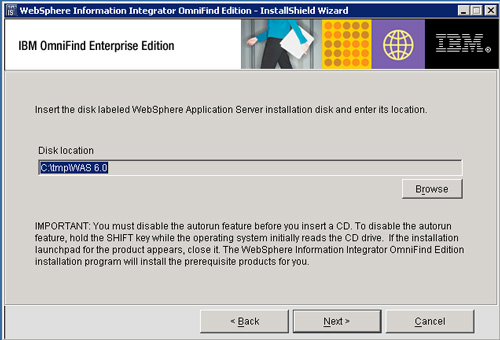
Install WebSphere Application Server - Select the installation directory for WebSphere Application Server.

WAS installation directory - Select the installation directory for WAS plug-in.
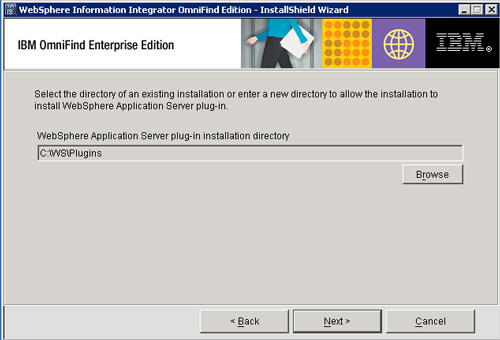
WAS plug-in directory - Select the installation directory for the HTTP server

Specifying HTTP server directory - Review and accept defaults for the WAS configuration, and select Next.

Review WAS configuration - Review and accept defaults port settings, and select Next.
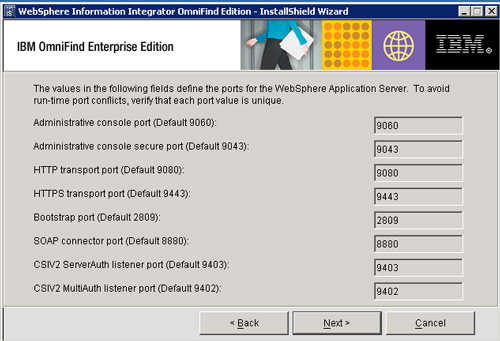
Review port settingsEnsure that the mentioned ports are available, free and accessible for the server.
Review the default port numbers that are used in an enterprise search system so that you can avoid port conflicts when you configure resources or assign port numbers to other applications.
If you configure a firewall, explicitly enable access to particular port numbers. You must also ensure that all enterprise search servers are inside the firewall.
Port Number Where configured Common communication layer 6002 ES_NODE_ROOT/nodeinfo/es.cfg and ES_NODE_ROOT/master_config/nodes.ini on all enterprise search servers HTTP on the search servers 80 HTTP_SERVER_ROOT/conf/http.conf on the search servers WebSphere Application Server Version 6 administration console 9060 On the search servers Data listener 6668 ES_NODE_ROOT/master_config/datalistener/dlConfig.prp on the crawler server Information center 8888 On the search servers Anonymous or dynamic ports for CCL, file transfers (ESFTP), and index copy 49152 to 65535 On all enterprise search servers Cloudscape Network Server 1527 On the crawler server Custom communication 8890 On the crawler server WebSphere Information Integrator Content Edition FastObjects database 6001 (6002 as an alternate) In the WebSphere Information Integrator Content Edition administration console WebSphere Information Integrator Content Edition remote method invocation (RMI) proxy connector 1251 (RMI port) In the WebSphere Information Integrator Content Edition administration console