Configuring the CVS server repository
After you have installed the CVS server and restarted the system, do the following steps to create and configure the CVS server repository:

| Manually create the common root directory. For example, the directory c:\rep7672 can be created using Windows Explorer.
|
|
| Select Start Ć Programs Ć CVSNT Ć Service control panel to start the CVSNT control application.
|
|
| The CVS services must be stopped to create a new repository. In the CVSNT control panel window, click Stop under CVSNT Service and CVSNT Lock Service (Figure | 8-1).
|

Figure 28-1 Stop the CVSNT services
|
| Select the Repository configuration tab, and click Add.
|
|
| In the Server Settings dialog, enter the following values (Figure | 8-2):
|

 Location: c:/rep7672 (we created this directory manually)
|
|
Name: /rep7672 (default)
|
|
Description: RAD 7.5 Redbook CVS repository
|
|
Leave the other selections with their defaults.
|
|
Click OK.
|
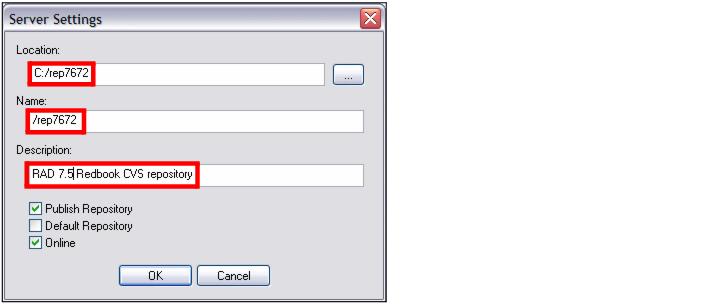
Figure 28-2 Add repository
|
| When prompted with the message c:/rep7672 exists, but is not a valid CVS repository. Do you want to initialize it?, click Yes and then Apply.
|
|
| Select the Compatibility Options tab (Figure | 8-3). For both type of clients:
|
|
Select Respond as cvs 1.11.2 to version request.
|
|
Select Emulate `-n checkout' bug.
|
|
Select Hide extended log/status information.
|
|
Clear Ignore client-side force -k options
|
|
For Clients allowed to connect, select Any CVS/CVSNT (default).
|

Figure 28-3 Compatibility options
These settings ensure that CVSNT is compatible with clients such as Application Developer and other CVS clients.
|
| Click Apply and then OK to close the CVS control panel.
|