IBM BPM, V8.0.1, All platforms > Authoring services in Integration Designer > Defining and transforming data > Transforming data > Transforming data using XML maps
Editing an XML map
After you create an XML map, you can edit it using the XML map editor.
First map (or connect) elements of input business objects to elements of output business objects. Then for each mapping, create a transform, which performs an action on the data of the input element and puts the result in the output element. There can be multiple input business objects in an XML map, but there can be only one output business object. The input business objects are on the left side in the editor, and the output business object is on the right.
Procedure
To edit an XML map, follow these instructions.
- If your map does not have input and output business objects, add them using the Add icon in the toolbar:

- Move your cursor to the element of the input business object that you want to map.

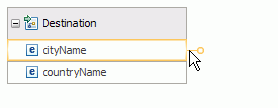
- Click the grab handle

and drag the mouse to the output element. A connection is created between the two elements, and a transform is assigned, based on the number and type of input elements.

- Change the transform if required by clicking the arrow
in the transform box, and selecting from the list of available transforms.

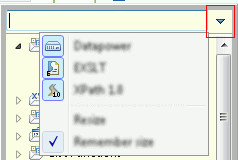
- You can choose to filter the function sets that you want to work with. Click the arrow in the transform box, and in the list
of available transforms, click the arrow on the upper right corner
and click the function set you want to show or hide.

- To add another input element, create a connection between the input element and the transform.

Notice that the transform type changes when you add a second input element.
- Some transforms, such as Local map and Append, contain nested maps. You will know that a nested map exists if you see an Edit icon on the transform. Click the Edit icon to edit the nested map.

Nested maps must contain transforms, otherwise nothing will happen when the map is executed. If you see a warning icon on the main map, you need to edit the nested map. Hover over the warning icon to get a detailed error message.

- When you open a nested map for some transforms such as Append, the nested map may also contain a nested map such as a For each transform:

In this case, you cannot create a mapping in the first nested map. You need to click the Edit button to go down another level and you can then create your mapping, as shown below:

- After you choose a transform, set its properties by clicking the transform, and then the properties view. You can specify order of inputs, conditions for executing the transform, sort criteria, and elements to be included or excluded by the transform.
- After you create or change a transform, you can test it by clicking Test map

.
- You can also use the auto map feature to quickly map between input and output elements based on their names. To auto map, click the Auto map input to output icon in the toolbar:
