33.9 Deploying the Portal ProjectFollow these steps to deploy a Portal Project in WebSphere Portal server.
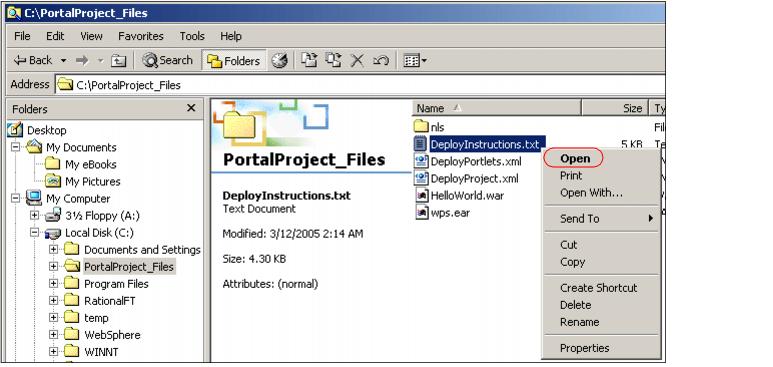
Figure 33-44 Open the DeployInstructions file
Example 33-1 DeployInstructions.txt file
(C) Copyright IBM Corporation 2004. All Rights Reserved.
This file provides instructions for deploying an IBM Rational Application Developer Portal Project to a portal server.
Important Note: These instructions are to be used only for deploying to server wps51 and should not be used with a different portal server.
Information specific to server wps51 has been included in the configuration files.
Both the WebSphere Application Server and the WebSphere Portal server must be running to successfully complete these steps.
Each step must be successfully completed before starting subsequent steps.
Step 1
   Open a command prompt and change directories to the Deployment Manager bin directory. For example, c:\WebSphere\DeploymentManager\bin, or if the Deployment Manager is not installed:
   c:\WebSphere\appserver\bin.
   Copy the wps.ear that was exported by IBM Rational Application Developer to this directory.
   Use the wsadmin command to update the WebSphere Portal EAR. This action will automatically cause the application to be synchronized across each node in the cluster.
Windows: wsadmin.bat -user <admin_user_id> -password <admin_password> -c "$AdminApp install wps.ear {-update -appname wps}"
Unix: wsadmin.sh -user <admin_user_id> -password <admin_password> -c "$AdminApp install wps.ear {-update -appname wps}"
where:
       <admin_user_id> is the administrator's user ID
       <admin_password> is the administrator's password
Note: Updates to the configuration of a WebSphere Portal cluster must occur on the Deployment Manager and resynchronized with the other nodes in the cluster.
If updates are made to individual nodes in the cluster, the updates will be lost when the master configuration on the Deployment Manager resynchronizes with the nodes again.
Step 2
   Copy each of the portlet application WAR files to <wps_home>\installableApps on your server.
   The following is a list of portlet application WAR files that  copy:
       HelloWorld.war
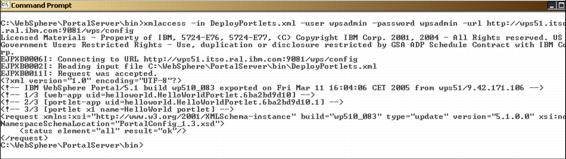
Step 3
   Copy DeployPortlets.xml to <wps_home>\bin and execute the following XMLAccess command from the same location
Windows: xmlaccess -in DeployPortlets.xml -user <WpsAdminUser> -pwd <WpsAdminPassword>
Unix: xmlaccess.sh -in DeployPortlets.xml -user <WpsAdminUser> -pwd <WpsAdminPassword>
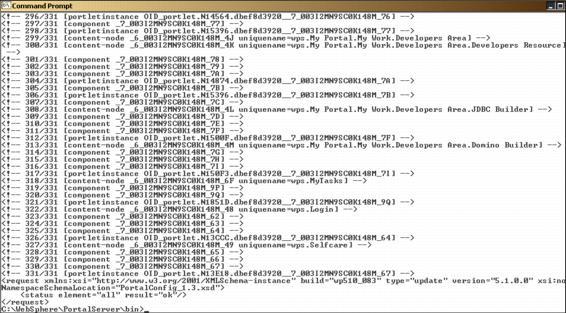
Step 4
   Copy DeployProject.xml to <wps_home>\bin and execute the following XMLAccess command from the same location
Windows: xmlaccess -in DeployProject.xml -user <WpsAdminUser> -pwd <WpsAdminPassword>
Unix: xmlaccess -in DeployProject.xml -user <WpsAdminUser> -pwd <WpsAdminPassword>
Step 5
   To ensure that string changes in the project are correctly used by the portal server, copy the following list of properties files from the 'nls' directory
   to '<wps_home>/shared/app/nls', where <wps_home> is the installed location of WebSphere Portal server.
       CSRes.properties
       CSRes_ar.properties
       CSRes_cs.properties
       CSRes_da.properties
       CSRes_de.properties
       CSRes_el.properties
       CSRes_en.properties
       CSRes_es.properties
       CSRes_fi.properties
       CSRes_fr.properties
       CSRes_hu.properties
       CSRes_it.properties
       CSRes_iw.properties
       CSRes_ja.properties
       CSRes_ko.properties
       CSRes_nl.properties
       CSRes_no.properties
       CSRes_pl.properties
       CSRes_pt.properties
       CSRes_pt_BR.properties
       CSRes_ro.properties
       CSRes_ru.properties
       CSRes_sv.properties
       CSRes_th.properties
       CSRes_tr.properties
       CSRes_uk.properties
       CSRes_zh.properties
       CSRes_zh_TW.properties
Step 6
   Browse to the portal server administration pages. Using the administrative portlets, set access control as needed on the deployed configuration.
Note:
If the portal server is configured to use a HTTP port other than port 80, append the parameter '-url <portal config url>' to the XMLAccess commands where
<portal config url> is of the form 'http://host:port/wps/config'.
For more information refer to the following topics in WebSphere Portal InfoCenter:
   Administering your portal\XML configuration interface
   Designing your portal\Deploying customized themes and skins
   Designing your portal\Customizing the portal
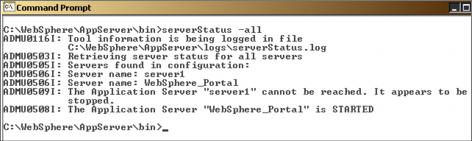
Figure 33-45 Verify Servers status
Example 33-2 Starting server1
c:\WebSphere\AppServer\bin>startServer server1
or Example 33-3 Starting PortalServer
c:\WebSphere\AppServer\bin>startServer WebSphere_Portal
In case portal security is enabled also add to the command the suffix -user user -password password.
Figure 33-46 wsadmin command
Figure 33-47 Deploy portlets
Figure 33-48 Deploy Project
c:\WebSphere\AppServer\bin\stopServer WebSphere_Server
c:\WebSphere\AppServer\bin\startServer WebSphere_Server
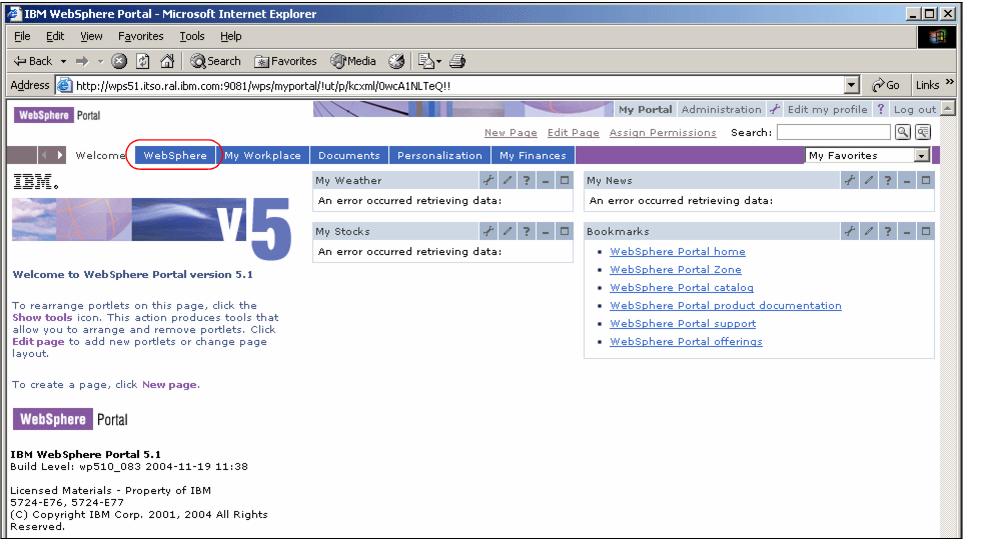
Figure 33-49 Portal page
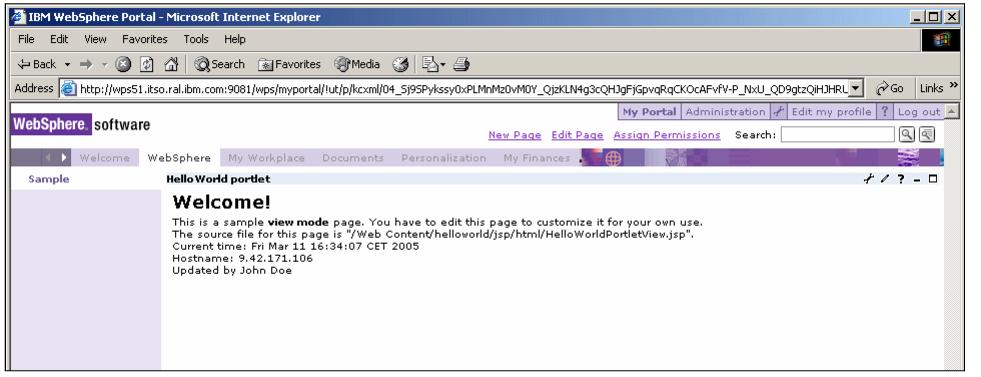
Figure 33-50 WebSphere page with MyCorp theme |


|
ibm.com/redbooks |