|
18.1.4 Creating a detail portlet
Now you will create a new portlet in the same Portlet project to show the trouble tickets detail.
| 1.
| Select File | New | Portlet from the menu bar.
|
| 2.
| Select Ticket for the Project.
|
| 4.
| A JSP file named Ticket2View.jsp is opened with Page Designer.
|
| 5.
| Select New | JavaBean from the context menu of Page Data view.
|
| 6.
| Enter ticketDetail for the Name and com.ibm.faces.portlet.examples.TicketDetail for the class.
|
ticketDetail is shown in Page Data view.
| 8.
| Replace the text Place content here. with Ticket ID:.
|
| 9.
| Drag and drop Input from Faces Components of Palette view, next to the text, Ticket ID:.
|
| 10.
| Drag and drop Command - Button from Faces Components of Palette view, next to the input.
|
| 11.
| Drag and drop ticketDetail/ticketId from Page Data view on the input.
|
| 12.
| Drag and drop ticketDetail/ticket from Page Data view onto Page Designer, below the Ticket ID text.
|
| 13.
| Select the following fields:
|
and sort in the above order by clicking Up/Down (icons).
A table with outputs is inserted (Figure 18-10).
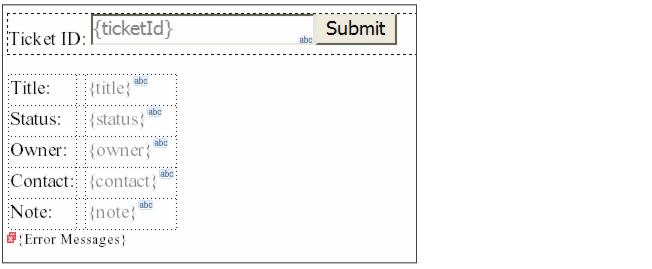
Figure 18-10 Layout of the Details portlet
| 15.
| Select File | Save from the menu bar.
|
|