Personalized List portlet
The Personalized List portlet provides a ready-to-use portlet for displaying personalized content from rules, content spots, or resources. In many cases it eliminates the need to code new portlets and JSP files yourself. We can use this portlet instead of coding
the IBM Rational Application Developer portlet.
The Personalized List portlet is not intended to be used with the Web Content resource collection or with rules involving the Web Content resource collection. To display Web Content rules, use a Portal Personalization Component in IBM Web Content Manager. When the Web Content resource collection is used with the Personalized List portlet, certain attributes like authoring template will show raw values from the repository that cannot be translated to a readable form. The details page of the Personalized List portlet will not show the results of the rendered content. The details page will show some attribute from the content, such as the creator or last modified date, which is not suitable for production use of content from Web Content Manager.
The intended use of the Personalized List portlet is to display personalized lists of documents. The Personalized List can also be used with some generated or custom resource collections.
- Copy the pers_offers folder from the /Pers_Offers.war/WEB-INF/classes
directory under the Pers_Offers portlet in the installedApps location into WP_PROFILE/PortalServer/pzn/collections.
You may need to create this classes folder first.
- Restart IBM WebSphere Portal.
- Log in as the admin user.
- Open Administration > Portlet Management > Portlets.
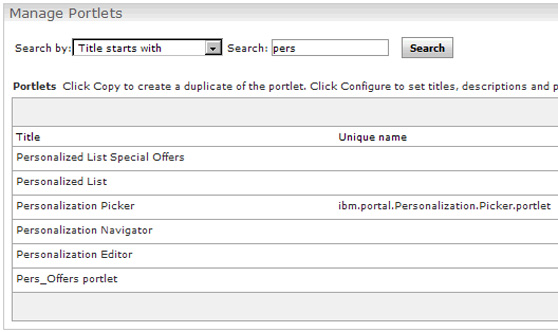
- Search for the Personalized List portlet.
- Make a copy of the Personalized List portlet, named Personalized
List Special Offers.
- Set access control for the new portlet so All Authenticated Portal Users are Privileged Users.
- Add the Personalized List Special Offers portlet to a new page under Personalization called Pers
List Portlet - Rules.
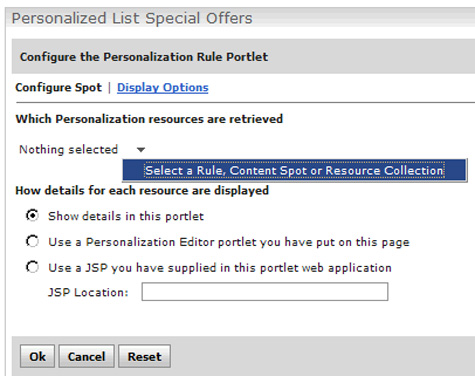
- Display the new page with the new portlet. Click the portlet menu on the Personalized List Special Offers portlet, and select Configure from the drop-down list.

- Click the menu icon under Which Personalization
resources are retrieved and select Select a Rule, Content Spot or Resource Collection.
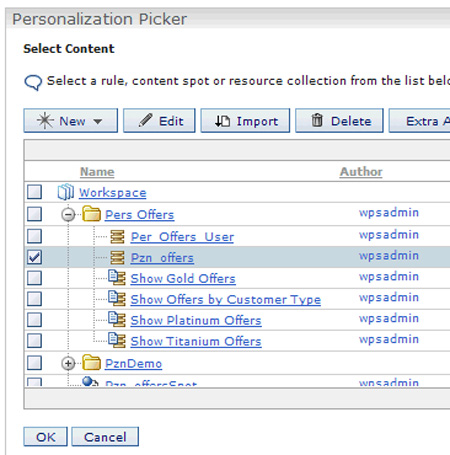
- Expand the Pers Offers folder and select Pzn_offers and click OK.
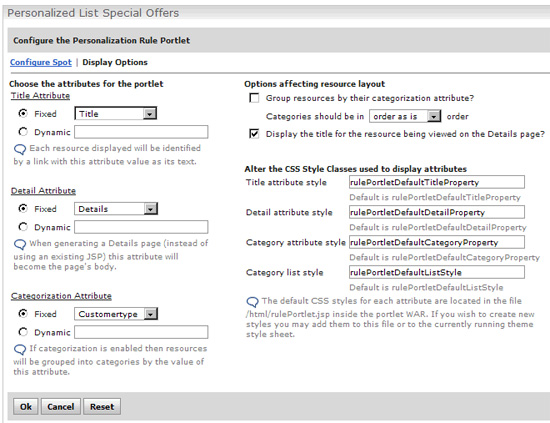
- Click Display Options.
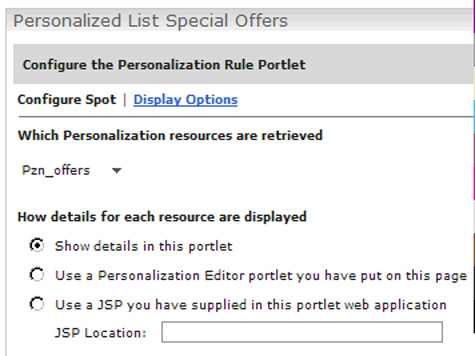
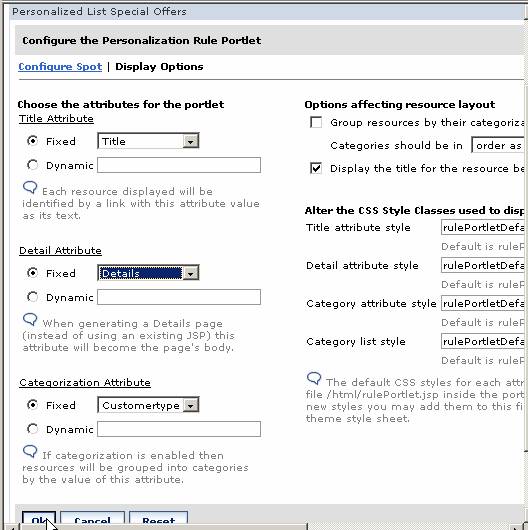
- Select the following options and click OK.
- Click OK again to see the portlet.

- Click on one of the title links to see the details on that resource.
- Click Back.
- Configure the portlet again to show more personalized offers.
- From the Personalization Picker, select the content spot Pzn_offersSpot under the Workspace Root and click OK.
- Click Display Options, set the following values, and click OK.
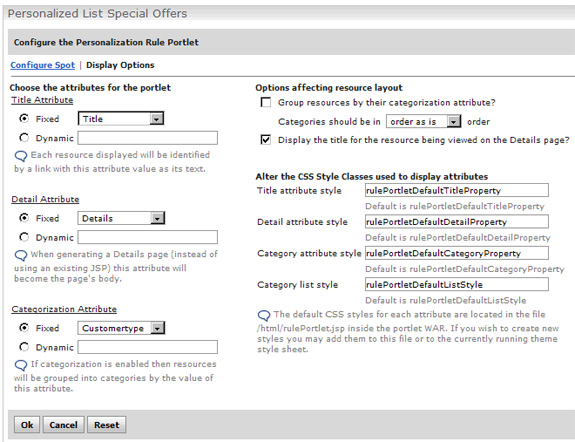
- Set the Title Attribute and Detail Attribute values to Fixed.
Click OK.
- Complete the configuration and sethat the Personalized
List Special Offers portlet is empty. This is because the administrator has not entered customer details in the pzndemo database for the user resource being used.
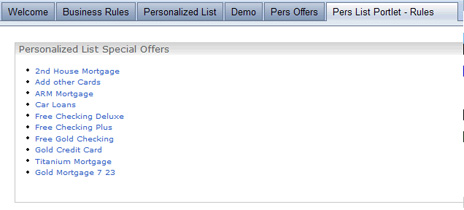
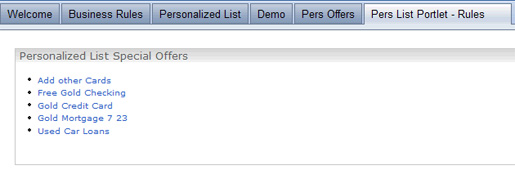
- Log in as Scott and view the Personalized List Special
Offers portlet. The portlet displays the personalized offers based on the rule, Show Offers By Customer Type, which is mapped to the content spot Pzn_offersSpot.
- Test this portlet, logging in as each pzndemo user having a different profile. You should get the same content resulto that you saw previously using our own custom-built portlet, Pers_Offers, except you do not have to code a portlet or a JSP file.
Parent: Develop a personalized portlet
Previous: Change content spot rule mapping
Next: Uninstall Personalization sample and database