Install Network Deployment from a workstation using AWT mode
To use the abstract windowing toolkit (AWT) mode to install Network Deployment from a Windows 32-bit workstation, perform these steps:
-
Verify that the host server jobs have been started on your iSeries server. The host server jobs allow the installation code to run on iSeries.
Enter this command on an OS/400 command line:
STRHOSTSVR SERVER(*ALL)
-
If TCP/IP is not started or if you don't know if TCP/IP is started, enter the Start TCP/IP (STRTCP) command on an OS/400 command line.
-
Place the WAS Network Deployment, V5.0 for iSeries CD-ROM in the CD-ROM drive on the workstation.
Note: Do not use the IBM WAS Version 5 For Windows NT and Windows 2000 CD-ROM, the WAS 5.0 for iSeries CD-ROM, or any other CD-ROM (which was shipped with your WAS for iSeries package) for this set of steps.
The InstallShield program should automatically start. If it does not, open Windows Explorer and select your CD-ROM drive. Double-click the SETUP.EXE file to start the InstallShield program.
-
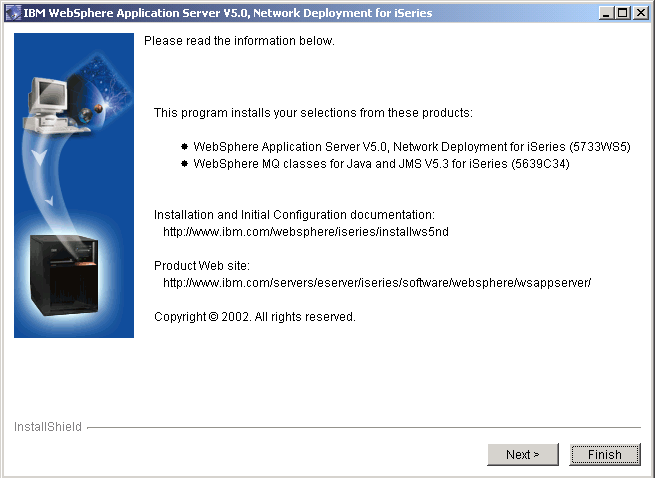
At the first panel, read the information, and then click Next.

-
Enter the name of the iSeries server where you are installing Network Deployment. You also must enter a valid user ID and password for the server. This user ID must be user type (user class) *SECOFR and have a value of *USRCLS for special authority. Click Next.
-
On the next panels, select the options to install for Network Deployment. Click Next.
WAS Network Deployment v5.0 for iSeries (5733WS5) options:
-
(Option Base) WAS
This option is required for any other option to be installed. It contains the Readme file and other common files for the product.
-
(Option 5) Network Deployment
Option 5 provides the Network Deployment runtime. Option 5 is required to use Network Deployment.
-
-
On the next panel, select the options to install for WebSphere MQ classes for Java and JMS V5.3 for iSeries.
WebSphere MQ classes for Java and JMS V5.3 for iSeries (5639C34) options:
-
(Option Base) WebSphere MQ classes for Java and JMS
If you want to use JMS from your applications or the embedded JMS server install this option.
-
(Option 1)WebSphere MQ classes for Java and JMS - Samples
Option 1 provides the samples for WebSphere MQ classes for Java and JMS.
-
-
The options that you specified are displayed. Verify that they are correct. If they are not, click Back to change your installation options. If they are correct, click Next.
-
The InstallShield program displays messages that indicate the status of the installation and a status bar to show the progress of the installation.
-
After the installation is complete, the summary panel is displayed showing the options that were installed. Click Finish to close the InstallShield program.
-
For security purposes, if the host servers were not running, return your iSeries server to its original state with the End Host Server (ENDHOSTSVR) command after the install is complete.
