Create a new instance of IBM HTTP Server (powered by Apache) (V5R1 and V5R2)
To create a new instance of the IBM HTTP Server (powered by Apache) with a basic configuration, use the IBM HTTP Server for iSeries Configuration and Administration forms. Perform the steps below.
-
Use a Web browser, go to the IBM HTTP Server Configuration and Administration forms by performing these steps:
-
Open this URL in your browser:
http://your.server.name:2001/
where your.server.name is the name of your iSeries server.
-
Enter a valid user ID and password for your iSeries server.
-
At the iSeries Tasks page, select IBM HTTP Server for iSeries.
-
-
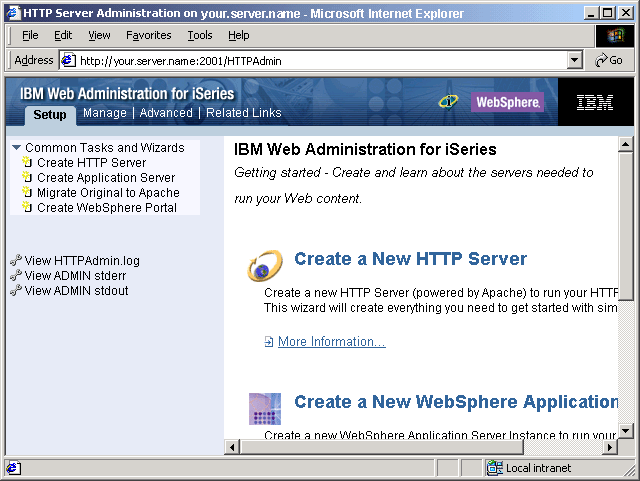
The HTTP Server for iSeries page is displayed. To create a new HTTP server, click the Setup tab. Expand Common Tasks and Wizards and click Create New HTTP Server.

-
Select HTTP server (powered by Apache), and click Next.
-
In the right frame, type a name for the HTTP server instance. This name appears in the HTTPSVR subsystem when the job is running. Optionally, you can also enter a description for the HTTP server instance. Click Next.
Note: Write down your HTTP server instance name to be used in later steps.
-
Type the server root. Use the default values, or you can specify another server root or document root directory. Click Next.
-
In the next panel, set the document root. Click Next.
-
Select the IP address and port.
-
In the IP address field, select All addresses.
-
The default port number is 80. You can specify a different port number for the HTTP server to use to process requests. Click Next.
Notes:
- If you specify a port other than the default port, configure your virtual host Domain Name System (DNS) aliases in the administrative console to reflect your port number. For more information, see Virtual host.
-
Write down the number of your internal HTTP port for use in later steps.
-
-
Select a logging option. It is recommended that you select Yes. The logs are stored in the /server_root/logs directory, where server_root is the server root that you set in step 6.
-
Specify how long you want to keep the error and access log files. Click Next.
-
Review your settings. To create the HTTP server instance, click Finish. To make changes, click Back.
-
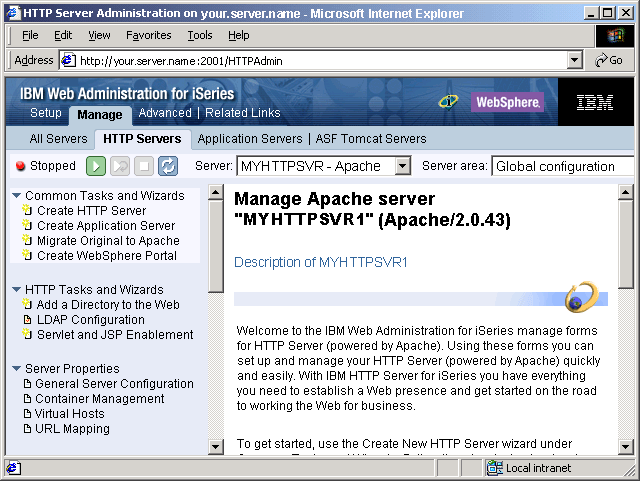
After clicking Finish, the configuration is created. The Manage Apache Server page appears.

-
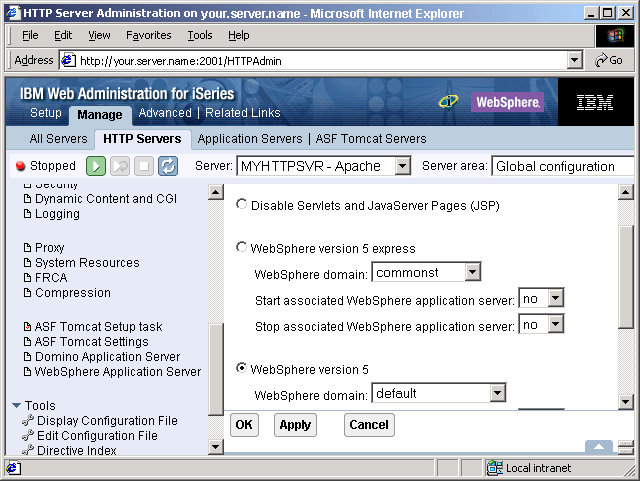
With your new HTTP server selected, expand Server Properties in the left frame. Click WAS. Select the version of WAS to configure, and select the WAS instance. If the instance is not part of a Network Deployment cell, you can configure the HTTP server to start the associated Application Server when the HTTP server is started. Also, you can configure the HTTP server to stop the associated Application Server when the HTTP server is stopped. In this example the HTTP server is configured not to do either of those activities. To write the changes to the configuration file and return to the main configuration page, click OK.

