Portal Express, Version 6.0
Operating systems: i5/OS, Linux, Windows
 Step 6: Hiding pages on the site
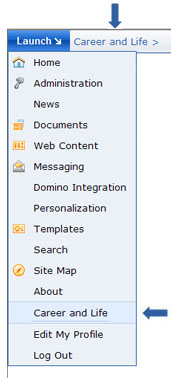
Step 6 of this tutorial demonstrates how to hide pages on the site using visibility rules. The goal of this tutorial is to hide the Career and Life page that you created in Step 5 so that it does not display in the site or in the main menu on Fridays through Mondays.

Visibility rules control whether a page displays in the navigation based on specific conditions that you define, such as application values, user attributes, and other context information. Visibility rules are assigned to pages in Page Properties and are triggered automatically by the site as needed. For example, you could define your rule to hide a page for users in a certain location or at a specific time of day.
In this tutorial, you will create a visibility rule to hide the Career and Life page every Friday through Monday.
 Tips and notes:
- In addition to applying visibility rules to a page, you can also use visibility rules to hide portlets on pages. You can extend this tutorial by hiding the World Clock you added to My Subpage in Step 3 of this tutorial.
- Access control and visibility rules impact what appears on a page. When you account for both of these items, you are using attribute based administration to control when, how, and which users view your site content. This tutorial does not take access control into account.
To hide the Career and Life page created in Step 5 of this tutorial:
|
|
 Fastpath: If you are already familiar with locating the Career and Life page in Manage Pages and accessing Page Properties from the previous tutorial, skip to step 5 to learn how to create and apply a visibility rule to this page.
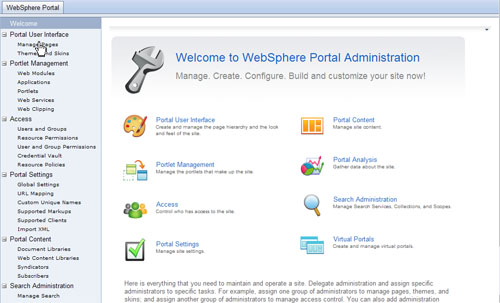
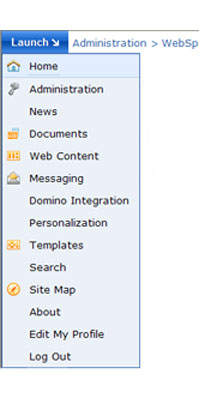
- Click Administration from the main menu.

- Click Manage Pages directly from the navigation. Manage Pages presents you with the entire site hierarchy and lets you add, rearrange, and edit all of the pages in your site.
You can also access Manage Pages by clicking Portal User Interface > Manage Pages
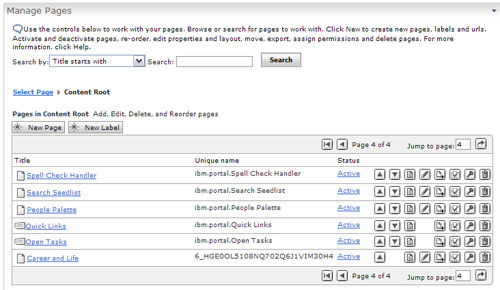
- Click Content Root. The content root contains all of the top level site areas.

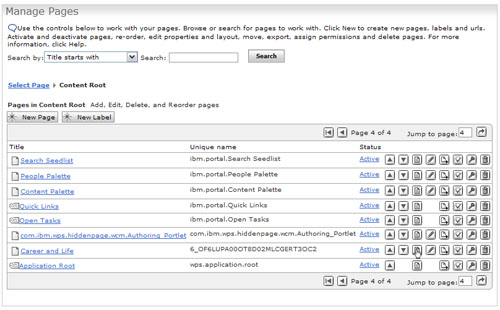
- Navigate to your new page entitled Career and Life.
You can locate your new page in Manage Pages by:
- Entering a page number in the Jump to page field to aid you in locating your page.
- Increasing the number of top level site areas displayed in the table in Manage Pages. From the portlet menu, select Edit Shared Settings or Configure as appropriate.
- Paging through Manage Pages.
- Click
 Edit Page Properties.
- Another way to hide a page on the site is to change the status of a page from Active to Inactive in Manage Pages. This method also affects whether a page displays in the navigation. The page will not display in the site until you click the Inactive link to mark the page as Active in Manage Pages.
- When you deactivate a page rather than using visibility rules to hide a page, you loose the flexibility of defining the conditions in which you do want the page to display. In contrast, visibility rules are composed of easy-to-read logic statements that specify how to evaluate various conditions for hiding your page and what actions to take based on those conditions.
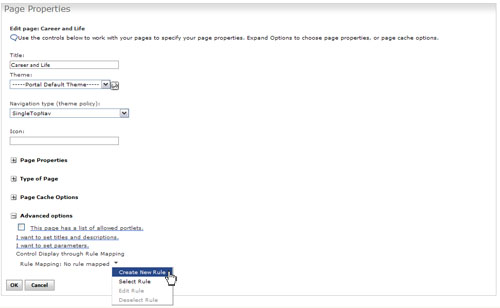
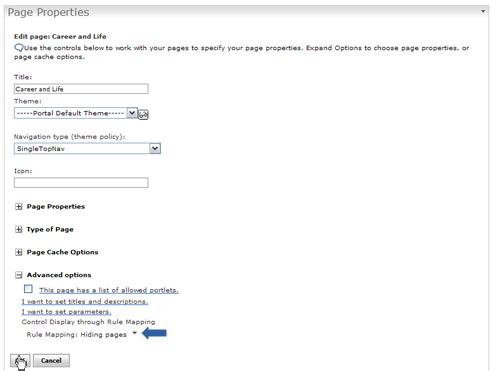
- From Page Properties, expand Advanced options and select Create New Rule. This takes you to the Personalization Rule Picker.
Once you create a visibility rule, you can also assign it to other pages, edit the rule, and deselect the rule.
- In the Personalization Rule Picker, type a name for your new rule.
In this example, you can type Hiding pages as the title of this new rule.
You can also provide a description for your new rule and change the folder of where the rule is located.
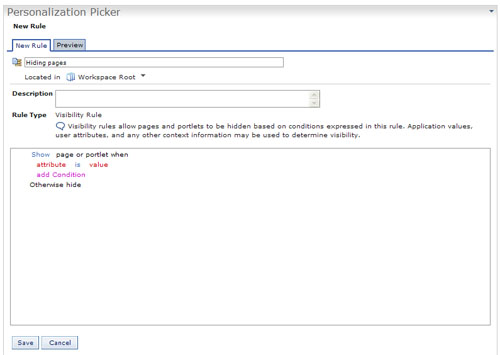
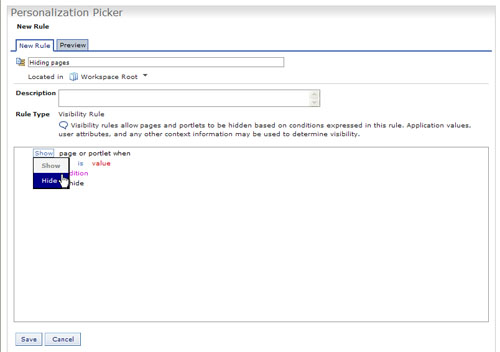
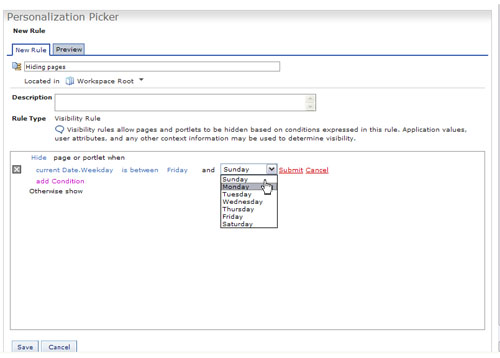
- Click on the Show attribute and select Hide from the drop-down menu.
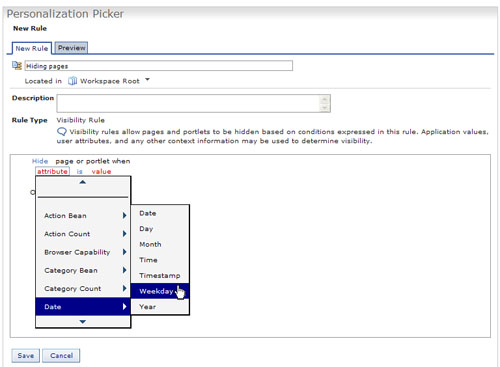
- Now define the conditions for hiding the page. In this example, you will set an attribute to hide the Career and Life page every Friday through Monday. Click Attribute > Date > Weekday.
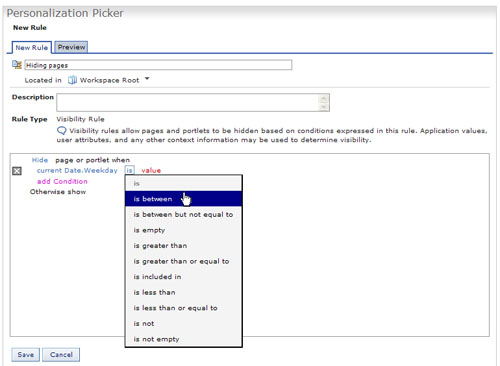
- Click on the condition is to display a menu of options. For this example, select the condition is between.
- Select the value of your attribute and click Submit.
In this example, select Friday.

- Select the value of your next attribute and click Submit.
In this example, select Monday. By setting this condition in your visibility rule, the Career and Life page will not display on the site Fridays through Mondays but will display Tuesdays through Thursdays.
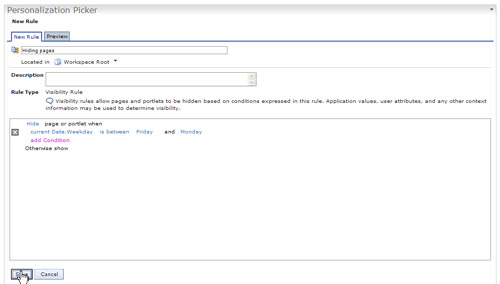
To extend this tutorial, click add Condition to create another condition for this visibility rule.
- Click Save to finish creating your visibility rule.
- Notice how your visibility rule is assigned to the Career and Life page in Page Properties and then click OK to apply this rule to your page.
| Page hidden: Fridays-Mondays | Page displays: Tuesdays-Thursdays |
|---|---|
| 
|
Tutorial checkpoint
During this segment of the tutorial, you have learned the following:
 How to create visibility rules to hide pages on the site.
- When to use visibility rules verses deactivating a page in Manage Pages to control when pages display on the site.
You also revisited concepts you have seen in previous Steps in this tutorial:
- How to access Administration from the main menu and go to Manage Pages to work with site content.
- How changes to the site hierarchy affect the main menu. By hiding a page on the site, you are also hiding this entry in the main menu.
< Previous | Next >