Portal Express, Version 6.0
Operating systems: i5/OS, Linux, Windows
Step 2: Changing the display of site content
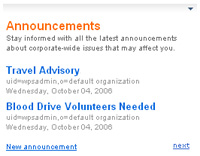
Step two of this tutorial walks you through modifying the number of announcements that are displayed in the Announcements portlet of the Intranet JumpStart site.
The Announcements portlet displays five announcements in the main view by default. In this tutorial, you will customize the display of your content by changing the number of announcements shown on the first page of the Announcements portlet from five to two.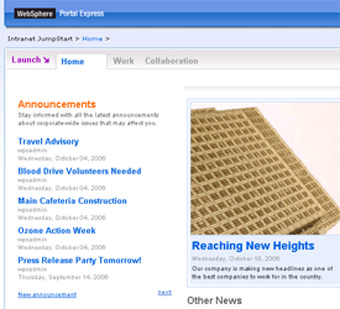
To modify the number of results shown in the Announcements portlet:
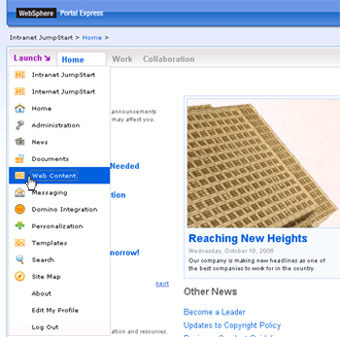
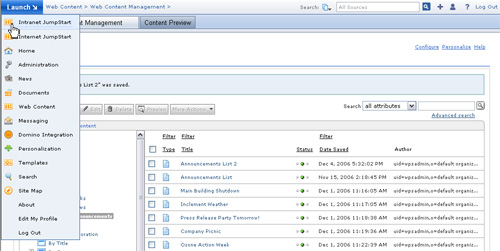
- Click Web Content from the main menu.
- Click the Web Content Management tab to open the Web Content Authoring portlet.

- In the Web Content Authoring portlet, expand Components and select Menu.
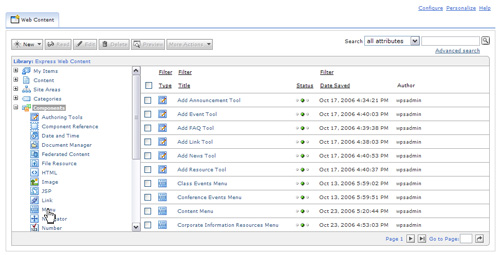
- Select the Announcements Menu and click Edit.
You can locate the Announcements Menu by:
- Using the Search to locate the Announcements Menu
- Entering a page number in the Go to Page field to aid you in locating your page.
- Paging through the Web Content Authoring portlet.

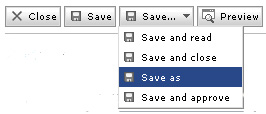
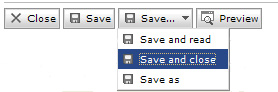
- Click Save... > Save as.
Make sure to select Save > Save as, as selecting only Save will overwrite the template. It is not recommended to modify the items that are included out of the box.
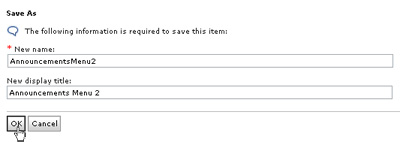
- In the Save as window, type the new name and new display title for the Announcements menu and click OK. For this example, type the following for each field:
- Name: AnnouncementsMenu2
- Display title:Announcements Menu 2
 You should see a confirmation that the Announcements Menu 2 was saved.
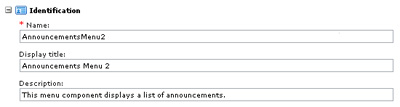
- Under Identification, you can modify the description of the menu. For this example, verify the following:
- Description: This menu component displays a list of announcements.
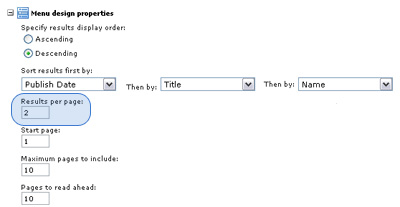
- Under Menu design properties, edit the Results per page field to change the number of maximum results you would like to appear of the first page of the Announcements portlet. For this example, change the setting from five to two.
 Extend this tutorial. Continue to change the layout of your announcements. For example, you may want to change the maximum number of pages in the Announcements portlet from ten to five.
- Click Save... > Save and close to return to the Web Content Authoring portlet.
 You should see a confirmation that the Announcements Menu 2 was saved.
- Expand Content > By Site Area > Intranet > Home > Announcements, select Announcements List and click Edit.
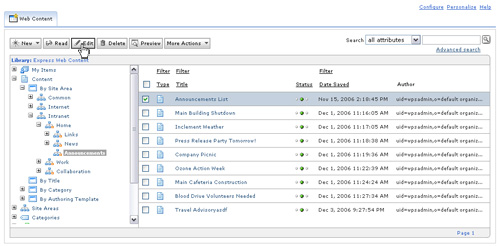 authoring portlet, click the edit menu button." />
- Click Save... > Save as.
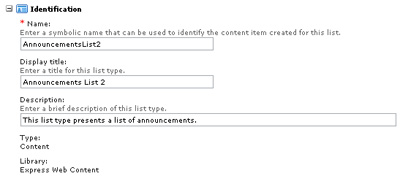
- Type the new name and new display title for the Announcements Menu, then click OK. For this example, type the following for each field:
- New name: AnnouncementsList2
- New display title: Announcements List 2
 You should see a confirmation that the Announcements List 2 was saved.
- Under Identification, you can modify the description of the list. For this example, verify the following:
- Description: This list type presents a list of announcements.
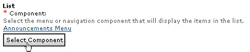
- Under Content > List, click Select Component.
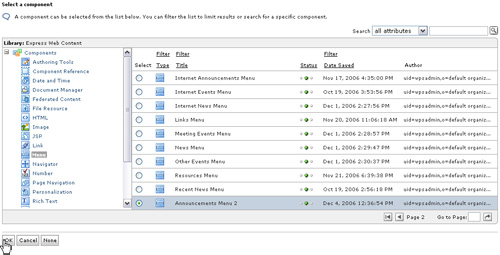
- In the Select a Component section, expand Components > Menu, select Announcements Menu 2 and click OK.
You can locate the Announcements Menu by:
- Using the Search to locate the Announcements Menu
- Entering a page number in the Go to Page field to aid you in locating your page.
- Paging through the Web Content Authoring portlet.
- Click Save... > Save and close. You should see a confirmation that Announcements List 2 was saved.
- Select Intranet JumpStart from the main menu.
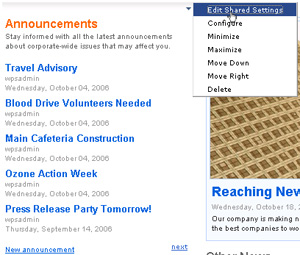
- On the Home page of the site, hover over the Announcements portlet title bar and select Edit shared settings.
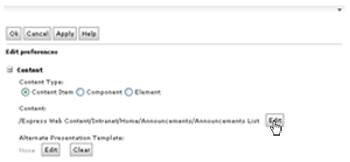
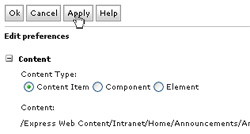
- In the Edit preferences section, under Content, select Edit.
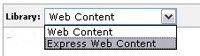
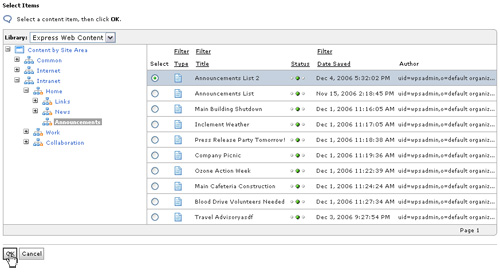
- Under Select Items, select Express Web Content from the Library menu.
- Expand Content > By Site Area > Intranet > Home, Announcements, select Announcements List 2 and click OK.
 Extend this tutorial. In this tutorial we only modified the instance of the Announcements portlet on the Home page of the Intranet JumpStart site. You can modify all instances of the Announcements portlet within the portal by selecting Configure from the menu bar of the Announcements portlet and repeating steps 20 through 22.
- Click Apply to save your changes, and OK to return to the Home page of the Intranet JumpStart site.
 You should see a confirmation that the changes have been applied.
Lesson checkpoint
During this segment of the tutorial, you have learned the following:
- How to edit the number of results shown on the first page of the Announcements portlet
- How to modify content using the Web Content Management Authoring portlet.
- How to access the Web Content page from the main menu.
- How to copy a component in order to modify the settings.
< Previous | Next >