Using the DB2 Web Query Viewer
Describes how to use the DB2® Web Query Viewer to view long reports.
The DB2 Web Query Viewer uses the On-demand Paging facility. When On-demand paging is enabled, DB2 Web Query saves the bulk of your report to your Web server and delivers one page of report output at a time, decreasing the amount of time you wait for your report to process. The bulk of your report remains on the Web server until you request it or close the Viewer.
The DB2 Web Query Viewer improves your ability to handle long reports by allowing you to view a single page of report output. You can use the Viewer to:
- View single pages of long reports.
- Search for specific pages in a report.
- Search for specific strings of information.
- Deliver a full report to your Web server.
Parent topic:
IBM DB2 Web Query for System i Overview
Navigating a Report With the DB2 Web Query Viewer
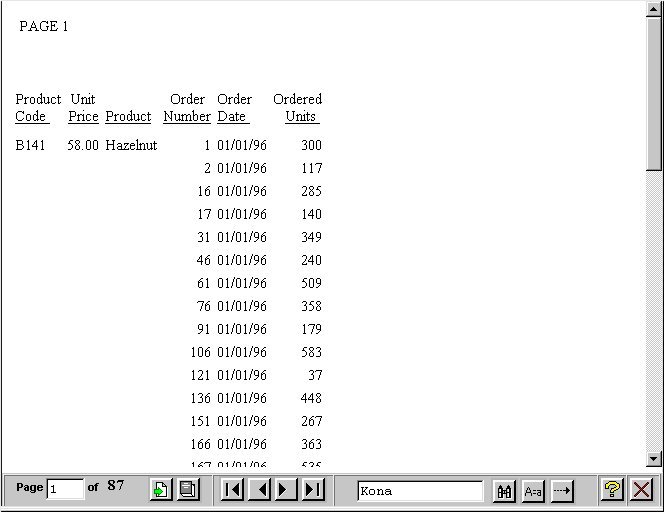
When you run a report designated for On-Demand Paging, the DB2 Web Query Viewer opens automatically and displays the first page of the report. The Viewer consists of two panes: the Report Pane and the Viewer Control Panel as shown in the following image.

The Report Pane is the larger pane and contains one page of report output. When you first run a report, the Report Pane contains the first page of report output. The Viewer Control Panel contains the controls that allow you to display specific pages, deliver the entire report to your Web server, and search your document for particular strings of information.
Using the Viewer Control Panel
The Viewer Control Panel, as shown in the following image, (located at the bottom of the window) contains the controls you use to navigate through the report and to search for a string in the report. The Viewer Control Panel's navigational controls allow you to display the next or previous page, the first or last page, or a specific page. You use the searching function to have the Viewer locate a search string you specify within all report pages.

When specifying a search string, specify the actual number of spaces between characters because HTML displays a single space, even when multiple spaces are used between characters.
Navigate Through a Report
The Viewer Control Panel offers several ways to view pages in your report:


- To display the previous or the next page in sequence, click Previous or Next as shown in the following image.

- To display the first or last page of the report, click First Page or Last Page as shown in the following image.

- To download the entire report to the browser as a single document, click All Pages as shown in the following image.

- To close the DB2 Web Query Viewer, click Close as shown in the following image.

Searching a Report
The Viewer Control Panel contains controls that offer several ways to search your report. Using the Viewer's search controls, you can select a string of information, such as a phrase that occurs in your report or a group of numbers, and search for each occurrence of that string. You can further customize your search by matching capitalization of words exactly (a case-sensitive search) or by controlling the direction of your search (either forward or backward from your starting point in the report). Use these controls to search your report:
- To perform a case-sensitive search, click Match Case as shown in the following image.

- To search backward in a report, click Search Backward as shown in the following image.

- To locate a specific string, type the string you want to search for and click Find as shown in the following image.

Search the Report
- Required: Enter the string in the Search input box.
- Required: Click Match Case if you want to perform a case-sensitive search.
Notice that the DB2 Web Query Viewer displays the Match Case button with a red line across it to indicate that it is active.
- To begin your search, click:
- Search Backward to search for the string from the current page back to the first page, or
- Find to search from the current page to the end of your report.
The DB2 Web Query Viewer searches the report and underlines the first occurrence of the string.
- Search Backward to search for the string from the current page back to the first page, or
- Click Find again to search for another occurrence of the string.
Using the Viewer Control Panel to Search
You want to use the Viewer Control Panel to navigate a long report called Coffee Sales to find occurrences of the string "Kona," a type of coffee that you sell. After you run the report, DB2 Web Query displays the first page of the report in the Viewer.
- To search for sales of Kona, type Kona in the input box and click Find as shown in the following image.
The DB2 Web Query Viewer returns your report with the first occurrence of your search string underlined as shown in the following image.
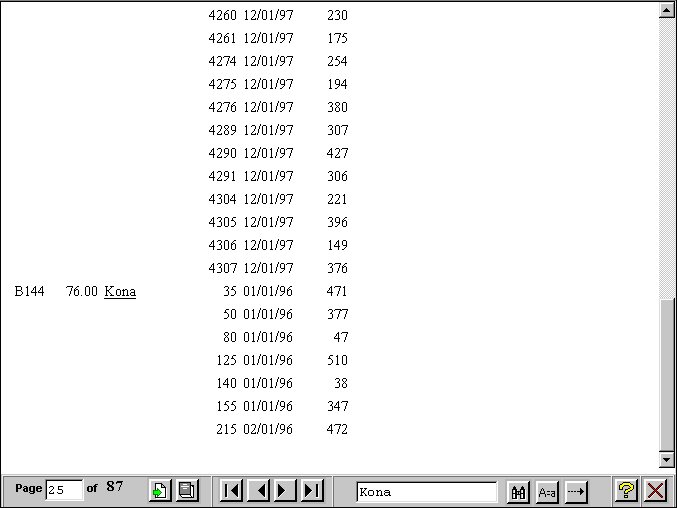
- Click Find again to locate the next occurrence of Kona.
Creating On-demand Paging Reports
You can create your own On-demand Paging report from Report Assistant. Note that On-demand Paging is not currently available with OLAP-enabled reports.
Create an On-demand Paging Report
- Required: From the Domains list window, select the Reports folder.
- Required: Select a report from the list.
- Click Report Assistant.
Report Assistant opens.
- Add fields and customize your report. For more information on creating reports with Report Assistant, see Creating a Report With Report Assistant.
- Click the Report Options tab and check the On-demand Paging check box.
- Click Run to view your report.
DB2 Web Query displays your report within the Viewer.
The Viewer is launched over a blank browser window. This window is necessary for the operation of the Viewer. It must be closed separately from the Viewer.
- To return to Report Assistant, close the DB2 Web Query Viewer and close the blank browser page.
- Close Report Assistant.
DB2 Web Query prompts you to save your report before exiting.
Creating an On-demand Paging Report
You want to select On-demand Paging for a report on the sale of coffee products called Coffee Sales.
- Navigate to the Domains view.
- Open the Regional Sales domain.
- From the Reports folder, expand the Product Sales group folder and select Coffee Sales.
- Open Report Assistant.
Report Assistant displays the Fields dialog box with the fields already selected for the report.
- Select the Report Options tab.
The Report Options window opens.
- Check the On-demand Paging check box to enable On-demand Paging.
- Click Run to run Coffee Sales immediately.
DB2 Web Query displays the first page of Coffee Sales in the Viewer as shown in the following image.

- Click Close on the DB2 Web Query Viewer.
DB2 Web Query notifies you that the report has been deleted from the server.