Deploy DX Container to Red Hat OpenShift
Learn how to deploy HCL WebSphere Portal (DX) 9.5 using Red Hat OpenShift 4.1 and higher version platform.
Prerequisites
Prior to using the procedure below, it is assumed that the HCL DX Administrator is generally experienced in using Kubernetes. Additionally, the DX Administrator must have cluster admin access to the OpenShift environment.
- The following tools must be installed on desktop/laptop
- Docker
- OpenShift Command Line Interface (CLI) or kubectl.
- Volume requirement:
- Requires an AccessMode of ReadWriteMany
- Requires a minimum of 40 GB , with the default request set to 100 GB
- RECLAIM POLICY = Retain
Note: HCL WebSphere Portal is input-output (I/O) intensive which requires a high performing file system for optimization.
Follow these steps to deploy HCL WebSphere Portal 9.5 container release in Red Hat OpenShift.
Note: Reference the latest HCL DX 9.5 Container Release and Update file listings in the Docker deployment topic.
Video: Getting Started to deploy HCL DX 9.5 in Red Hat OpenShift Follow these steps to deploy HCL WebSphere Portal (DX) 9.5 container release in Red Hat OpenShift.
- Download HCL DX 9.5 CF_XYZ or higher container
product and extract it to the local file system:
-rw- r--r-- 1 hcl-dx-cloud-operator-image-v95_xxxxxxxx-xxxx.tar.gz
-rw- r--r-- 1 hcl-dx-core-image-v95_xxxxxxxx-xxxx.tar.gz
-rw- r--r-- 1 hcl-dx-openshift-scripts-v95_xxxxxxxx-xxxx.zip
Note: If using HCL DX 9.5 container update release CF_183 and higher, the hcl-dx-openshift-scripts-v95_xxxxxxxx-xxxx.zip file is renamed to hcl-dx-cloud-scripts-v95_xxxxxxxx-xxxx.zip. The file name change also affects the directory name for future steps.
- Open a terminal window and change to the root directory of the extracted package.
- Load the containers into your Docker repository:
-
docker load < hcl-dx-cloud-operator-image-v95_xxxxxxxx-xxxx.tar.gz
-
-
docker load < hcl-dx-core-image-v95_xxxxxxxx-xxxx.tar.gz
- Extract the HCL DX deployment scripts:
unzip hcl-dx-openshift-scripts-v95_xxxxxxxx-xxxx.zip
Figure 2. Extracting the OpenShift scripts 
- Distribute the Docker images in your local Docker repository to the target OpenShift
repository by tagging and pushing them appropriately. If we used docker
load to place your images in the target repository, skip this and proceed
to the next step. Syntax for tagging:
docker tag <image_name>:<image_tag> <openshift_registry>/<image_name>:<tag>
Syntax for pushing:docker push <openshift_registry>/<image_name>:<tag>
- Change to the extracted files directory, ./hcl-dx-openshift-scripts.
- Install the DxDeployment custom resource definition. Do not modify the git_v1_dxdeployment_crd.yaml file. Customize
./deploy/crds/git_v1_dxdeployment_cr.yaml if required.
Use either of the following commands:
-
./scripts/deployCrd.sh
-
-
kubectl create -f hcl-dx-openshift-scripts/deploy/crds/git_v1_dxdeployment_crd.yaml
- Create (or have the OpenShift administrator create) a persistent volume where the AccessMode must be ReadWriteMany and the persistent volume reclaim policy must be
Retain . See the second item in the Prerequisites.
Figure 4. Persistent Volumes 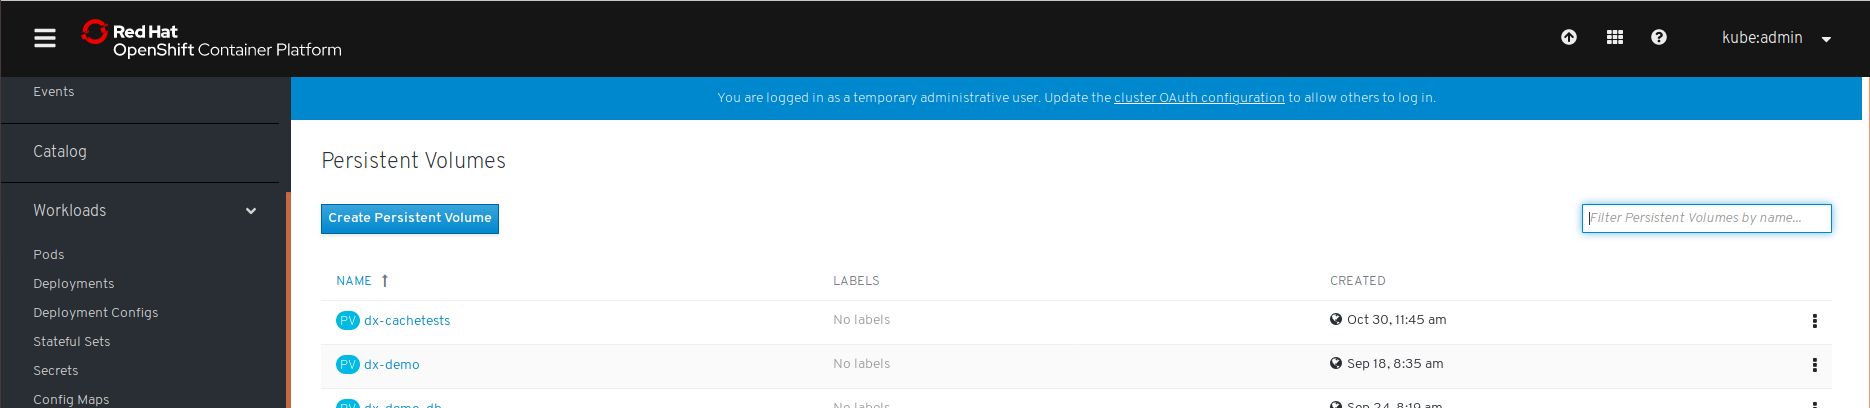
- To create the namespace, install the project scoped service account, role, role
binding, operator, and deployment, run the deployDx.sh script:
./scripts/deployDx.sh NAMESPACE REPLICAS REPOSITORY IMAGENAME IMAGETAG VOLUMENAME STORAGECLASS DBTYPE
Note: For the initial 9.5 release, we need to edit the operator.yaml file and ensure the IMAGENAME and IMAGETAG are correct.
- NAMESPACE - the project or the namespace to create or use for deployment.
- REPLICAS - the number of initial instances for the deployment.
- REPOSITORY - your local repository, the repository used by OpenShift/Kubernetes.
- IMAGENAME - the name of the dxCore image, as added to the repository above.
- IMAGETAG - the tag for the target image as added to the above repository.
- VOLUMENAME - if we have a self provisioning storage class, we can use the keyword 'create' (or leave it blank) instead of the volume name.
- STORAGECLASS - the storage class name used to create the persistent volume.
- DBTYPE - the database type. By default, and initially, this is Derby. HCL DX 9.5 uses Apache Derby, Oracle Database, DB2, or Microsoft SQL Server. Acceptable values are derby, oracle, db2, or msSql.
Note: For more information, see sections on Understand the OpenShift deployment and Customize the container deployment.


Update
To update the deployment, follow these steps:
- Run the updateDx.sh script with updated
values:
./scripts/updateDx.sh NAMESPACE REPLICAS REPOSITORY IMAGENAME IMAGETAG VOLUMENAME STORAGECLASS DBTYPE
- NAMESPACE - the project or the namespace to create or use for deployment.
- REPLICAS - the number of initial instances for the deployment.
- REPOSITORY - your local repository, the repository used by OpenShift/Kubernetes.
- IMAGENAME - the name of the dxCore image, as added to the repository above.
- IMAGETAG - the tag for the target image as added to the above repository.
- VOLUMENAME - the volume to be used by the deployment for persistence, this must use AccessMode ReadWriteMany .
- STORAGECLASS - the storage class name used to create the persistent volume.
- DBTYPE - the database type. By default, and initially, this is Derby.
For example, once the database is transferred, the DBTYPE will need to be updated so we can scale the instances higher. Additionally, once the database is transferred, the number of replicas could be increased. There are additional options to customize the deployment.
Figure 5. Sample upgrade 
Delete
Remove the entire deployment requires several steps, this is by design.
- Run the following to remove the deployment in a specific namespace:
./scripts/removeDx.sh NAMESPACE
- NAMESPACE - the project or the namespace created or used for deployment.
- Use any of the following commands to remove a namespace:
- OpenShift commands:
oc delete project <project_name>
oc delete -f dxNameSpace_NAMESPACE .yaml
where NAMESPACE is the namespace to be removed. - OpenShift commands:
- Kubernetes
command:
kubectl delete -f dxNameSpace_NAMESPACE .yaml
where NAMESPACE is the namespace to be removed. - The persistent volume associated to the deployment needs to be cleaned up by your Administrator. To reuse a persistent volume, see the following steps:
- Open the persistent volume in a visual editor (vi) using any of the following commands:
- OpenShift command:
oc edit pv your_namespace
- OpenShift command:
- Kubernetes command:
kubectl edit pv your_namespace
- Open the persistent volume in a visual editor (vi) using any of the following commands:
- Remove the claimRef section:
claimRef:
   apiVersion: v1
   kind: PersistentVolumeClaim
   name: dx-deploy-pvc
   namespace: your_namespace
   resourceVersion: "488931120"
   uid: ebd58361-0e2a-11ea-b02e-02f8fe687954
- Ensure you get the 'persistentvolume/your_namespace edited' message.
- You may need to manually remove any data remaining from the previous deployment.
- Understand the OpenShift deployment This section describes the output and artifacts created when deploying HCL WebSphere Portal in OpenShift.
- Finding the OpenShift deployment This section describes how to find the HCL WebSphere Portal deployment.
- Deploy custom code to HCL WebSphere Portal in OpenShift This section outlines deploying custom code to HCL WebSphere Portal in OpenShift.
- Containerization Limitations/Requirements This section describes the limitations and requirements for deploying HCL Digital Experience 9.5 on container platforms.