3.3.6 Creating a new appserver on an existing node
The custom profile does not automatically give you an appserver. You can follow these steps to create a new server once the custom profile has been federated to a cell.
|
This topic outlines the procedure to create and start an appserver. For detailed information about creating and customizing appservers, see 4.4, Working with appservers.
If you plan to use clustering, you can create appservers when you create the cluster. For information about working with clusters, see 4.6, Working with clusters.
|
| 1.
| Ensure the custom profile node agent is started.
|
| 2.
| Open the deployment manager console.
|
| 3.
| Select Servers | Application Servers
|
| 5.
| Select the custom profile node and enter a new name for the server (Figure 3-27). Click Next.
|
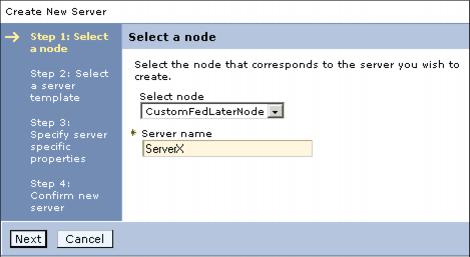
Figure 3-27 Creating a new server: Enter a node and name
| 6.
| Select a template to use as a basis for the new appserver configuration.
|
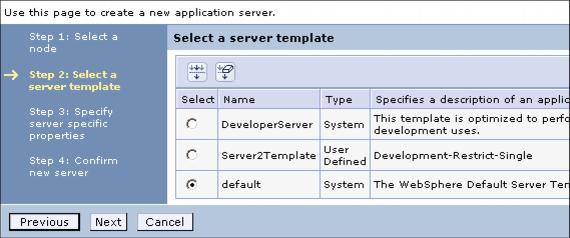
Figure 3-28 Creating a new server: Select a template
The DeveloperServer and default templates have been created for you. The default template is used to create a typical server for production.
|
New in V6.1: The DeveloperServer template is used to create a server optimized for development. It turns off PMI and sets the JVM into a mode that disables class verification and allows it to startup faster via the -Xquickstart command. Note that it does not enable the "developmentMode" configuration property (Run in development mode setting on the appserver window). If you would like to set this to speed up the appserver startup, you will need to configure it after server creation using the console.
|
You can also create templates based on existing servers.
If you have not previously set up a template based on an existing appserver, select the default template. Click Next.
| 7.
| Each appserver on a node must have unique ports assigned. The next window gives you the option of having unique ports generated for this appserver, as opposed to the default set. Click Next.
|
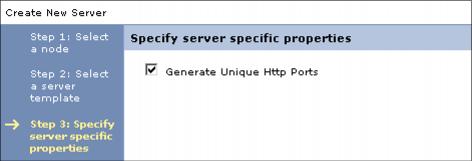
Figure 3-29 Creating a new server: Generate unique ports
| 8.
| The last window summarizes your choices. Click Finish to create the profile.
|
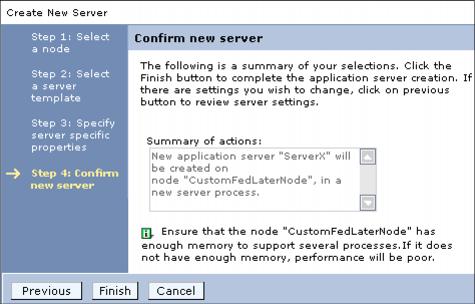
Figure 3-30 Creating a new server: Summary and finish
| 9.
| In the messages box, click Save to save the changes to the master configuration.
|
| 10.
| Start the appserver from the console.
|
|
 Select Servers | Application Servers.
|
|
Check the box to the left of the server and click Start.
|
|
WAS provides sample applications that use to familiarize yourself with WebSphere applications. These samples can be installed (optional) when you create an appserver profile. If you create an appserver from the administrative tools, you will not get the samples installed automatically. For information about the samples available and how to install them, see the Accessing the Samples topic under WebSphere Applications in the Information Center.
|
|