8.5.3 Application server nodes installation (federated nodes)
After configuring the Deployment Manager machine, the next step is to install and configure the app1 and app2 nodes. Both will be federated (managed) nodes of the cell, hosting several appservers.
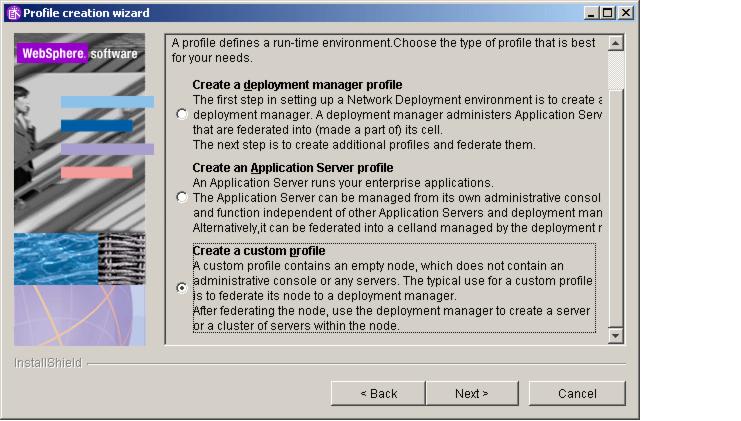
Install IBM WAS ND V6 on these nodes in exactly the same way you did on the Deployment Manager machine, except that this time you choose a different profile. In our case, we need a custom profile. This profile choice creates an empty node (without servers and applications) that will be federated to an already running Deployment Manager.
- In the Profile creation wizard, choose Create a custom profile (and click Next.
- You must enter the Deployment Manager data, in our case the host name dm.itso.ibm.com (or just dm) and the default SOAP port 8879.

- Click Next. On the next panel, enter the profile name which is either app1 or app2, depending on the machine you are currently installing; then click Next.
- On the next panel, accept the default profile directory and click Next once again.
- In the Node and host names window, enter app1Node or app2Node as the Node name and fill in the proper Hostname. Click Next.

- The last panel shows you the suggested TCP/IP ports for this node. Verify them for conflicts (there are usually none since WebSphere checks for used ports) and click Next. The profile creation might run for several minutes. Click Finish.