
Use the Profile Management Tool for z/OS to customize a managed application server profile
This topic describes the process for generating and running a customization job for a managed application server profile. Although this article focuses on Compute Grid customization, the differences for installing the other WebSphere Extended Deployment components, Data Grid and Operations Optimization, are explained throughout the article where applicable.
Before you begin
Install Application Server Toolkit V6.1.1, the 6.1.1.2 update, and the WebSphere Extended Deployment for z/OS Profile Management Tool optional feature. Ensure that the application profile to which you intend to add WebSphere Extended Deployment Compute Grid is federated into your WebSphere Application Server cell.
About this task
Use the Profile Management Tool to generate customization jobs and upload them to your target z/OS system.
Procedure
- Start the Profile Management Tool. Click Start > Programs > IBM WebSphere > Application Server Toolkit, where you will be asked to select a local workspace.
- From the menu bar, select Window > Preferences.
- Expand Server and select WebSphere for z/OS Customization.
- Click Augment. The Welcome to z/OS Customization panel opens,
showing the list of augment options. Select WebSphere Extended Deployment
for Compute Grid for z/OS managed (custom) node.
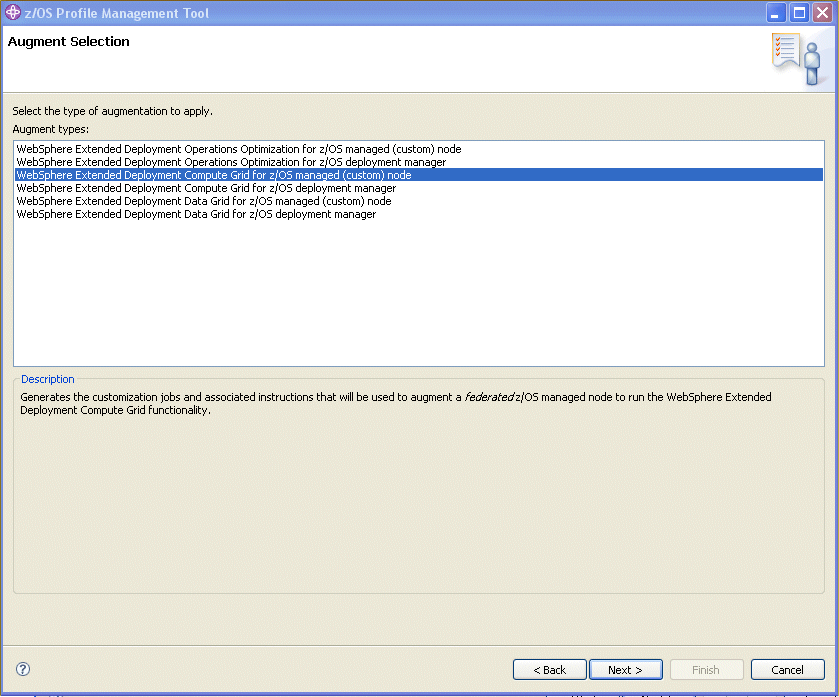
- Click Next. The Customization Name and Location panel opens:
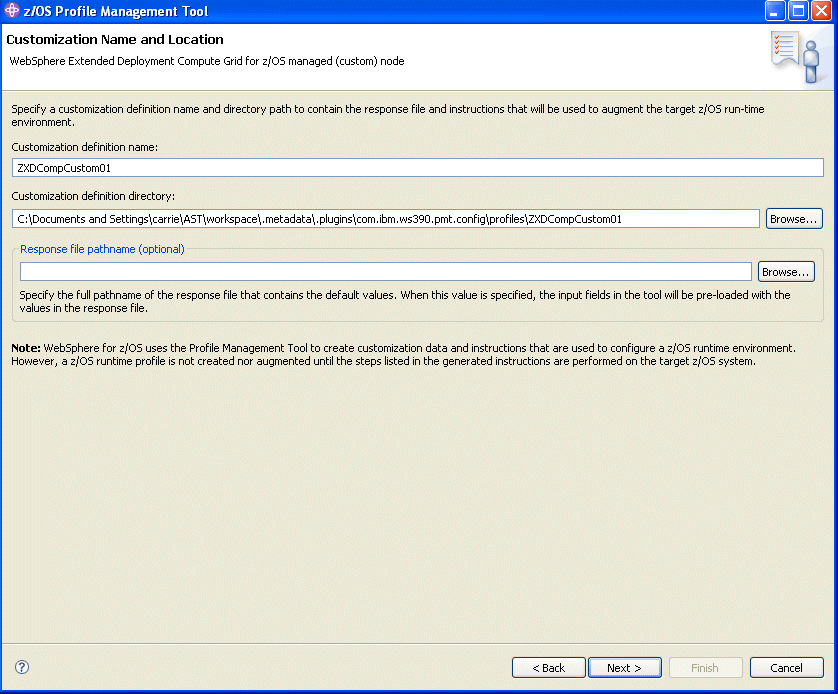
Tip: Get field help by hovering your cursor over each field. - Specify a customization definition name, and a customization definition directory in the respective fields. The definition directory is where the definition you are now creating will be stored on your machine. The default names are acceptable, but you can change them if you prefer. The response file pathname is optional.
- Click Next. The Target Data Sets panel opens:
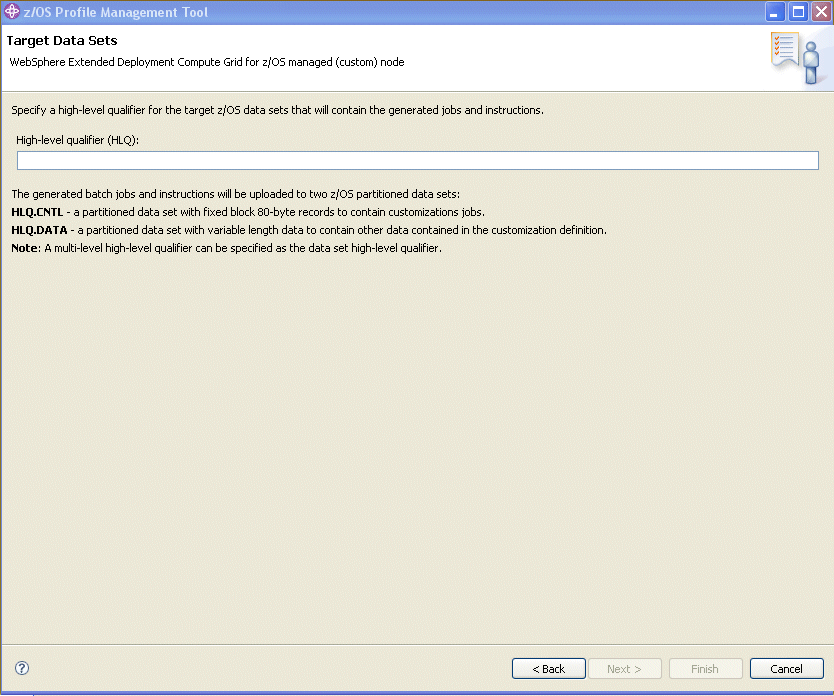
- In the High-level qualifier (HLQ) field, specify the high level qualifier of the CNTL and DATA datasets that will hold your customization jobs and associated data on the z/OS system where the customization jobs will run. You can specify multiple dot-delimited tokens to establish your naming convention. For example, USER87.XD61PID. Use a different dataset naming pattern for each node. Consider using the WebSphere Application Server cell and node short names in the dataset name to clearly identify the purpose of each set of customization jobs.
- Click Next. The File System Information panel opens:
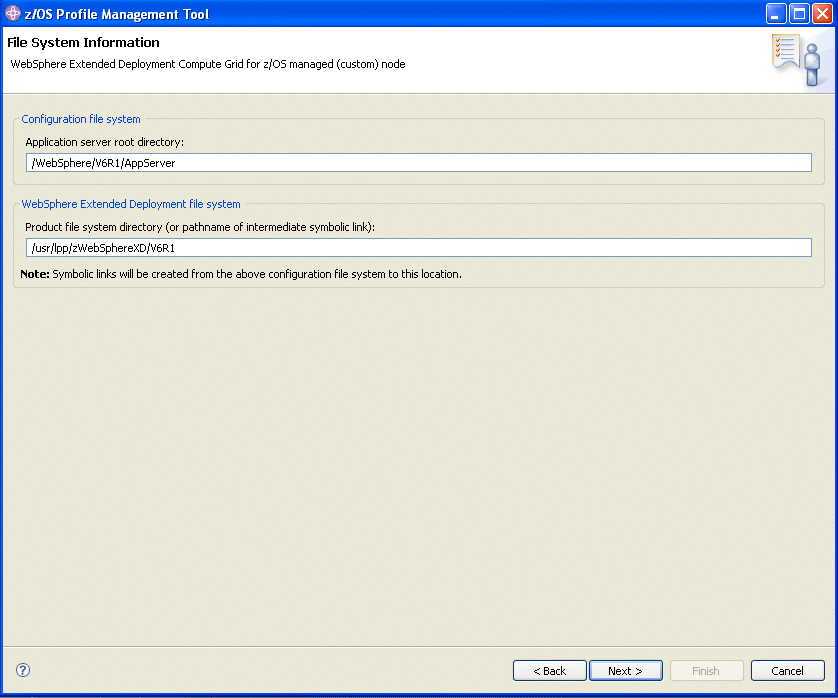
- Specify the file system paths for your application server root
directory and WebSphere Extended Deployment product files. Then, click Next.
The Ports Values Assignment panel opens:
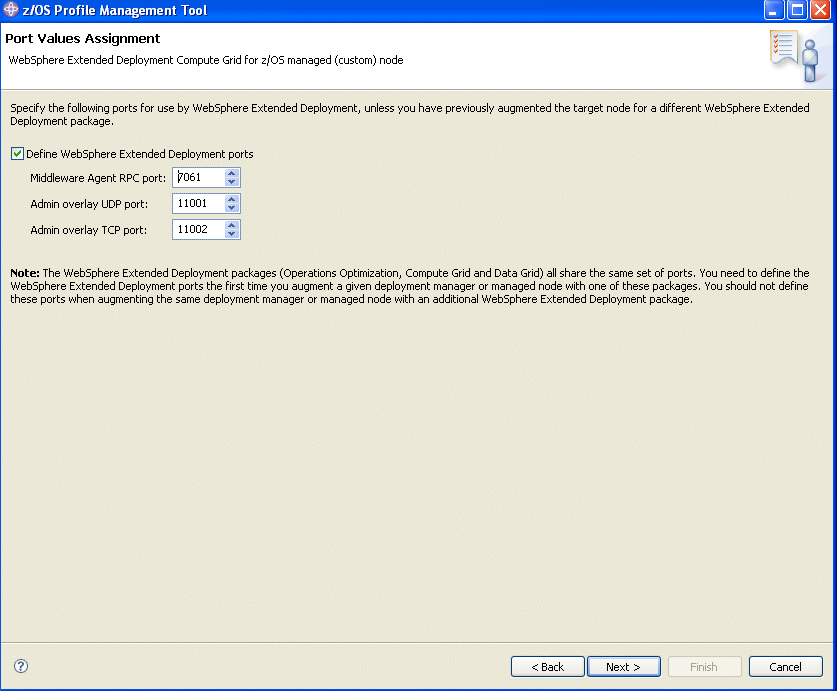
Specify the port numbers for the middleware agent and overlay udp/tcp ports. The defaults for the deployment manager are 7061, 11001, and 11002. - Click Next. The Security Information panel opens:
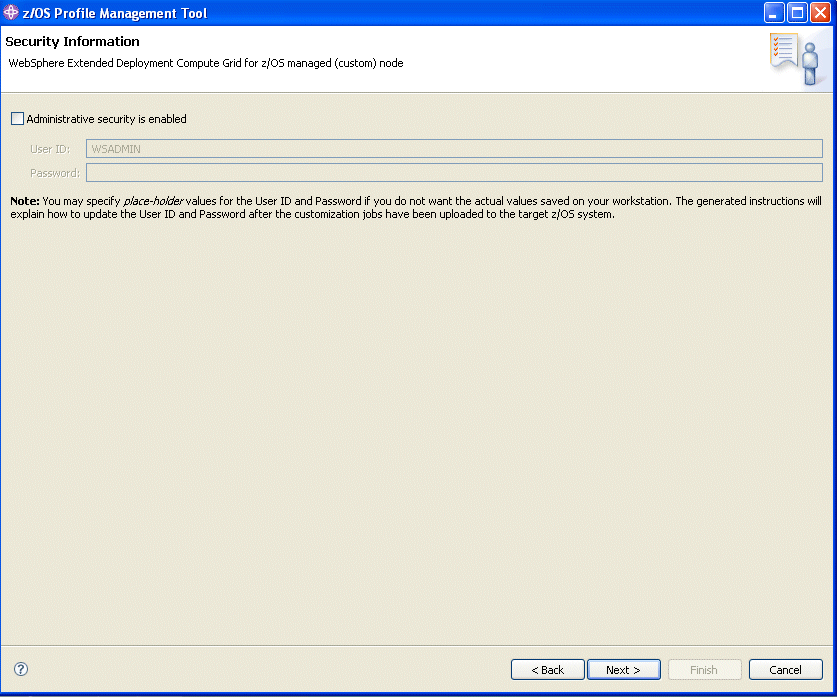
Click Administrative security is enabled only if WebSphere Application Server security is enabled in the target WebSphere Application Server cell. If security is enabled, supply a WebSphere Application Server administrative user ID and password. The user must have either configurator or administrator role privileges. - Click Next. The Job Statement Definition panel opens:
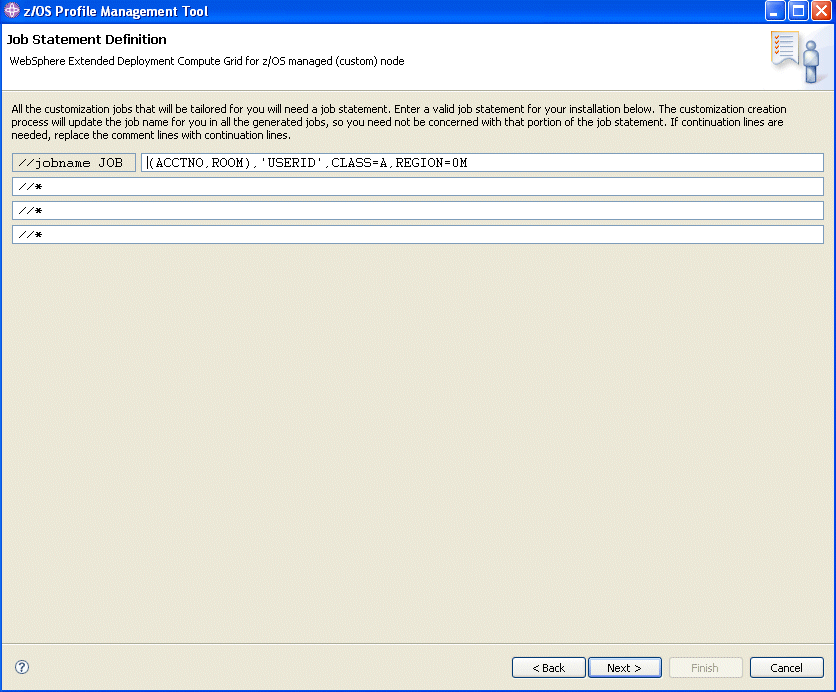
- Specify the job card information necessary to run the generated
jobs, then click Next. The Customization Definition Summary panel opens:
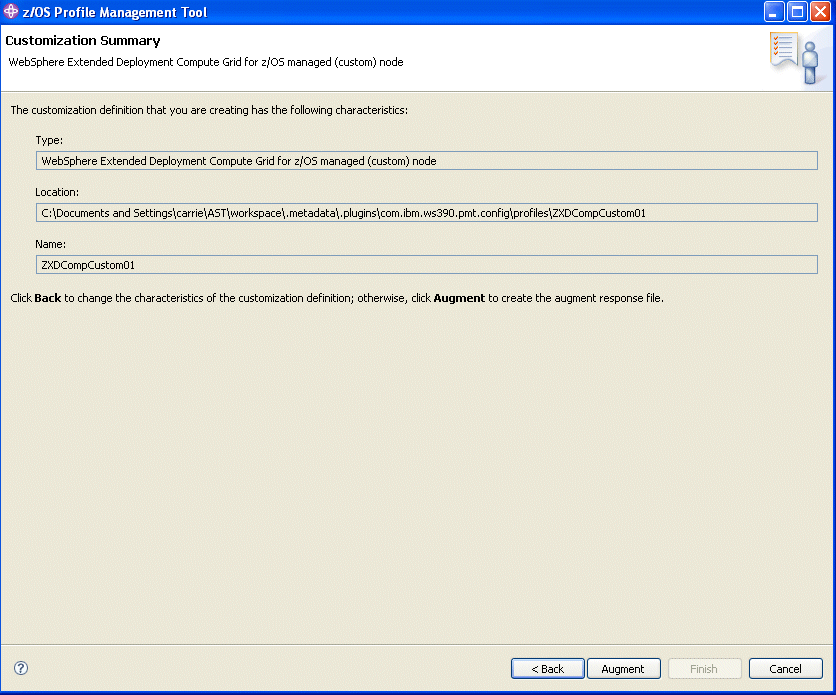
- If you are satisfied with the job summary, click Augment. The panel will refresh with this message displayed: The customization definition was successfully created. Click Finish.
What to do next
Click Finish and upload the customization definition to your target z/OS system.Related tasks
Uploading a customized job
Related information
WebSphere Application Server Toolkit