Edit a content template | HCL Content Composer
This section provides the steps on how to edit a content template using HCL Content Composer.
Prerequisite
Content Composer should be installed and configured to HCL WebSphere Portal 9.5 container release update CF_181 or higher. See instructions to install to supported container environments in the Install HCL WebSphere Portal 9.5 Components topic.
Content Composer is accessible from the Practitioner Studio interface (after image configuration to the HCL WebSphere Portal 9.5 CF_181 and higher deployment).
Set start and end of date range for Date and Time element
Users can set start and end of date range for the Date and Time element of a newly-created or saved content template.- From the HCL WebSphere Portal 9.5 Practitioner Studio interface, select Web Content > Content Composer from the navigator, and click Create > Content Template to create a new content template, or choose and click Open Content Template on a saved content template.
- On the content element interface, make sure that we are in Edit
mode. Select the Date and Time element and complete
the fields.
Figure 1. Add content elements to the new Content Template 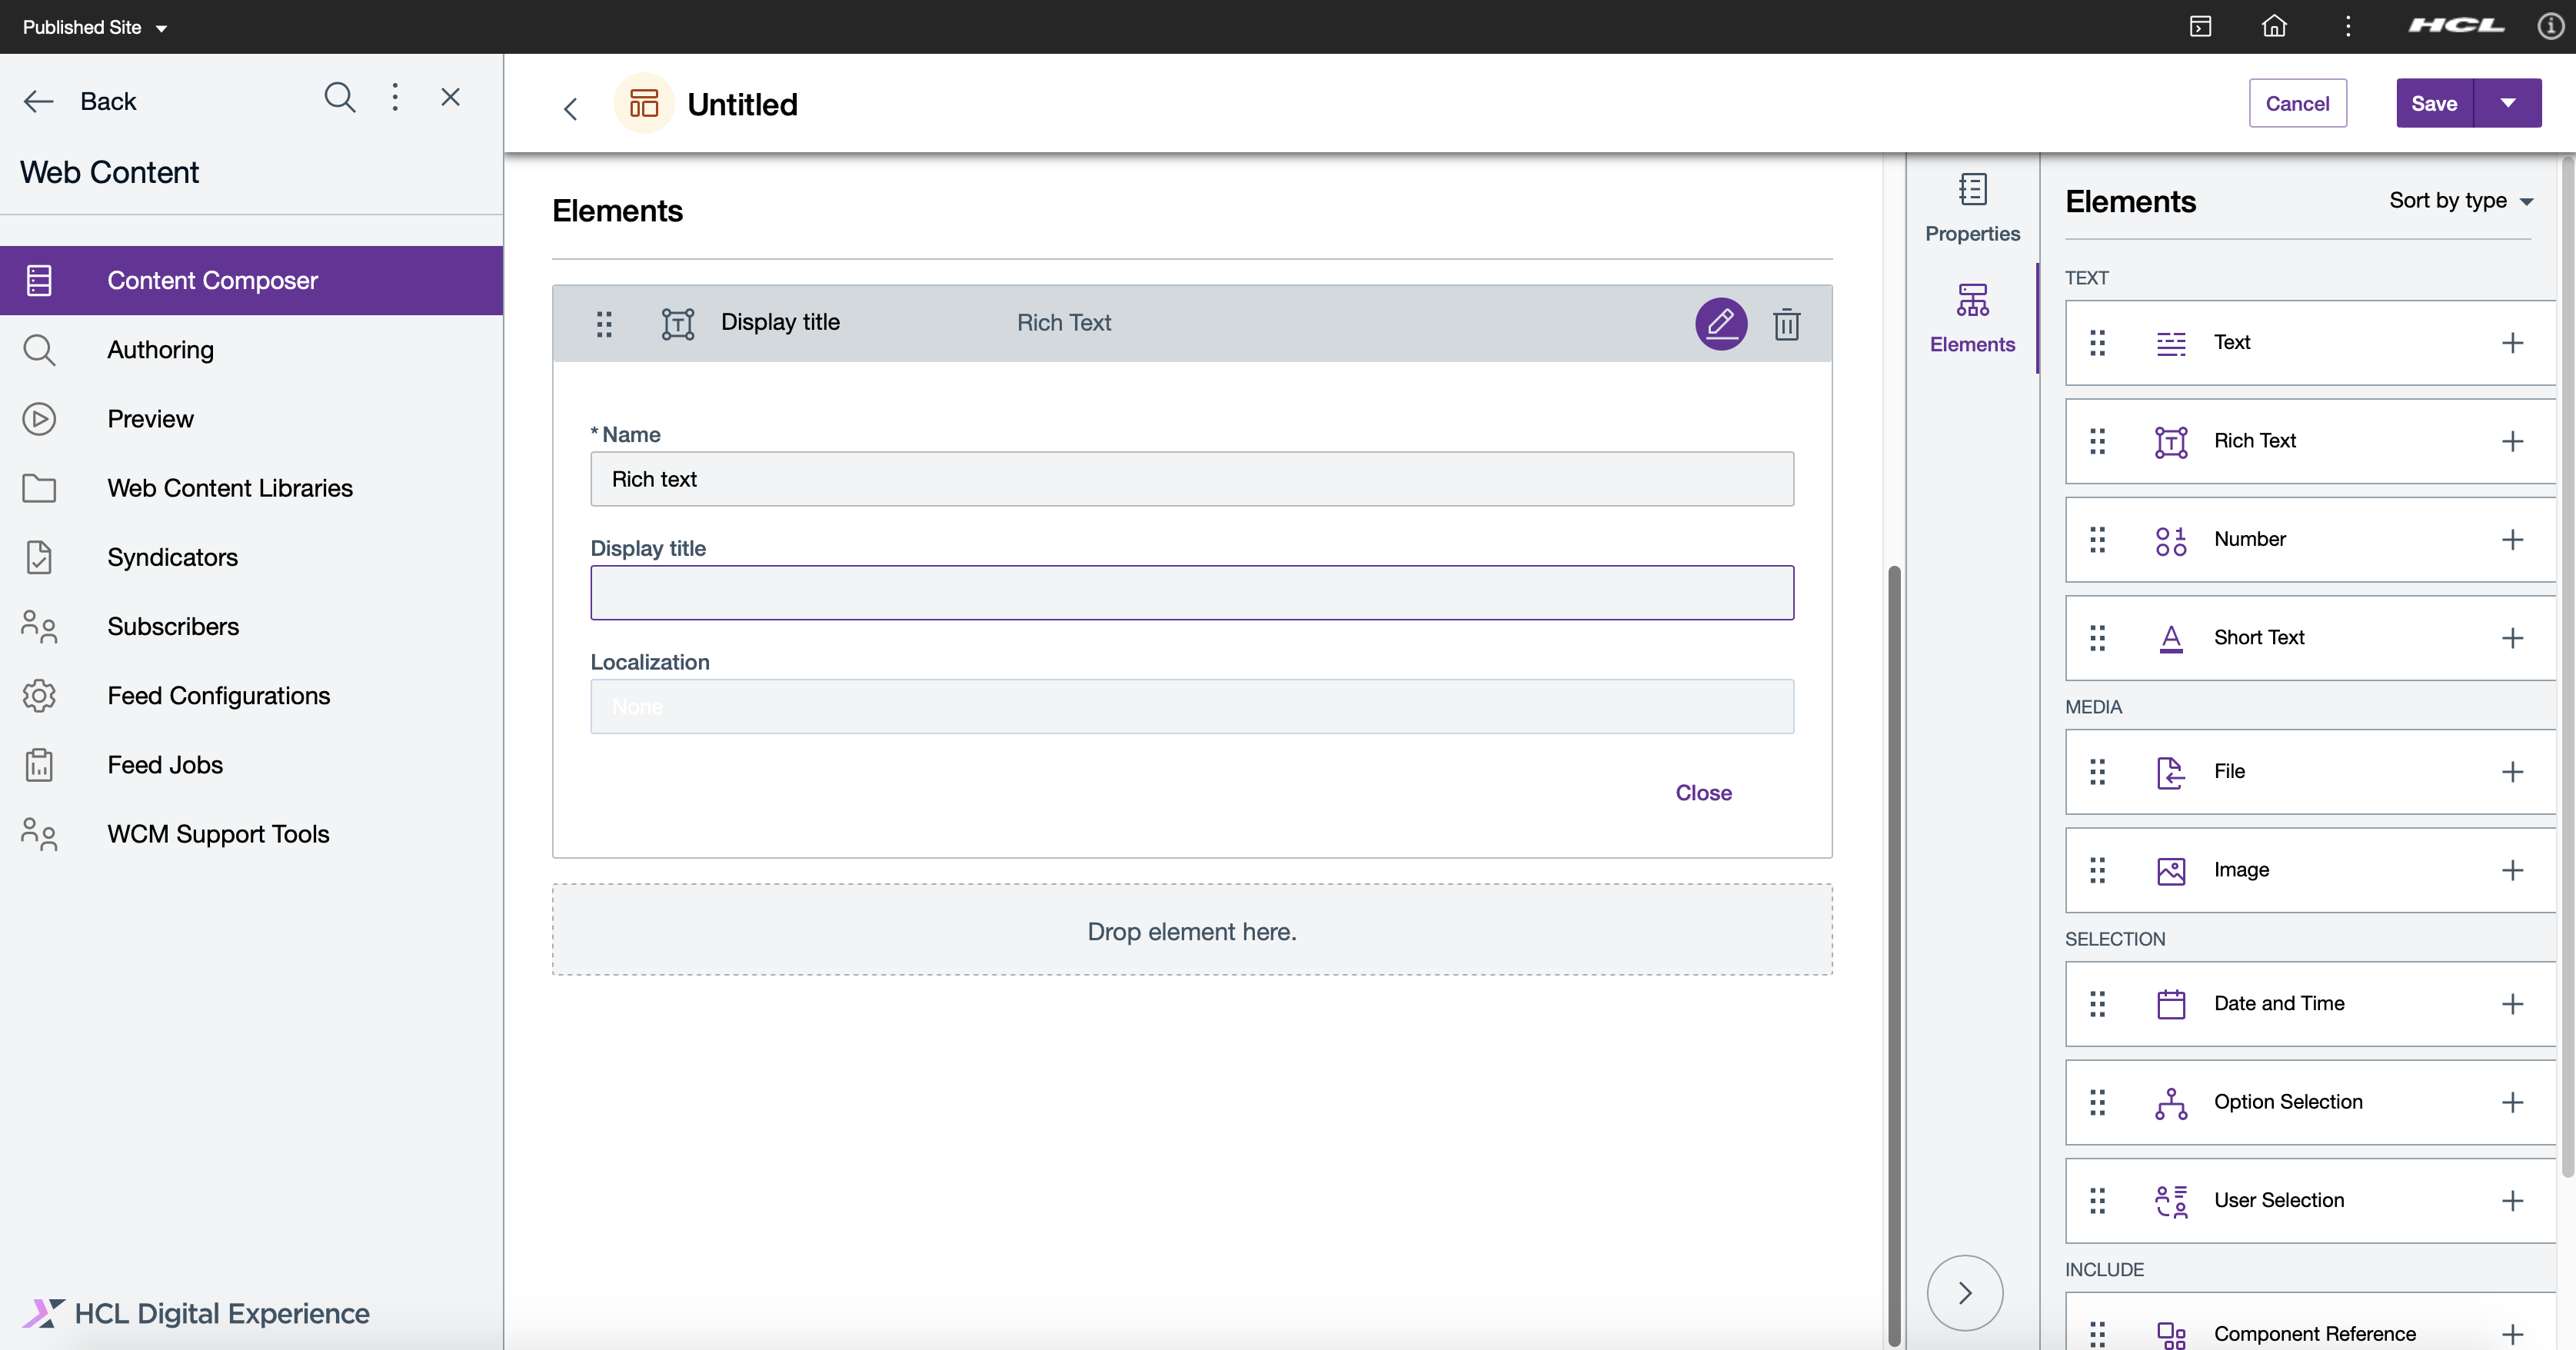
- If done, select Save to save your settings and create the new content template, or Save and Close, which will create the new content template with the saved settings and will redirect us to the new content template's location in the Content Composer Dashboard.
Manage Web Content workflow approvals
Web Content workflow selections can be accessed from HCL Content Composer. Content authors can apply predefined workflow steps to manage the creation, modification, and publication of web and associated digital asset management content using approval processes.
The Content Composer Web Content workflow selections can be accessed from the HCL Digital Experience 9.5 Content Composer release, as shown in the following steps.
- Log in to the HCL WebSphere Portal 9.5 platform, and select
Web Content from the Practitioner Studio
navigator.
Figure 2. Log in to HCL WebSphere Portal 9.5 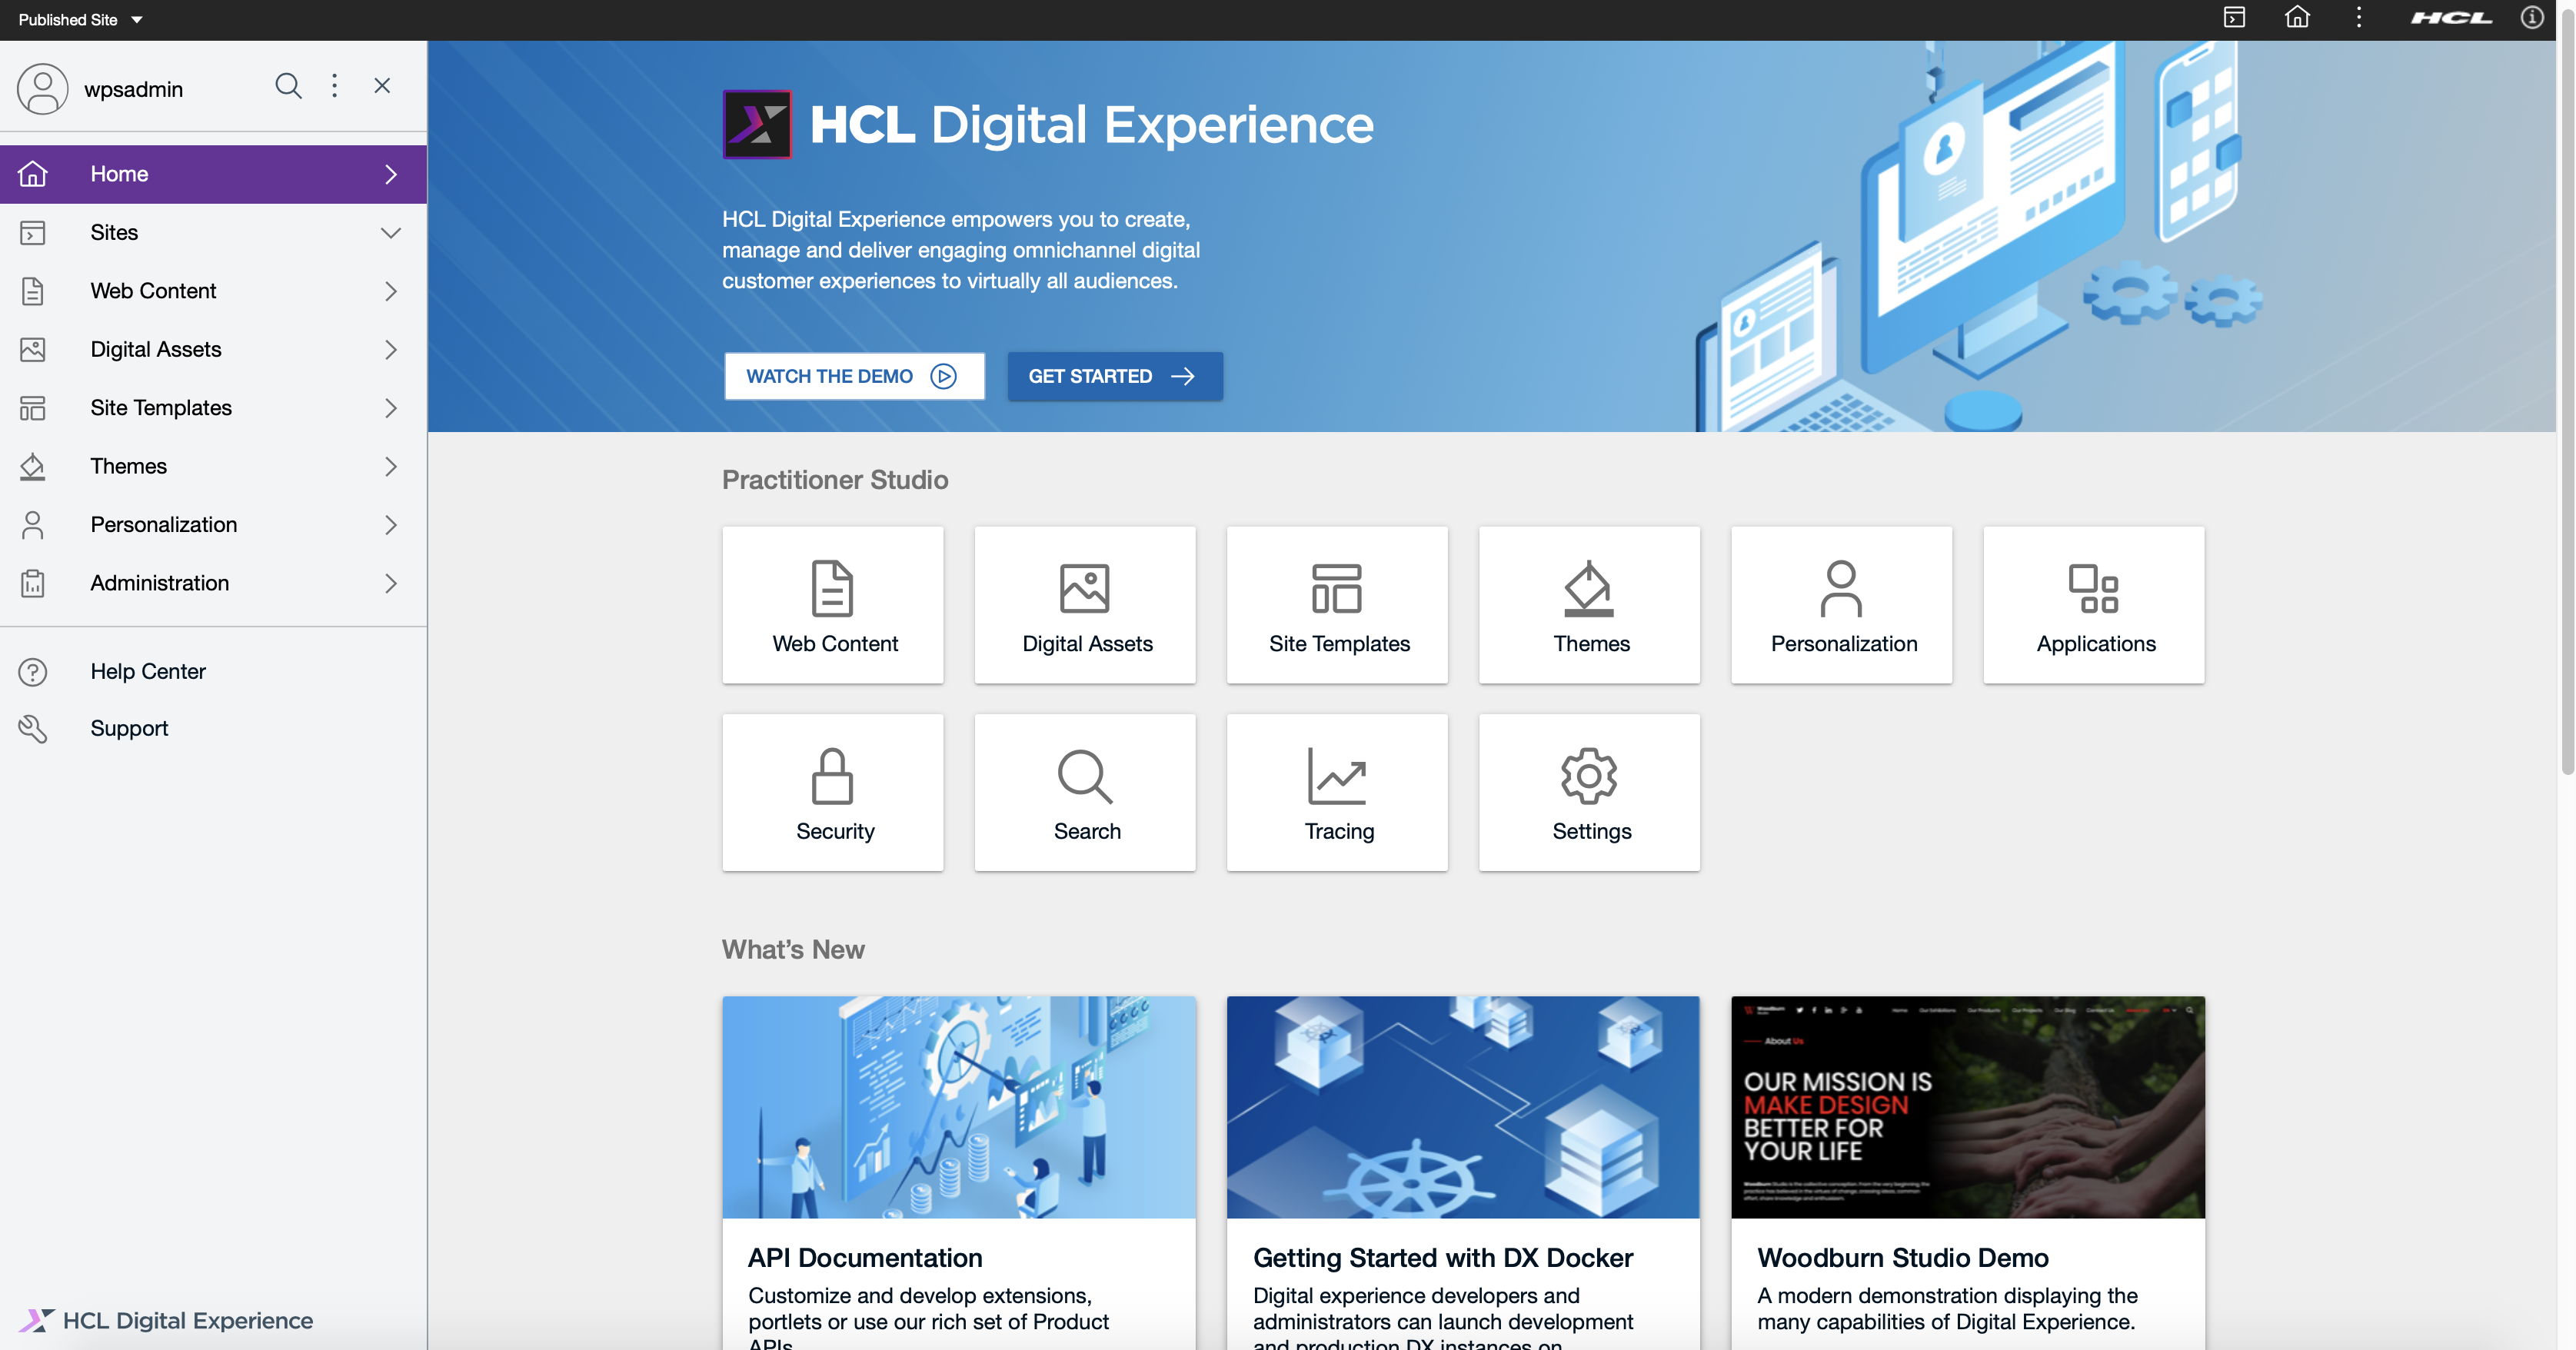
- From the HCL WebSphere Portal 9.5 Content Composer, select
Create Content Template to create a Content
Template that will enable a workflow for use by content authors.
Figure 3. Create Content Template 
- Complete the fields for the new Content Template:
Name (required field), Display
Title, and Description (optional
fields).
Figure 4. Complete new Content Template fields 
- Select the location of your Digital Experience content structure where you will place the Content Template. Use the type-ahead feature available from the Content Template location drop down list to find and select the desired content structure location to place the new content template.
Figure 5. Setting the location of the Content Template 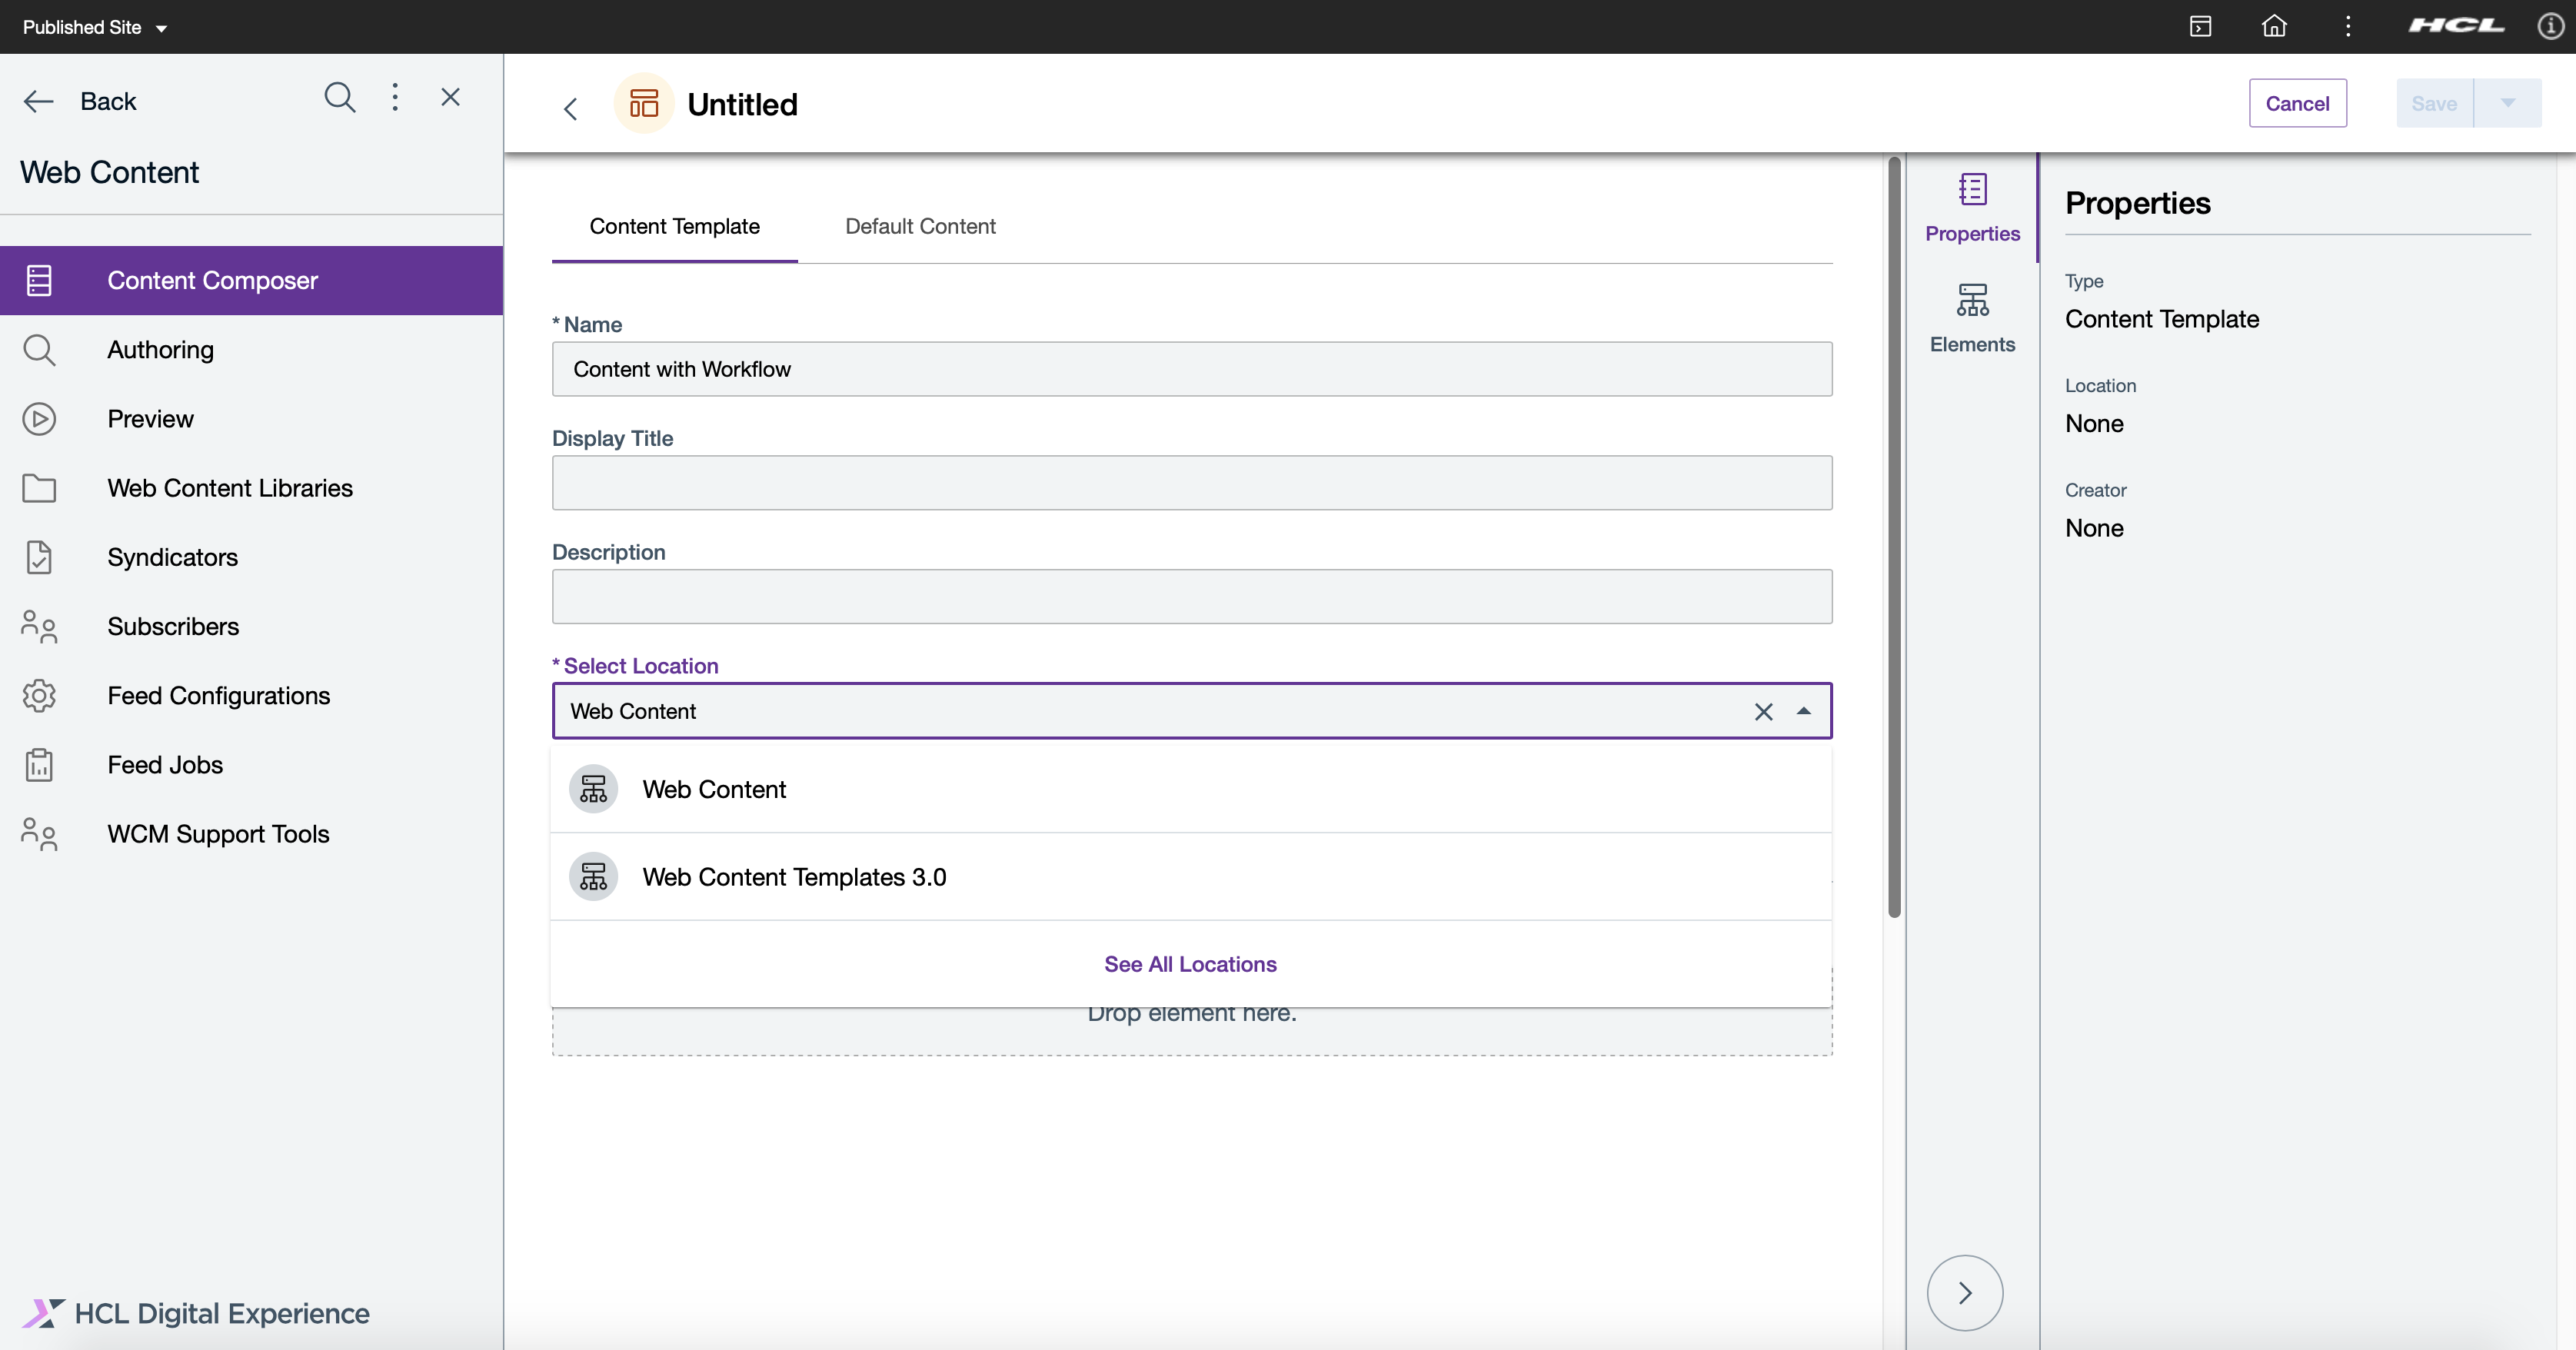
- Select Elements and add content elements, such as
Rich Text field for input to the Content Template
design. Complete the element details and optional properties for the selected content items, then select Close. The added
Element is automatically applied to the newly created Content Template.
Figure 6. Add content elements to the new Content Template
- Select Default Content tab to set default content
values for title, elements, information, or workflow.
Note: In the Workflow section on the right, ticking Enable workflow for items created with this authoring template will require content authors to select a workflow when selecting the newly created content template.
Figure 7. Add Default Content settings to the new Content Template 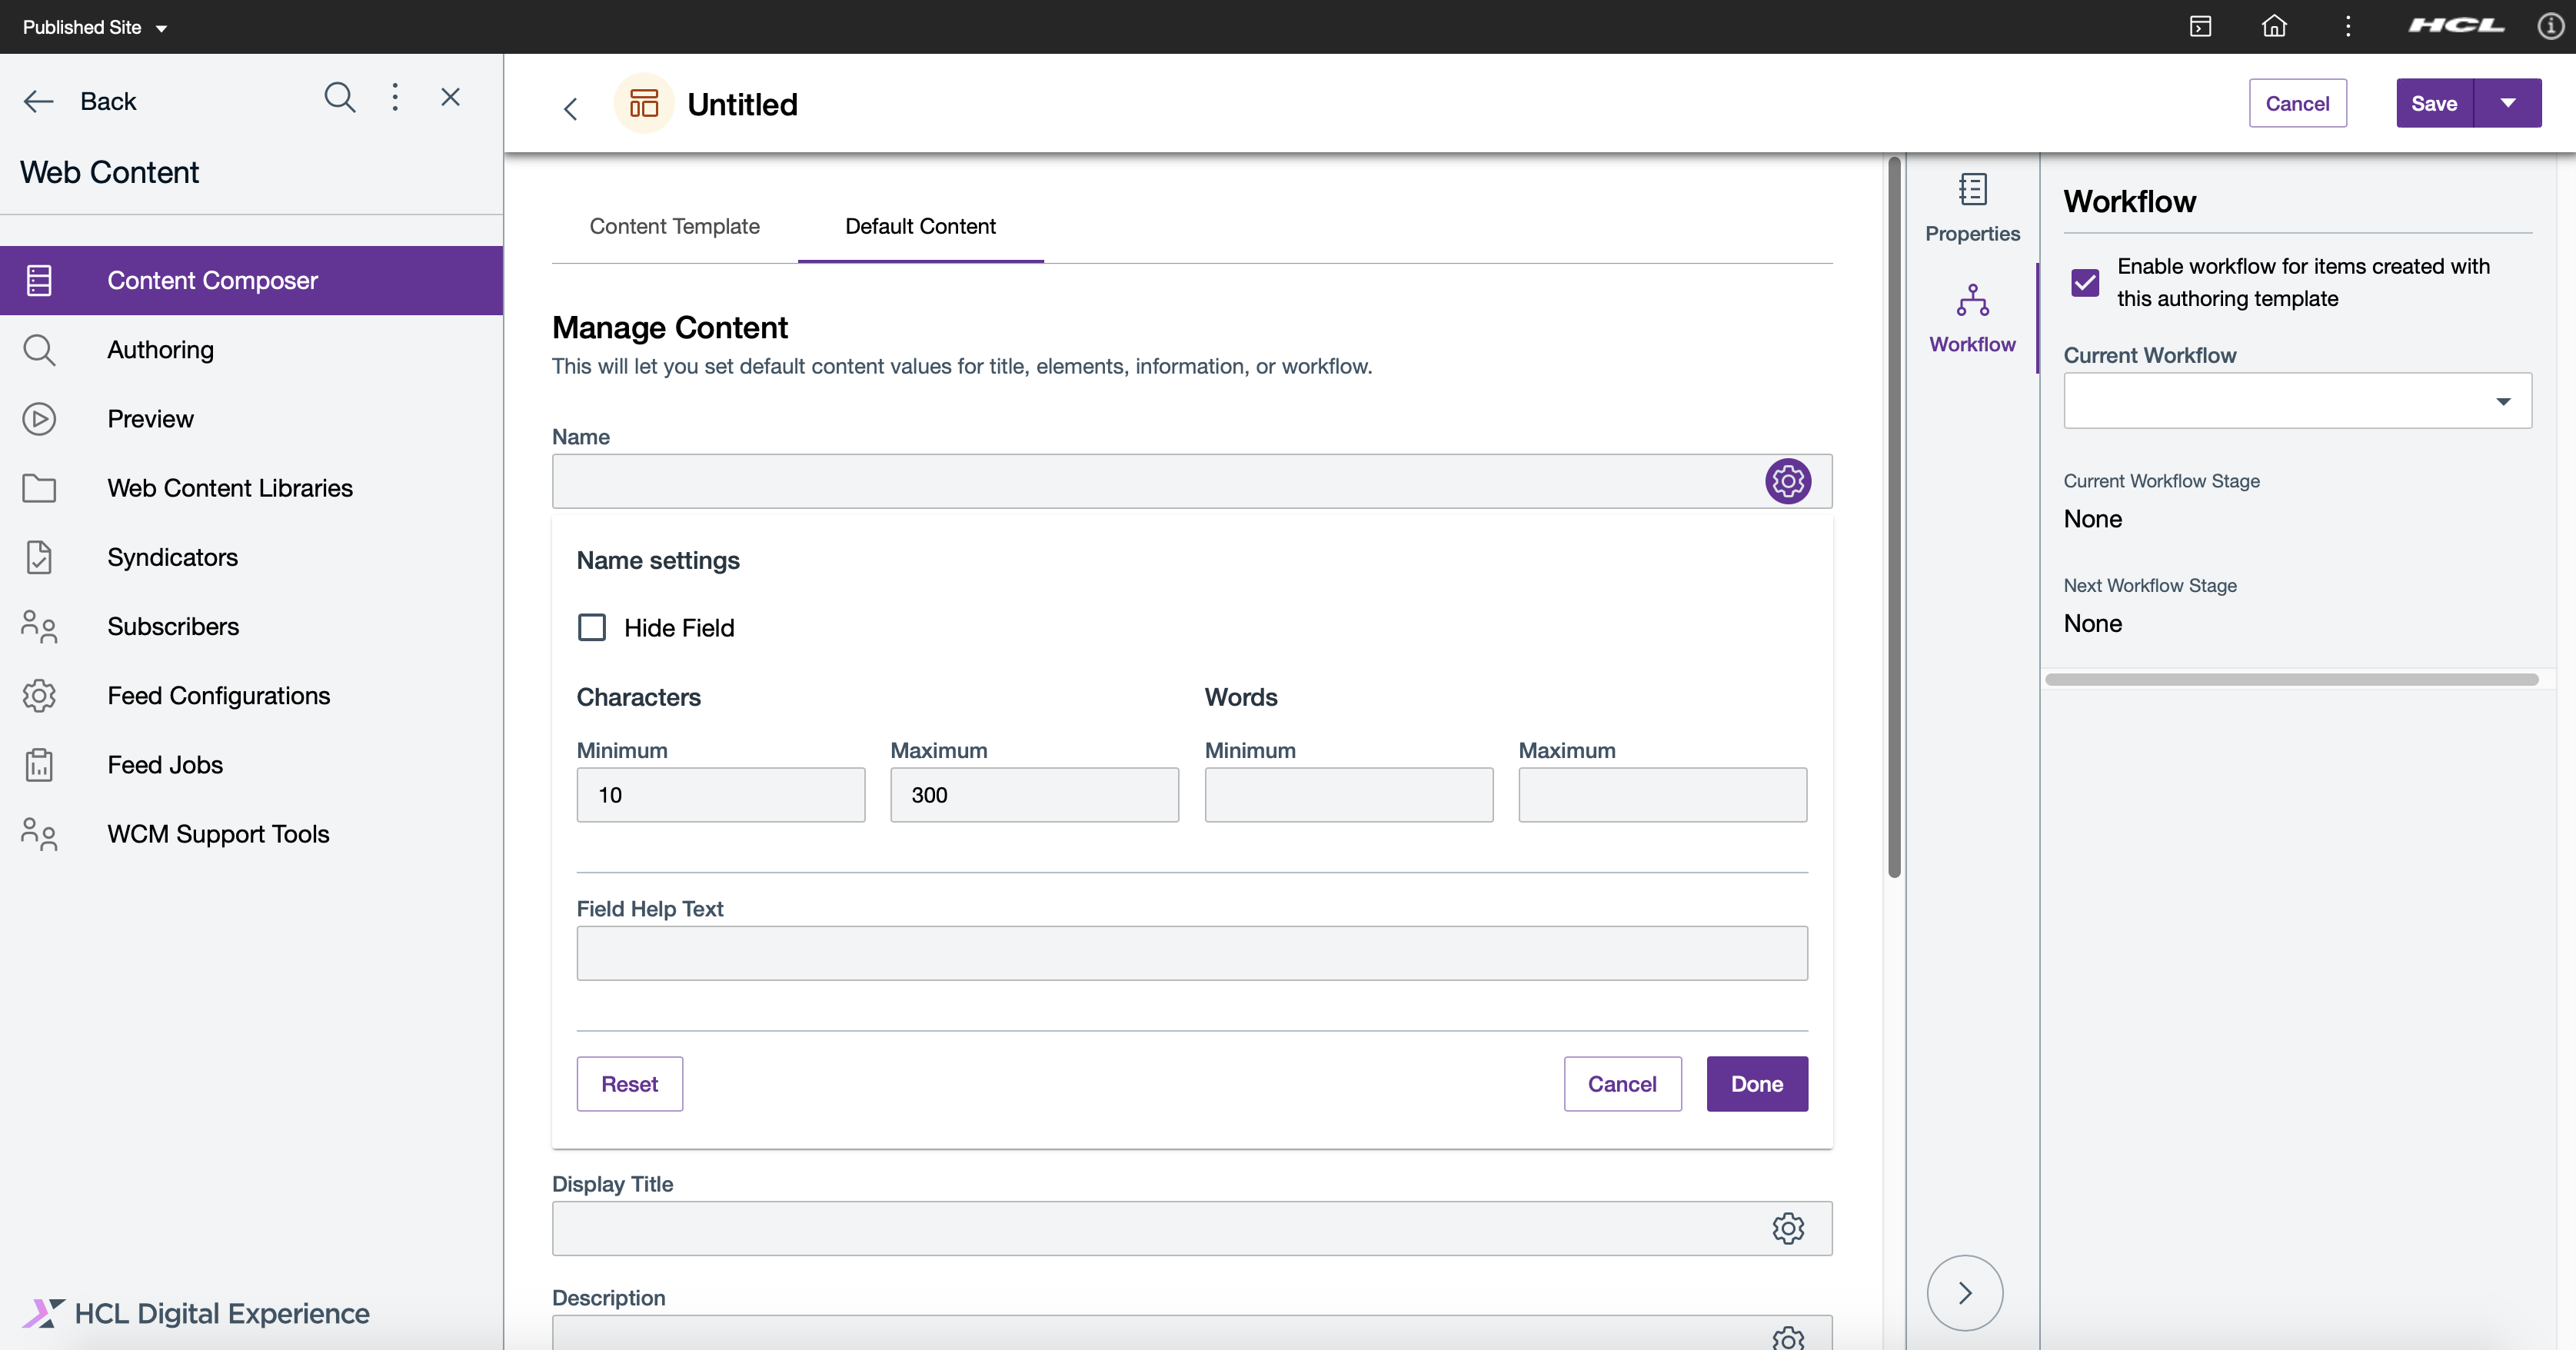
When done, select Save to save your settings and create the new content template, or Save and Close, which will create the new content template with the saved settings and will redirect us to the new content template's location in the Content Composer dashboard.
Figure 8. View newly created Content Template in Dashboard 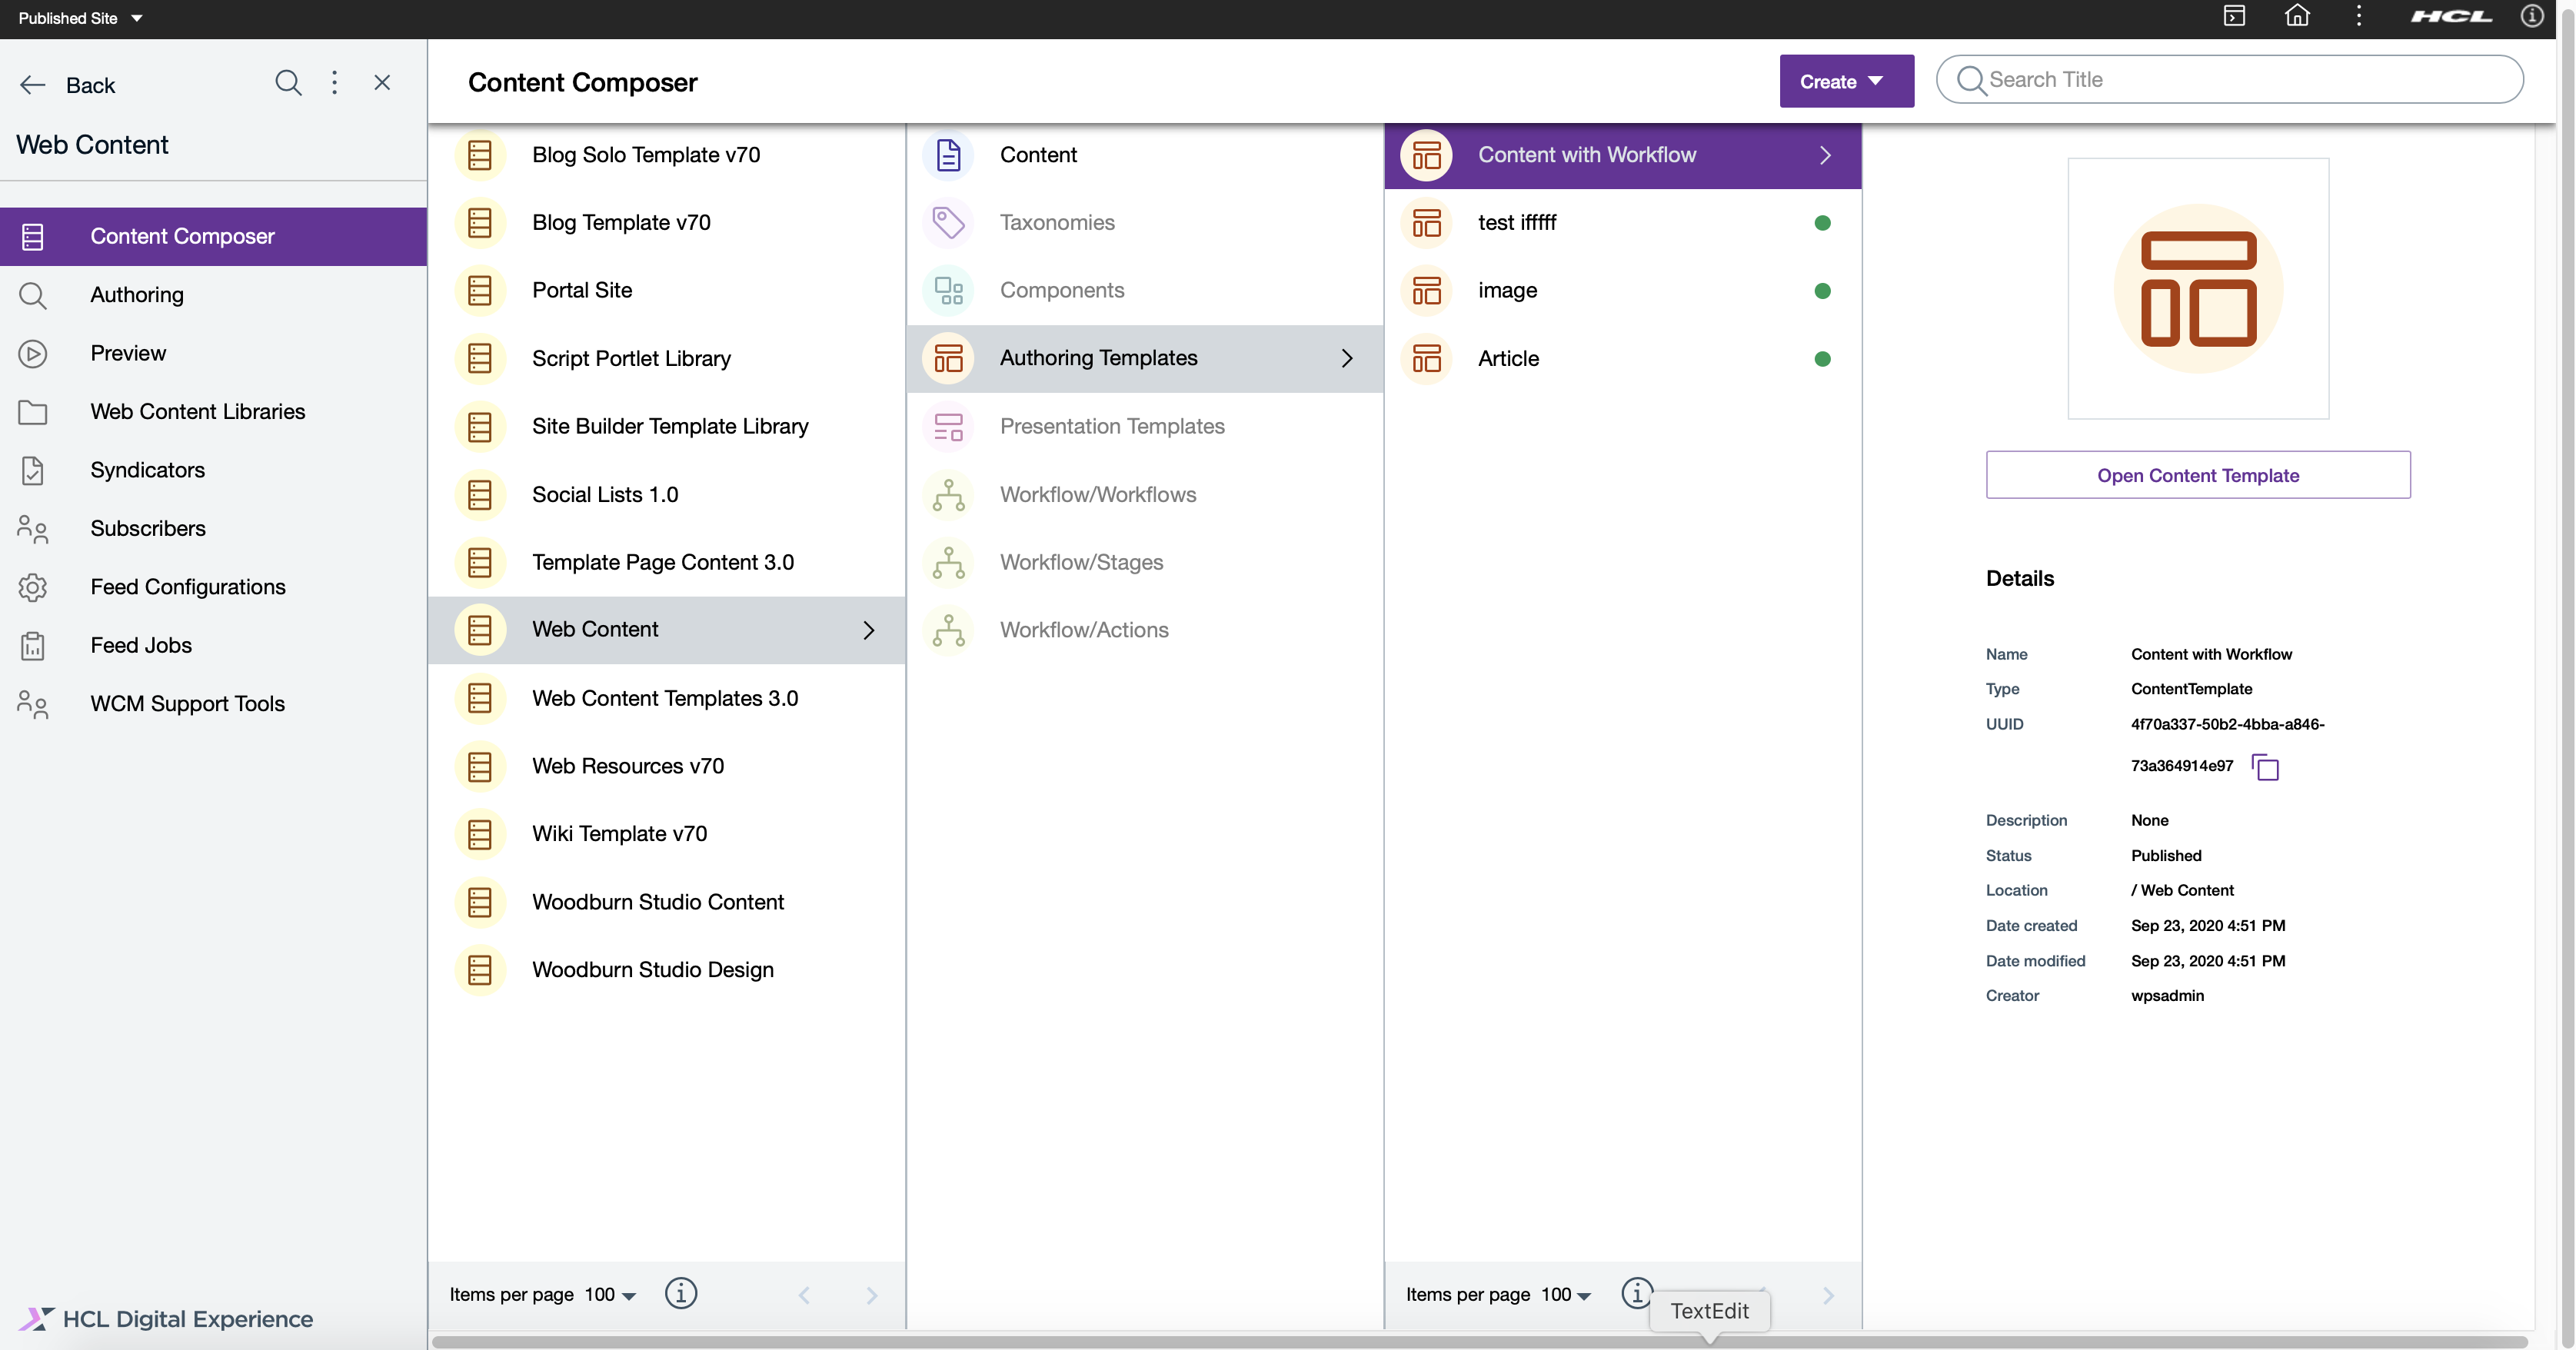
- Click Open Content Template just created and saved.
- Select the Read Only selector to Edit Mode. Proceed to the Default Content area of the Content Template options and select Workflow on the right side of the interface.
- Select See All Workflows and proceed to the Web
Content location of the Digital Experience content structure to view the available workflows for selection to add the Content Template.
In this example, the Three Stage Workflow option is selected.
Figure 9. Selecting Workflow options to manage web content 
- Select See All Workflows and proceed to the Web Content location of the Digital Experience content structure to view the available workflows for selection to add the Content Template. When done, select Save to save your settings and create the new content template, or Save and Close.
- Select Create Content from the Content Composer menu. Select the Content Template with Workflow from the Web Content location.
- Open the Content Template and place in Edit mode by moving the selector.
- Add a Content Display Title and text in the Rich Text element
field. Select the Location of the Digital Experience site area to place the content for display.
Figure 10. with content items in the selected Content Template 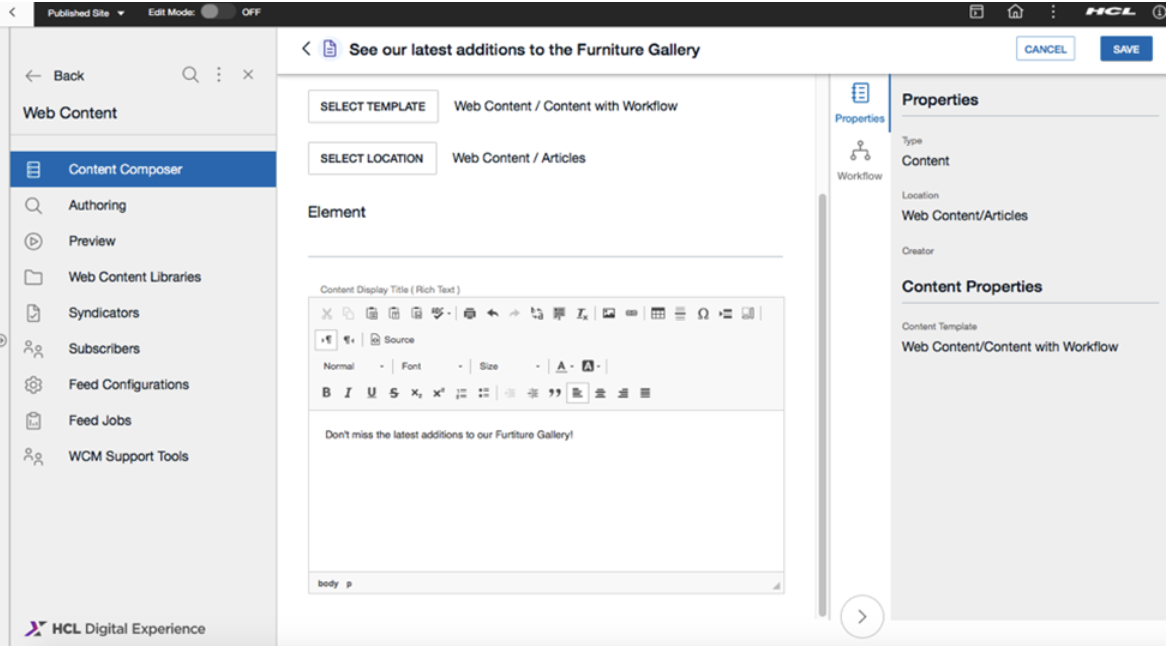
- Click Save then reopen the content item and place the content item in Edit mode. Use the Workflow icon to view your options to edit or progress through the Workflow stages defined on
the Workflow selected.
Figure 11. Reopening and editing the content item 
- Select the Expire Date calendar icon to define an
expiry date and time to manage the content publication timeline.
Figure 12. Defining an expiry date 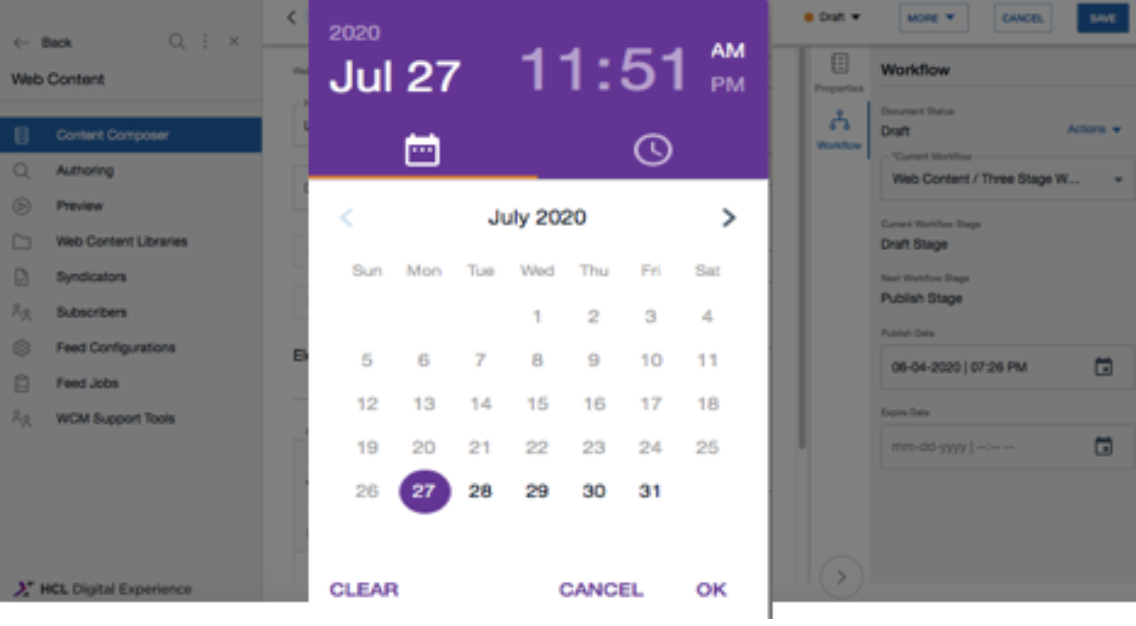
Select the Date and Time and confirm your selections.
HCL WebSphere Portal Solution Feedback
HCL WebSphere Portal is interested in your experience and feedback working with HCL Digital Experience 9.5 release software. To offer comments or issues on your findings, please access the HCL WebSphere Portal 9.5 Feedback Reporting application.
Parent topic: Author and manage content templates