This section provides the steps on how to author a web content item using HCL Content
Composer.
Prerequisite
Content Composer should be installed and configured to HCL WebSphere Portal 9.5
container release update CF_181 or higher. See instructions to install to supported
container environments in the Install HCL WebSphere Portal 9.5 Components topic.
Content Composer is accessible from the Practitioner Studio interface (after image
configuration to the HCL WebSphere Portal 9.5 CF_181 and higher deployment).
Create new content with Content Composer
Follow the steps below to create new content with the HCL WebSphere Portal 9.5
Content Composer from the Practitioner Studio:
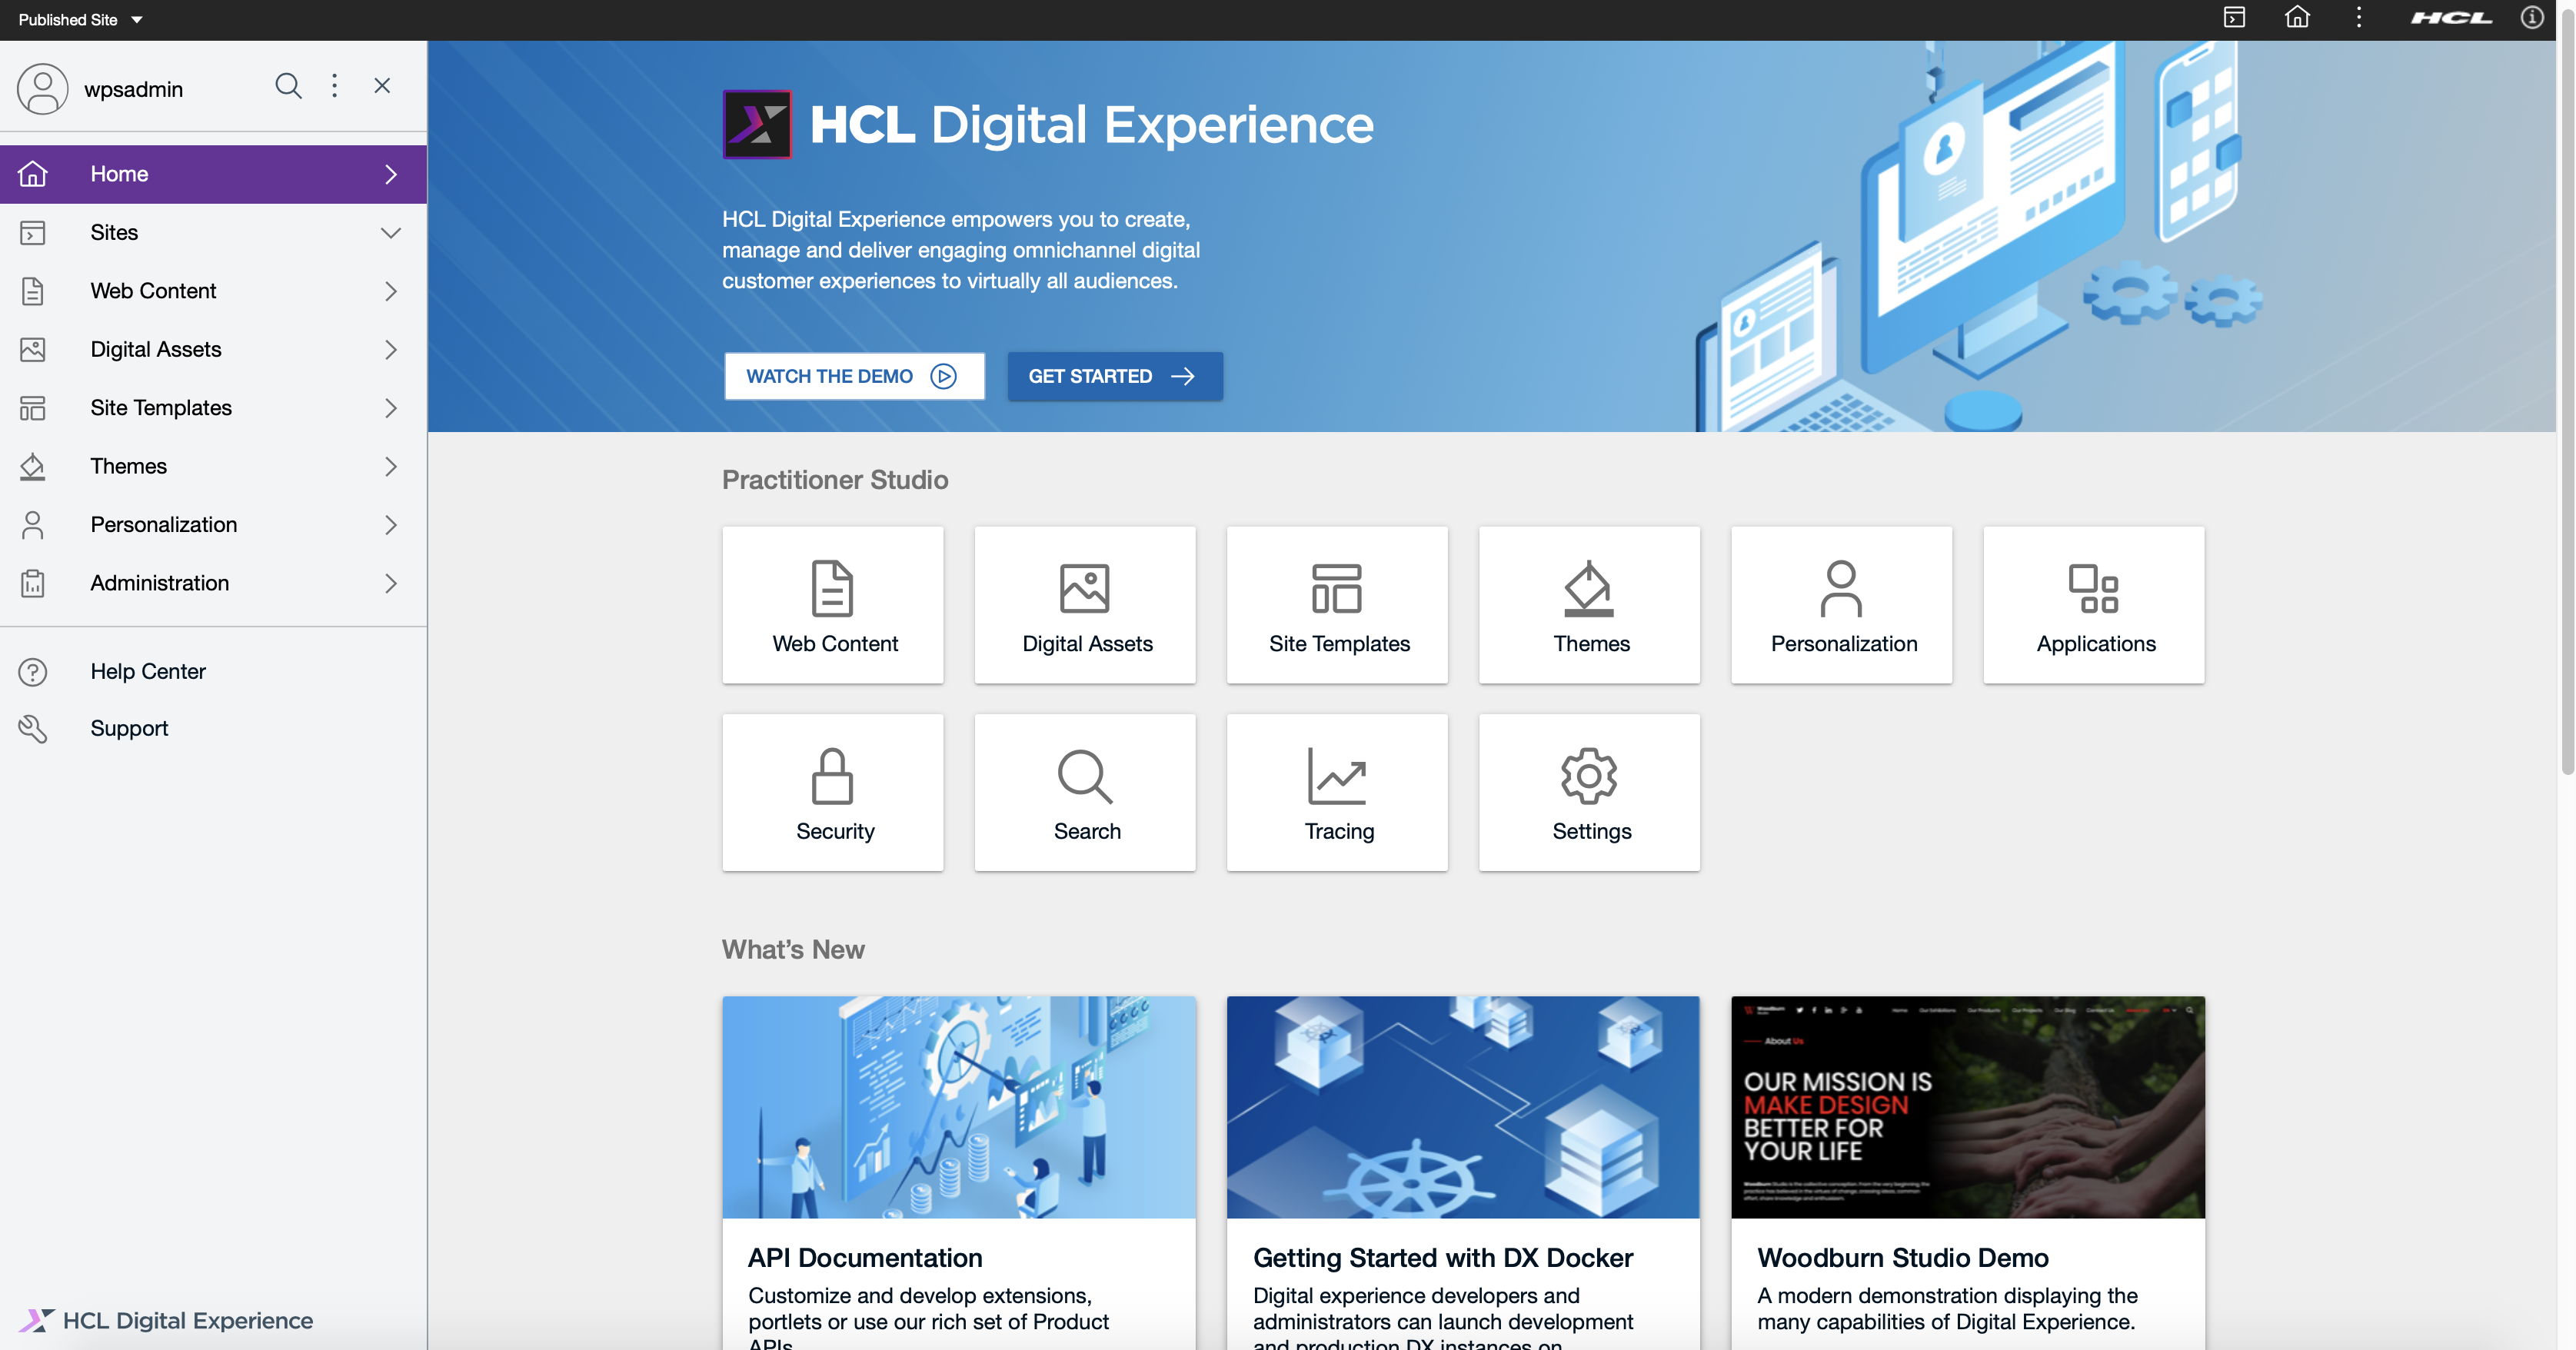
Log in to the HCL WebSphere Portal 9.5 platform, and select
Web Content from the Practitioner Studionavigator. Figure 1. Log in to HCL WebSphere Portal 9.5
Select Web Content menu option to access the HCL
Digital Experience 9.5 Content Composer features. Then, click
Create New Content. Figure 2. Create new content from Content Composer interface
Complete the fields in the content template. Add a
Name, Display Title, and
(optional) Description for the content.
In Select Template, select the template to use to model the content by either typing in a specific keyword or by clicking the drop-down arrow to access all templates in the Web Content library. The
type-ahead feature in the Select Template field
assists content authors to find, identify and select the template of choice
for the new content.
In this example, the Web Content Templates
3.0 / Image template is selected. Figure 3. Select template for the new content item
In Select Location, select the site location to present the content when completed and ready for publication. Using the same
new content example, the Web Content / Articles
location is selected. Figure 4. Select location for new content
If adding an image file, select Upload using file
browser or HCL DAM in the Elements section. Then, we can also drag and
drop preferred image file from your local repository. Figure 5. Upload image for Image Element using file browser or HCL
DAM
In the Workflow located on the right side of the interface, select the workflow to use by either typing in a specific keyword
or by clicking the drop-down arrow and selecting See All
Workflows. The type-ahead feature in the Current
Workflow field assists content authors to find, identify and
select the workflow of choice for the new content. In this example, the Web Content Templates / Three Stage Workflow is
selected. Figure 6. Select Current Workflow for new content
We can keep it as is or enter a date for the Publish
Date and Expire Date fields, as shown
below.Figure 7. Select Publish Date for new content
If done, select Save to save your settings and create
the new content template, or Save and Close, which
will create the new content template with the saved settings and will
redirect us to the new content template's location in the Content Composer
Dashboard.
Create new content from a content template in Search Results view
Users can also create new content via the Search Results view.
From the HCL WebSphere Portal 9.5 Content Composer user interface, enter a
search term in the search box located in the upper right corner as shown in
the example below: Figure 8. Search content in Content Composer
Click to select the content template to create new content from. Click
Create Content to proceed.
See Create new content with Content Composer above for next
steps.
Create new content with auto-populate location
Follow the steps to create a new content template with auto-populated location from the Dashboard view:
From the HCL WebSphere Portal 9.5 Content Composer Dashboard, select a
Site Area.
Click Create then select
Content.
The location will auto-populate to the selected Site Area as shown
below.
Complete the fields on the Content tab, of which the content author will be directed to by default.
When done, select Save to save your settings and
create the new content template, or Save and Close
which will create the new content template with the saved settings and will
redirect us to the new content template's location in the Content Composer
dashboard.
Content authoring actions in Search Results view
The Search Results view allows users to perform content
authoring actions.
Select the search result row will enable display of
Edit and Delete options
from the Content Composer search results view.
Ticking the checkbox
(beside Title) for the content item presented in
the Search Results will also enable
context-specific Edit and
Delete options for the content item to optionally proceed to the content item's details in Edit
mode.
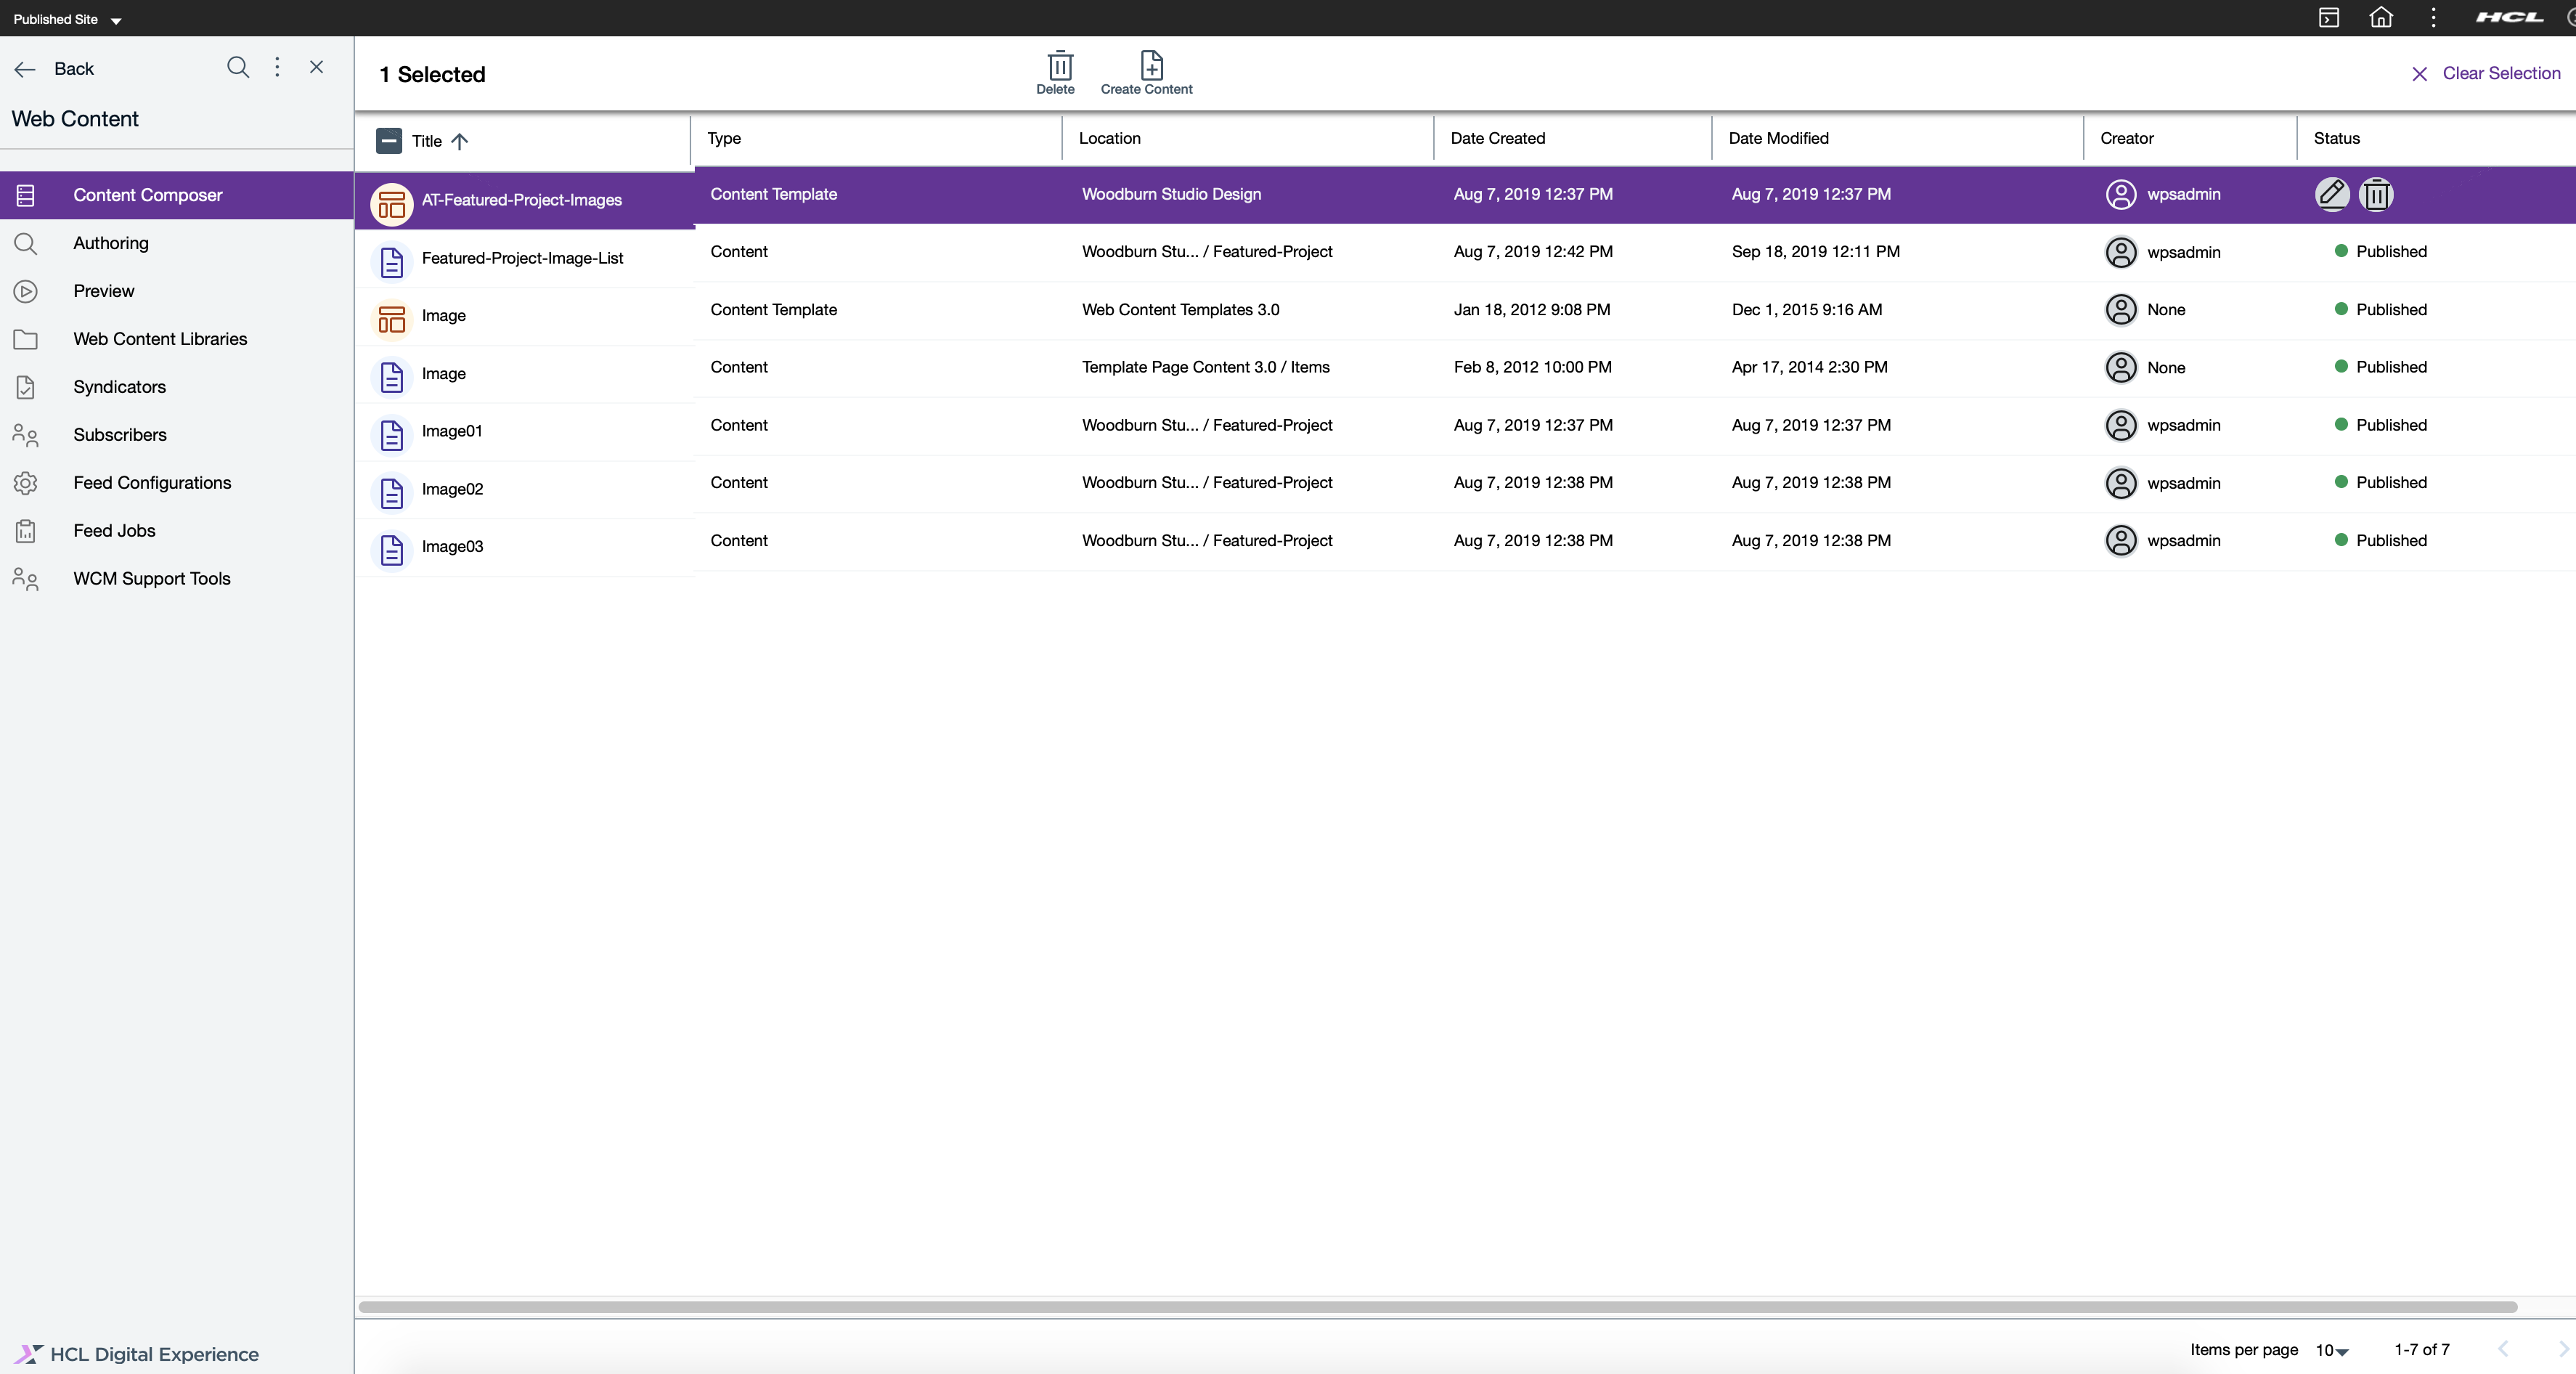
Figure 9. Search results view in Content Composer
Column item results can also be sorted by clicking
Title, Date Created or
Date Modified. The Status
column shows whether the content item is Published or Draft.
Search Result columns can also be resized for convenience. Ā
Content authoring actions in Dashboard view
The Dashboard view allows users to perform content authoring
actions.
Select the avatar icons of the content items will enable display of
Edit and Delete options
from the Content Composer Dashboard view.
Ticking the checkbox (beside
the Content Title) presented in the Content Collections column will also enable
context-specific Edit and
Delete options for the content item to optionally proceed to the content item's details in Edit
mode.
Figure 10. Authoring actions on HCL Content Composer Dashboard
view
HCL WebSphere Portal Solution Feedback
HCL WebSphere Portal is interested in your experience and feedback working with HCL
Digital Experience 9.5 release software. To offer comments or issues on your findings, please access the HCL WebSphere Portal 9.5 Feedback Reporting
application.