8.4.2 Create the WebSphere Network Deployment Manager Profile
Perform the following steps to create the Deployment Manager profile:
1.xxxx
Launch the profile creation wizard.
There are several ways to launch the wizard. From First steps, select Profile creation wizards or launch the profile creation wizard directly.
Detailed instructions are documented at the WebSphere Application Server information center:
In our example, we launched the profile creation wizard directly. As root, from WAS_Install_Dir/bin/ProfileCreator, issue the following command:
./pctAIX.bin
The Profile creation wizard launches (Figure 8-23). Click Next.

Figure 8-23 WebSphere Application Server profile creation wizard
2.xxxx
Select Create a deployment manager profile. See Figure 8-24.

Figure 8-24 Select Create a deployment manager profile
3.xxxx
Provide the profile name. See Figure 8-25.

Figure 8-25 Profile creation wizard - enter profile name for deployment manager profile
4.xxxx
Provide the profile directory ND_Profile_Dir. You may leave the default value, as shown in Figure 8-26.

Figure 8-26 Input the directory for the new profile
5.xxxx
Provide the node name, the host name, and the cell name. See Figure 8-27.

Figure 8-27 Profile creation wizard - node, host, and cell names
6.xxxx
Specify the ports to use. Use default ports unless you have a business reason for not doing so. See Figure 8-28.

Figure 8-28 Port assignment
Note that the administrative console port here is 9075. By default it is 9060.
To access the administrative console, use:
http://Deployment_Manager_Hostname:9075/ibm/console
7.xxxx
Verify your profile information on the summary window (Figure 8-29).

Figure 8-29 Profile creation summary
8.xxxx
Create the profile. You should see the following window (Figure 8-30) once the profile creation process completes.

Figure 8-30 Profile creation completes
10. Verify the profile.
Back to the first steps launch pad, you may select to verify. See Figure 8-31.
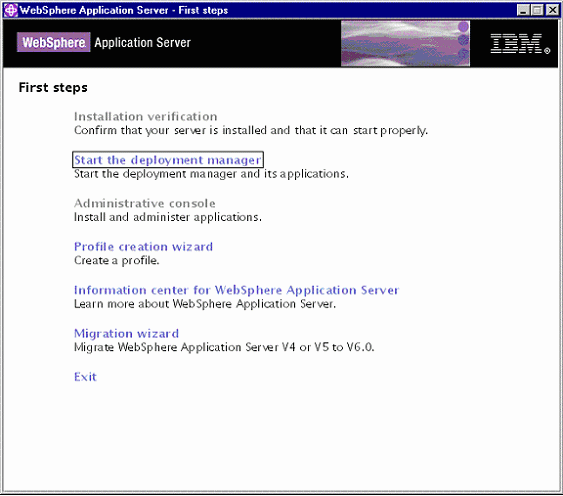
Figure 8-31 Verify the new profile
11. The URL to access the profile should be:
http://<deployment_manager_hostname>:9075/ibm/console
| xxxx |