HomeInstall DB2 server - MyCo
Install and configure 64-bit DB2 Universal Database on a separate node from the node where you plan to install WebSphere Commerce and (optionally) WebSphere Commerce Payments.
You cannot use the WebSphere Commerce installation wizard to install a 64-bit DB2 Universal Database.
- Log in as root.
- Either download the DB2 Enterprise Server Edition v8.2 with the latest Fix Pack installation package or use the CD.
- From the command line, log in as root. Run the DB2 installer.
root> ./db2setup
DBI1190I db2setup is preparing the DB2 Setup wizard which will
guide you through the program setup process. Please wait.
- From the Setup Launchpad, choose Installation Prerequisites from the panel on the left.

- Read through the Installation Prerequisites and confirm that they are all satisfied. Close the Installation Prerequisites window.

The SDK is installed when a component that requires Java is being installed. However, if the installer detects that SDK is already installed, it will not install it again. The SDK is installed in its own directory and does not overwrite any previous levels of the SDK.
- From the Setup Launchpad, choose Install Products from the panel on the left.

- From the Setup Launchpad, choose DB2 UDB Enterprise Server Edition and then click Next.
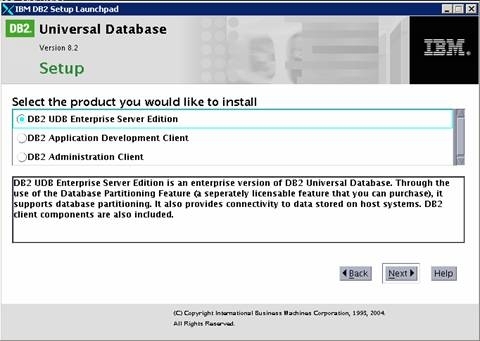
- This starts the DB2 Setup wizard.

Click Next.
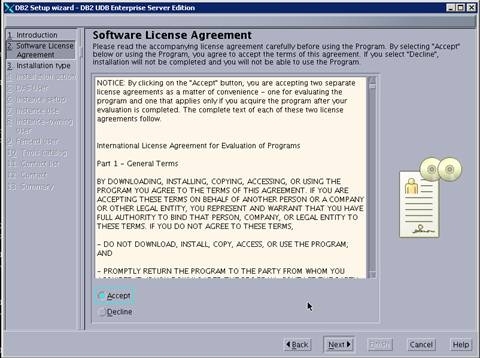
- Choose Accept from the Software Licence Agreement panel and click Next.
- Choose Typical from the Select the Installation type panel. Choose the desired capabilities from the Additional functions section.

Click Next.
- Choose Install DB2 UDB Enterprise Server Edition on this computer from the Select the installation action panel.
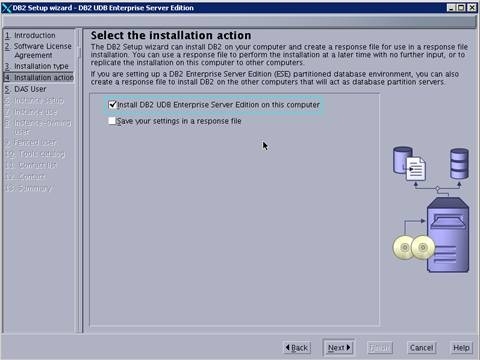
Click Next.
- Select New User from the "Set user information for the DB2 Administration Server" panel. Leave the defaults and enter your p and click Next.

- Select Create a DB2 instance - 32 bit from the Set up a DB2 instance panel and click Next.

- Select Single-partition instance from the "Select how the instance will be used" panel and click Next.

- Select New user from the "Set user information for the DB2 instance owner" panel. Leave the defaults and enter your p and click Next.

- Select New user from the "Set user information for the fenced user" panel. Leave the defaults and enter your p and click Next.
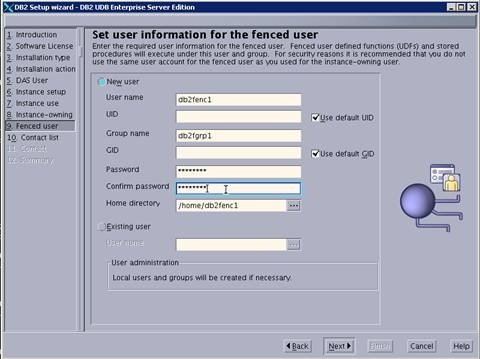
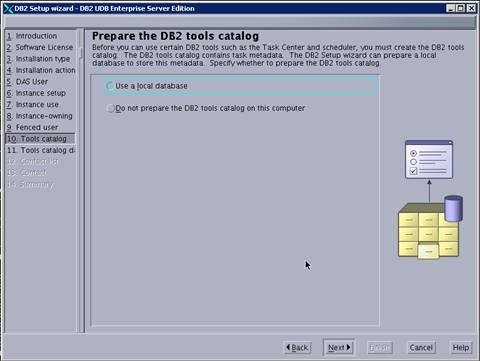
- Select Use a local database from the "Prepare the DB2 tools catalog" panel and click Next.
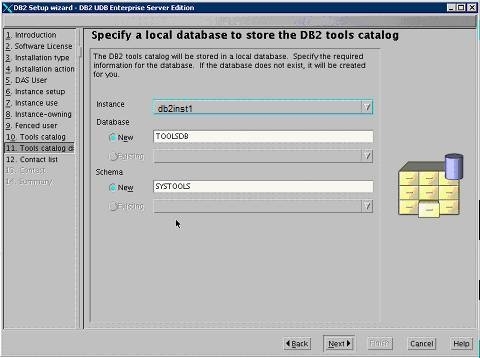
- Keep the defaults on the "Specify a local database to store the DB2 tools catalog" panel and click Next.
- Select Local - Create a contact list on this system from the "Set up the Administration contact list" panel. Also, you can select Enable notification and enter your SMTP server host name.
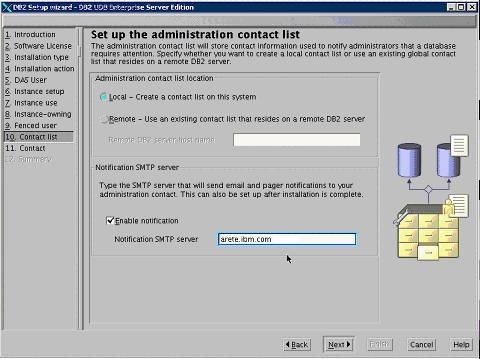
Click Next.
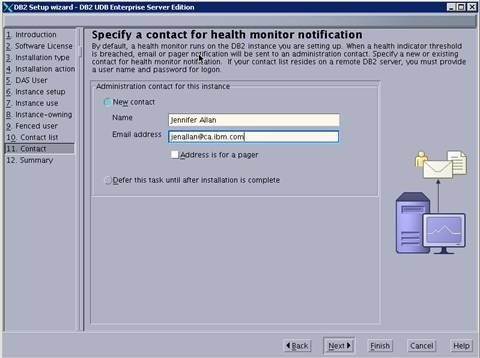
- Select New contact from the "Specify a contact for health monitor notification" panel. Fill in your details and click Next.
- Review your information for corrections on the "Start copying files" panel and click Finish.

- Wait for the installation and instance creation to complete.

- Verify connectivity to db machine
telnet hostname portYou might need to create hostname alias in /etc/hosts.
- For production, on the DB server, increase the LOGSIZE from 1000 to 10000
Author: Michael Pareene
michael.pareene@skyway.net
612.220.8724