Personalized List portlet
The Personalized List portlet provides a ready-to-use portlet for displaying personalized content from Document Manager, rules, content spots or resources. In many cases it prevents the need to code new portlets and JSPs yourself. We can use this portlet instead of coding the IBM RationalApplication Developer portlet.
The Personalized List portlet is not intended to be used with the Web Content resource collection, or rules involving the Web Content resource collection. To display these rules, use a Portal Personalization Component in IBM Workplace Web Content Management ™.
When the Web Content resource collection is used with the Personalized List portlet, certain attributes like authoring template will show raw values from the repository that cannot be translated to a readable form. The details page of the Personalized List portlet will not show the results of the rendered content. The details page will show some attribute from the content, such as the creator or last modified date, which is not suitable for production use of content from Web Content Management.
The intended use of the Personalized List portlet is to display personalized lists of documents from Document Manager. The Personalized List can also be used with some generated or custom resource collections.
- Copy the pers_offers folder from the Personalized Portlet installedApps location into \WebSphere\PortalServer\installedApps\Personalization Lists.ear\pznruleportlet.war\WEB-INF\classes. (You may need to create this classes folder first.) Or, you could place this folder into a WPS shared folder one time for all portlets to access.
- Restart IBM WebSphere Portal.
- Log in as wpsadmin.
- Open Administration > Portlet Management > Portlets.
- Search for the Personalized List portlet.
- Make a copy of the portlet called Personalized List.
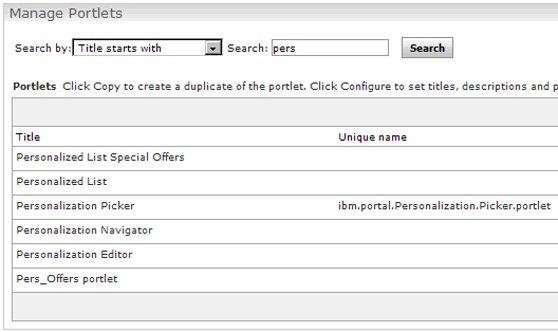
- Rename the copied portletPersonalized List Special Offers.
- Set access control for the new portlet so All Authenticated Portal Users are privileged users.
- Add the Personalized List Special Offers portlet to a new page.
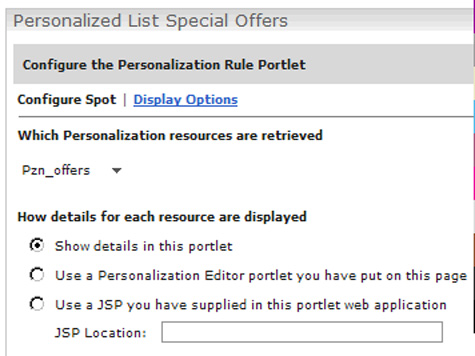
- Display the new page with the new portlet. Click on the wrench icon to configure the portlet.

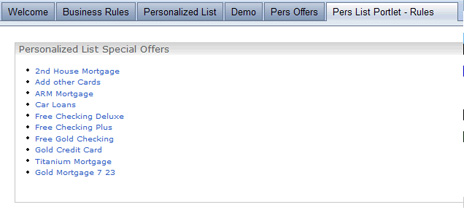
- Test the portlet by showing all the resources of the type Pers_Offers/Pzn_offers.
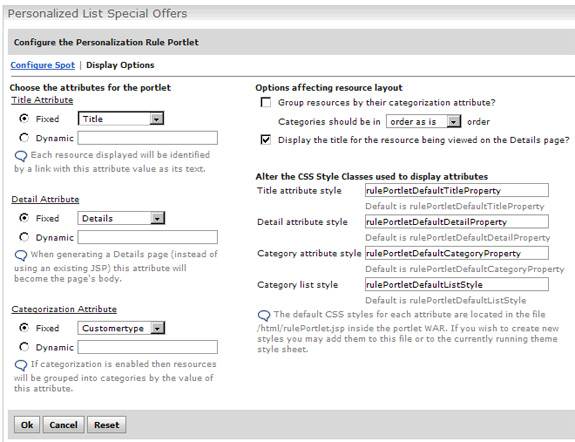
- Click Display Options.
- Set the Title Attribute and Detail Attribute values to Fixed. Click OK.
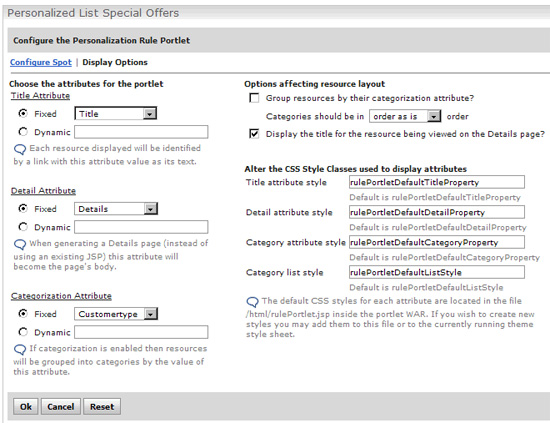
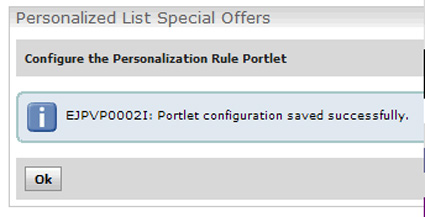
- Click OK again to see the portlet.
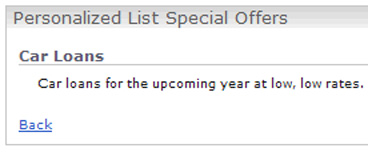
- Click on a title link to see the details.
- Click Back.
- Click the wrench icon to modify the portlet configuration to show more personalized offers.
- Choose Pzn_offersSpot.
- Click Display Options.
- Set the Title Attribute and Detail Attribute values to Fixed. Click OK.

- Complete the configuration and see there are no results. This is because wpsadmin has no customer details in the user resource being used (the pzndemo database).

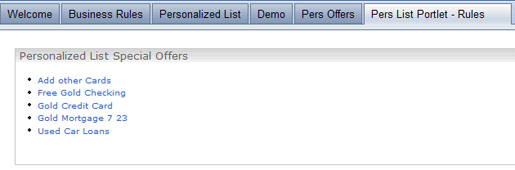
- Log in as scott. The portlet displays the personalized offers based on the rule (Show Offers By Customer Type) which is mapped to the content spot (Pzn_offersSpot).
- Try this portlet for all the pzndemo users. You should get the same content results that you saw previously using your own custom-built portlet, Pers_Offers, except you do not have to code a portlet or JSP.