Create the jsp file in Rational Application Developer
- Ensure you have properly installed the demo and databases.
- Ensure that the WebSphere Portal Server is stopped so we can make a connection to the Cloudscape database.
- Launch Rational Application Developer.
- Click the Project Explorer tab.
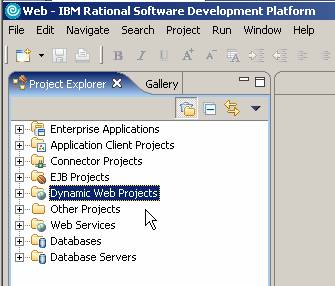
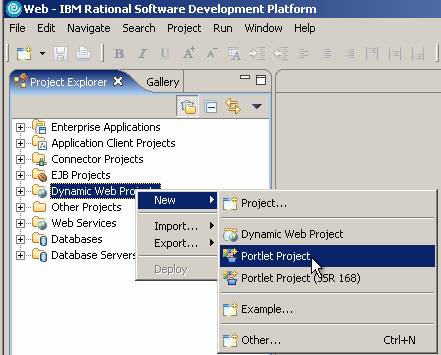
- Right click on Dynamic Web Projects.
- Select New > Portlet Project.
- Complete the New Portlet Project screen with the following information:
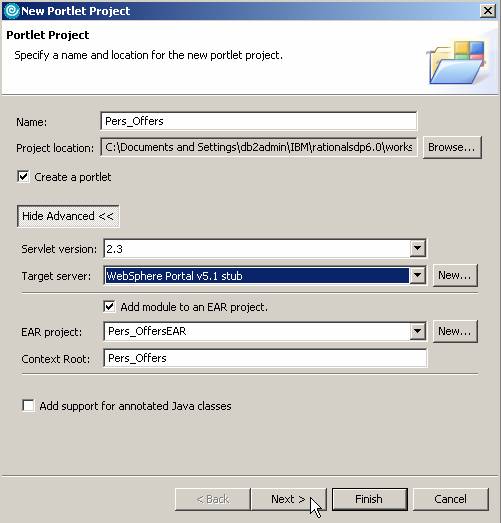
- Type Pers_Offers in the Name field .
- Click the Show Advanced button.
- Select WebSphere Portal v5.1 stub from the Target server drop-down list.
- Click Next.
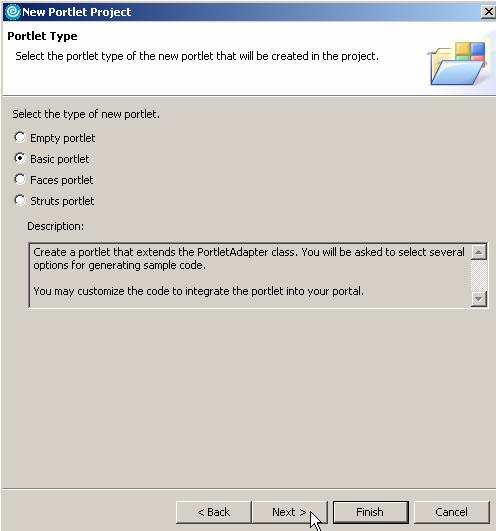
- Select Basic Portlet as the portlet type and click Next.
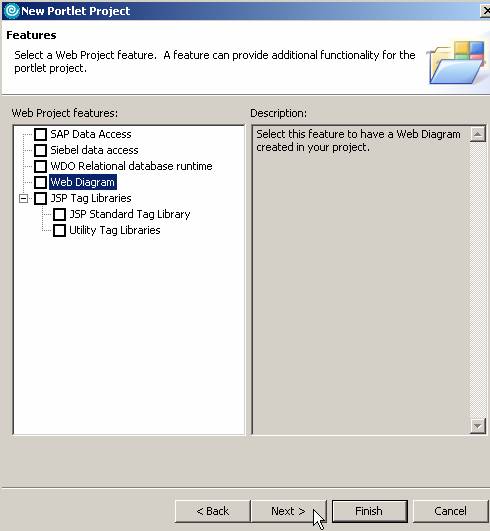
- No features are necessary. Uncheck any selected features. Click Next.
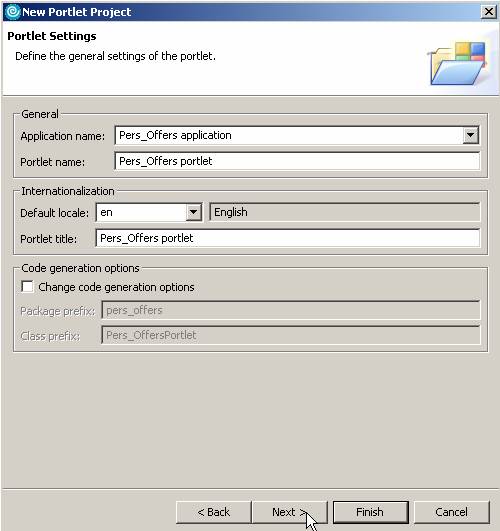
- Accept the default portlet Settings and click Next.
- No events are necessary. Uncheck any selected boxes. Click Next.

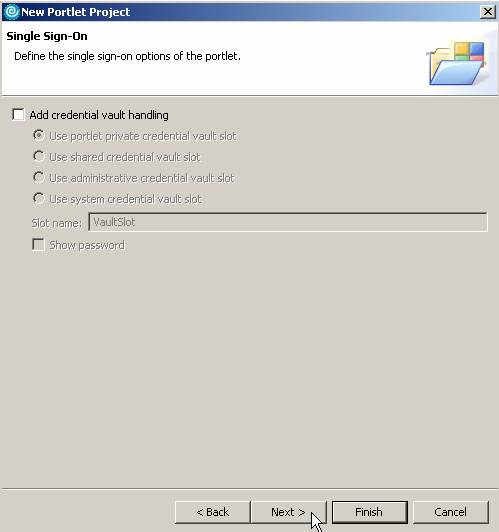
- No credential vault handling is necessary. Click Next.
- No miscellaneous options are necessary. Click Finish.

- The jsp file opens automatically in Design mode. Edit the text of the portlet to show the following:
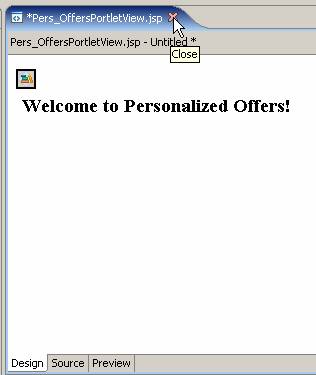
- Save and close the jsp.
You have created a jsp file using Rational Application Developer.
We can now create the Personalization content resource classes and content spot.