|
5.5.2 Adding a JavaBeanAnother way to store information to be accessed and displayed by the View mode JSP is to use a JavaBean. In this exercise, you will add a JavaBean to your project and use it to display information when it is run. JavaBeans are a special type of Java class that contain the business logic of the application. They are used to temporarily store and process data and access back-end resources such as databases.
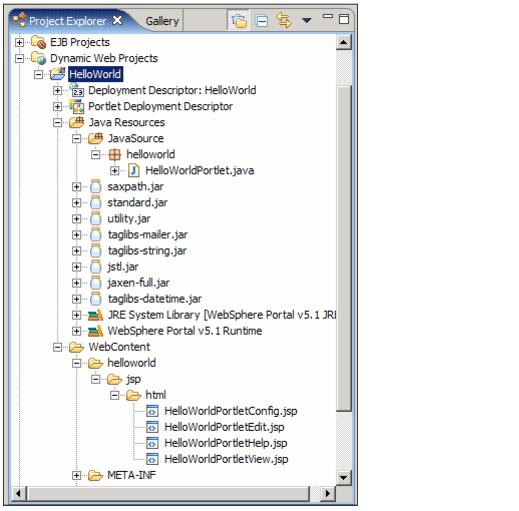
Figure 5-30 Project Explorer view

Figure 5-31 Adding a new class

Figure 5-32 Naming the new class
Example 5-2 JavaBean code
public class HelloWorldPortletViewBean {
 private String myName = "";

  public String getMyName() {
  return myName;
 }
  public void setMyName(String myName) {
  this.myName = myName;
 }
}
Example 5-3 doView() method code modification
public void doView(PortletRequest request, PortletResponse response) throws
PortletException, IOException {


  //Make a bean

  HelloWorldPortletViewBean viewBean = new HelloWorldPortletViewBean();


  //Set your name

  viewBean.setMyName("John Doe");


  //Save bean in the request so the view jsp can read it

  request.setAttribute("HelloWorldPortletViewBean", viewBean);


  // Invoke the JSP to render


getPortletConfig().getContext().include(VIEW_JSP+getJspExtension(request),
request, response);

 }
Example 5-4 View JSP code modification
<jsp:useBean id="HelloWorldPortletViewBean" class="helloworld.HelloWorldPortletViewBean" scope="request"></jsp:useBean>
<%@ page session="false" contentType="text/html" import="java.util.*, helloworld.*"%>
<%@ taglib uri="/WEB-INF/tld/portlet.tld" prefix="portletAPI" %>
<portletAPI:init/>

<DIV style="margin: 6px">
<H3 style="margin-bottom: 3px">Welcome!</H3>
This is a sample <B>view mode</B> page. You have to edit this page to customize it for your own use.<BR>
The source file for this page is "/Web Content/helloworld/jsp/html/HelloWorldPortletView.jsp".
<br>
Current time: <%=new java.util.Date() %>
<br>
Hostname: <%= request.getRemoteHost() %>
<br>
Updated by <%= HelloWorldPortletViewBean.getMyName() %>
</DIV>
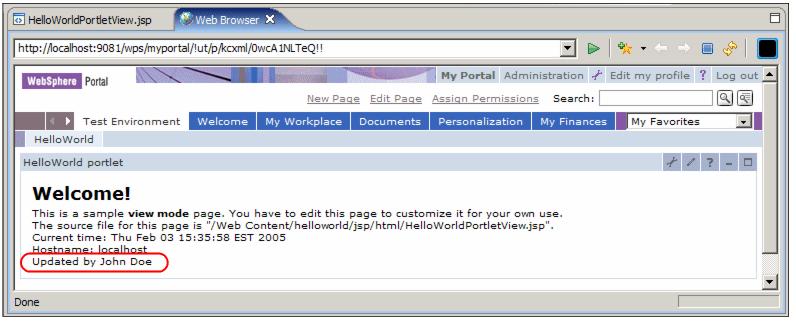
Figure 5-33 Portlet with changes |


|
ibm.com/redbooks |