|
5.5.1 Changing the JSP used for the View modeFollow these steps to see how the JSPs can be modified to show dynamic information:

Figure 5-25 View.jsp
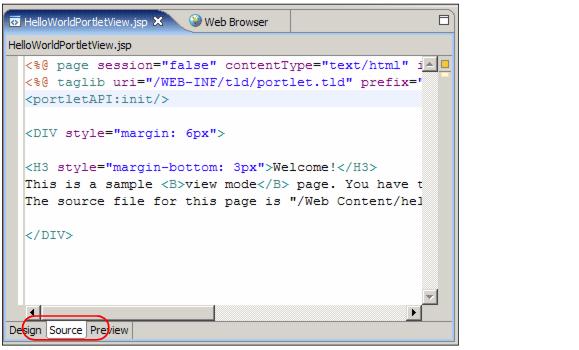
Figure 5-26 Editing JSP source
Example 5-1 View JSP source edit
<%@ page session="false" contentType="text/html" import="java.util.*, helloworld.*"%>
<%@ taglib uri="/WEB-INF/tld/portlet.tld" prefix="portletAPI" %>
<portletAPI:init/>

<DIV style="margin: 6px">
<H3 style="margin-bottom: 3px">Welcome!</H3>
This is a sample <B>view mode</B> page. You have to edit this page to customize it for your own use.<BR>
The source file for this page is "/Web Content/helloworld/jsp/html/HelloWorldPortletView.jsp".
<br>
Current time: <%=new java.util.Date() %>
<br>
Hostname: <%= request.getRemoteHost()%>
...
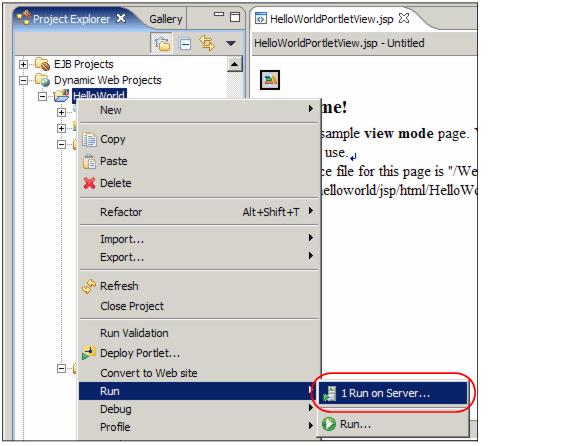
Figure 5-27 Run on server
Figure 5-28 Running your project in the test environment
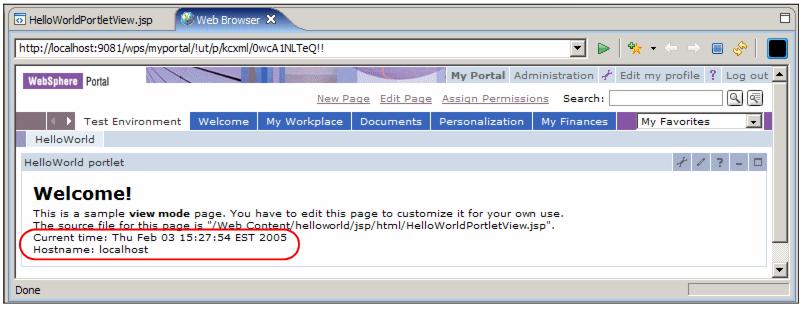
Figure 5-29 Changes in the View JSP |


|
ibm.com/redbooks |