Generating an EMF Model using XML Schema (XSD)
Last updated: June 29, 2004
This tutorial provides a step-by-step description for creating an EMF model
from an XML schema and then generating a simple model editor for it. Following
this tutorial will show how easy EMF makes it to go from a simple model
definition in an XML schema to a fully functioning editor for that model.
The screenshots are based on version 3.0 of the Eclipse SDK and version 2.0
of EMF.
The XML Schema file we use in this tutorial can be found here:
library.xsd. Save it
somewhere on your workstation for later use.
The basic mapping rules from XML Schema to Ecore are:
- A schema maps to an EPackage. Any included schemas that declare different
target namespaces map to their own EPackages.
- A complex type definition maps to an EClass.
- A simple type definition maps to an EDataType.
- An attribute declaration or a nested element declaration maps to an
EAttribute or EReference, depending on its type.
- An EClass called DocumentRoot is created to hold any top-level element
or attribute declarations.
From a modeling perspective, XML Schema is not as expressive as Ecore. It can
neither specify the type of a reference target nor define bidirectional
references (though EMF provides its own way to overcome these limitations).
Contents
contents
Step 0: Prerequisites
This tutorial requires both the EMF Runtime package, which includes the
EMF generator and related plug-ins, and the XML Schema Infoset Model (XSD)
Runtime package. This latter package provides an EMF model of XML Schema, which
EMF relies on for reading schemas. For simplicity, a combined EMF and XSD SDK
package is available. After installing the package(s), verify that they are
available in your Eclipse environment:
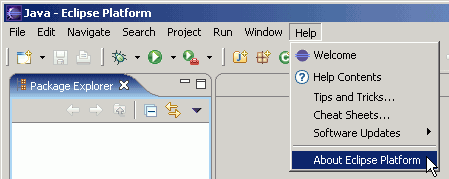
- Bring up the "Help/About Eclipse Platform" dialog.
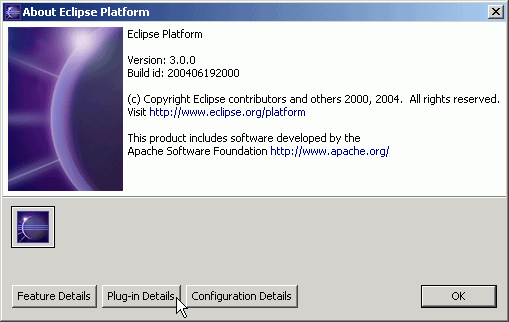
- Click on "Plug-in Details".
- Click the "Plug-in Id" column heading to order the plug-ins by that field.
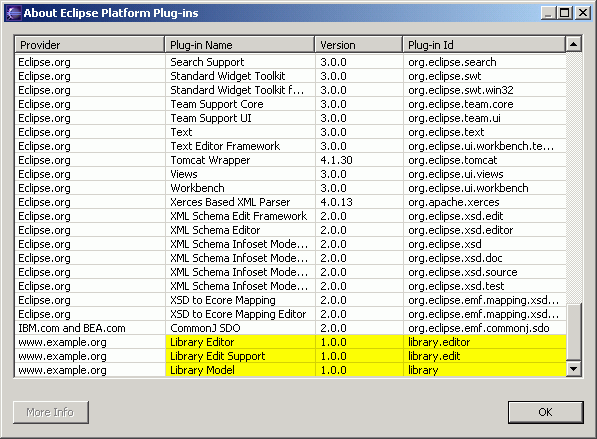
Then, check that the highlighted set of plug-ins are present.


Additional EMF and XSD plug-ins, which are not highlighted above, are not
required for this tutorial. They may or may not appear, depending on which
packages you installed.
contents
Step 1: Import the Model from XML Schema
Create a new EMF project in the workspace:
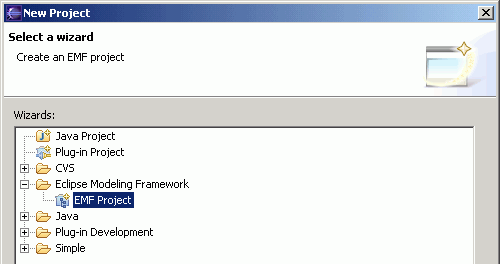
- Bring up the "File/New/Project..." dialog.

- Expand "Eclipse Modeling Framework" and select "EMF Project". Click the
"Next" button.
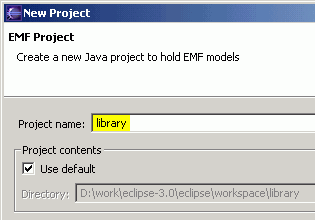
- Give the project a name, say, "library". Then, click the "Next" button.
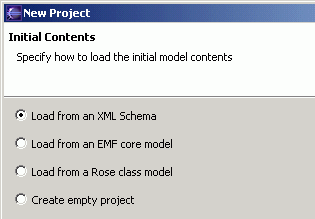
- Select "Load from an XML Schema" and click the "Next" button.
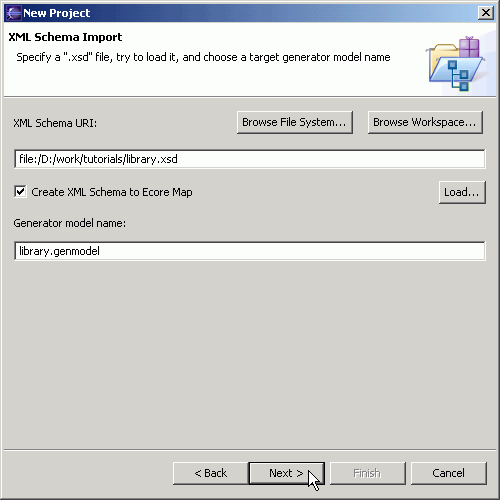
- Click on the "Browse" button and locate the schema file.

- If you see the following error, you need to exit Eclipse and fix your
XML parser. It is caused by a bug in the Crimson DOM implementation used in some
versions of the Sun JDK. More
information is available from the EMF Web site.

- The schema will be examined, and a default generator model name will be
suggested. You can change the name in the entry box if you wish. You can also
select "Create XML Schema to Ecore Map" to generate a model of the mapping
used for your schema. Then, click the "Next" button.
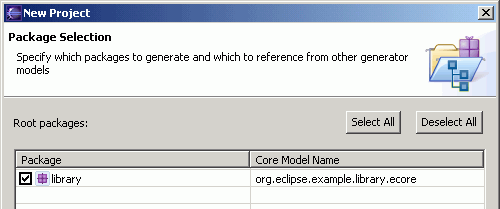
- In general, more than one package may be produced from a single schema if it
includes other schemas that declare different target namespaces. Select the
package for which you want to generate an EMF model -- in this case, the only
package, "library". Click the "Finish" button.
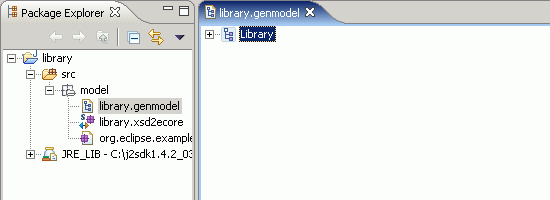
- A core model (library.ecore) and a generator model (library.genmodel) will
be created. If "Create XML Schema to Ecore Map" was checked above, a mapping
model (library.xsd2ecore) will also be created. It can be opened to see exactly
how the schema was mapped to Ecore. The generator model is automatically opened
in the main view.
contents
Step 2: Generate the EMF Model Code
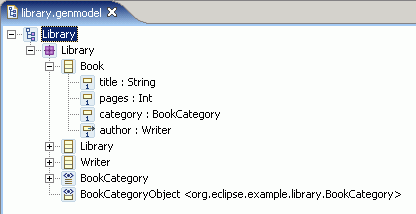
The generator model shows a root object, representing the whole model. This
model object has children that represent its packages, whose children then
represent classifiers (classes and datatypes, including enumerated types). The
children of classes are class attributes, references, and operations; the
children of enumerated types are enum literals.
- The model can be expanded to see its various elements.
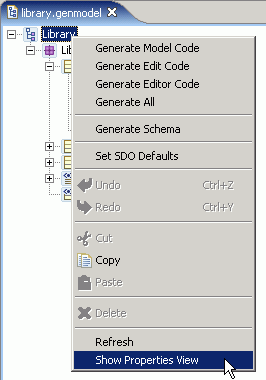
- There are properties associated with each object. If the Properties view
isn't already showing, right-click the "Library" model object and select "Show
Properties View" from the pop-up menu.
- These properties control the behavior of the code generator.
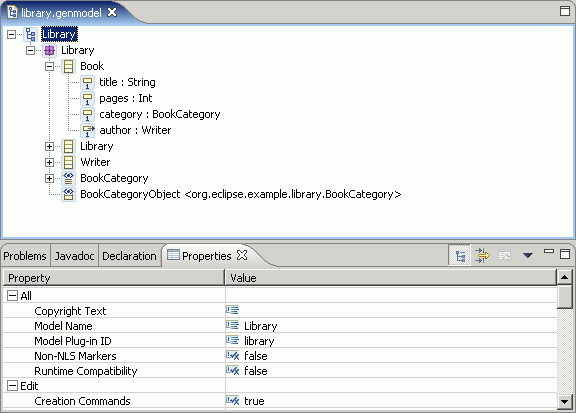
In most cases, the properites need not be changed from their default values,
but these options can provide a great deal of control over the code that gets
generated. For now, select several different generator model objects, and
observe their properties.
The generator model is also the place where you initiate the code generation.
By right-clicking on an object in the model, you can generate code for it.
- Right-click the "Library" model object and select "Generate Model Code" from
the pop-up menu.
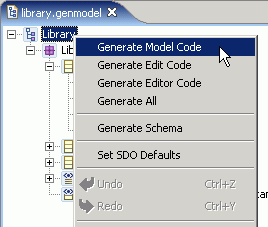
- Observe the generated files.
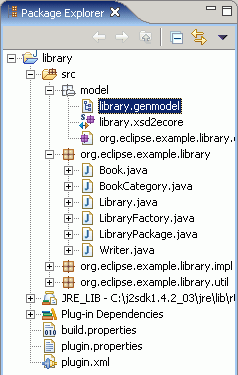
After generation, the class interfaces and enum class will have been created,
and a new pair of interfaces will have been created for the package itself and
for the factory. There will also be two new packages, with "impl" and "util"
suffixes, which contain implementations of the interfaces and additional utility
classes, and a "plugin.xml" manifest file for the model.
plug-in.
If you change the model, you can regenerate it, and changes will be merged
with any hand modifications that may have been made to the code. You can also
selectively generate a subset of the model code by right-clicking on a package,
class, or enum object and selecting "Generate Model Code" from the pop-up
menu.
contents
Step 3: Generate an Editor for the Model
A fully functional Eclipse editor can also be generated for any model. By
default, it is split between two plug-ins: an "edit" plug-in includes adapters
that provide a structured view and perform command-based editing of the model
objects; an "editor" plug-in provides the UI for the editor and wizard.
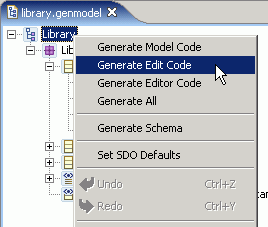
- In the generator, right-click the "Library" model object and select
"Generate Edit Code" from the pop-up menu.
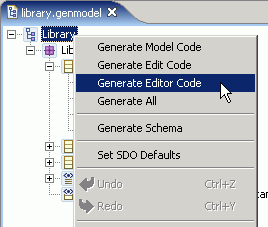
- Right-click the model object again and select "Generate Editor Code" from
the pop-up menu.
- Observe the generated projects in the Package Explorer view, with "edit" and
"editor" suffixes.

In general, if you wish to generate the model, edit, and editor plug-ins in a
single step, you can do so by selecting "Generate All" from the pop-up menu.
The code should be compiled automatically as it is generated, and should
recompile whenever it is changed. If you have disabled automatic building in the
workbench preferences, you can initiate compilation manually:
- Select "Build All" from the "Project" menu.
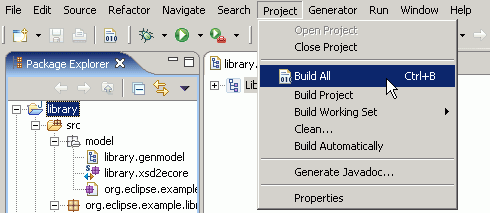
- Observe the Problems view. There should be no errors in the library,
library.edit, and library.editor projects.

contents
Step 4: Run the Generated Editor
In order to test the new plug-ins, a second instance of Eclipse, called a
run-time workbench must be launched. The plug-ins will run in this
workbench.
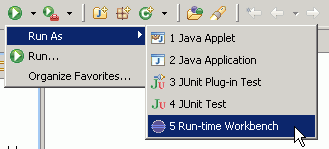
- Select "Run As/Run-time Workbench" from the "Run" toolbar drop-down.
- Wait for a second instance of the Eclipse platform to come up. Bring up the
"Help/About Eclipse Platform" dialog, click on the "Plug-in Details" button, and
verify that the generated plug-ins are there.
The Library Model wizard can now be used to create a new instance of the
model.
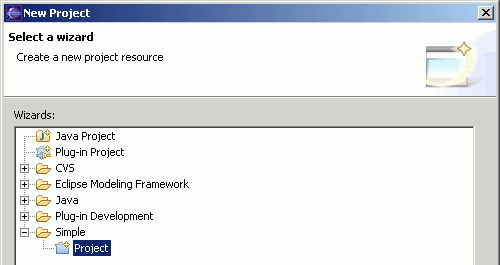
- Bring up the "File/New/Project..." dialog.

- Expand "Simple" and select "Project". Click the "Next" button.
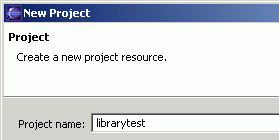
- Give the project a name and click the "Finish" button.
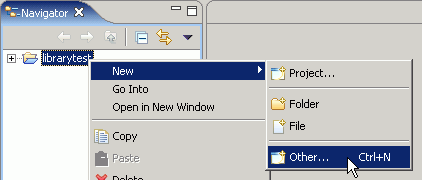
- Right-click the project and select "New/Other..." from the pop-up menu.
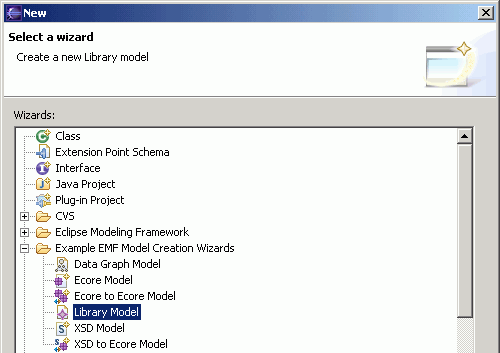
- Expand "Example EMF Model Creation Wizards" and select "Library Model".
Click the "Next" button.
- Enter a file name for the library model. Make sure it ends with
a ".library" extension. Then, click the "Next" button.

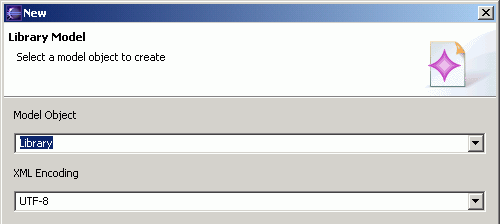
- Select "Library" as the model object and click the "Finish" button.
- The newly created library model is opened in the main view.
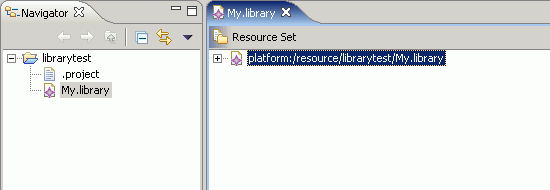
The root object in this editor corresponds to the My.library resource. Under
it lies a single library, the object which was selected as the model object in
the wizard.
- Expand the "platform:/resource/librarytest/My.library" resource to see the
"Library" object. Select it.
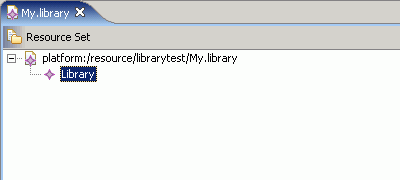
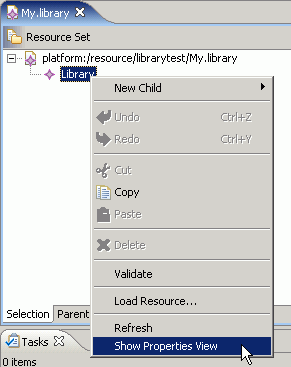
- If the Properties view isn't already showing, right-click the "Library"
object and select "Show Properties View" from the pop-up menu.
- In the Properties view, click on the "Value" column of the "Name" property,
and give a name to the library. The label in the main view will be updated when
you hit Enter.

- Right-click the library and select "New Child/Writer" from the pop-up menu.
A new writer is added to the library.
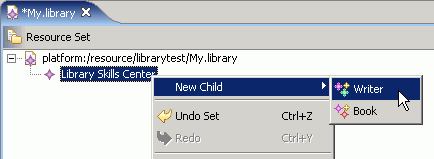
- Enter the name of the writer in the Properties view.

- Similarly, a book can be added to the library.

- All the book's attributes and references can edited in the Properties
view.

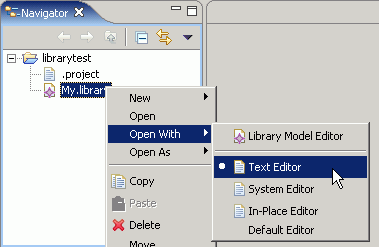
- You can save, close, and then re-open the model using the text editor if you
wish to see the schema-based XML serialization.
contents


