WebDAV client
- Install a WebDAV client on your local workstation.
There are several WebDAV clients supported by WebSphere Portal.
- BitKinex client. Local copy: bitkinex323.exe
- Cyberduck. Local copy: Cyberduck-Installer-5.2.3.21496
- Once installed, configure the WebDAV client to connect to your primary node.
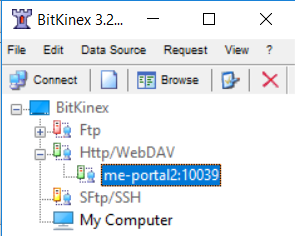
In BitKinex, select...
-
Http/WebDAV (right-click) | New | Http/WebDAV
Enter a name for server, hit Enter, than in popup, enter server address. For example:
-
preprd-portal2.ppdsrv.MyCo:10039
syst-portal3:10039user id + password will be your main Portal administrator account
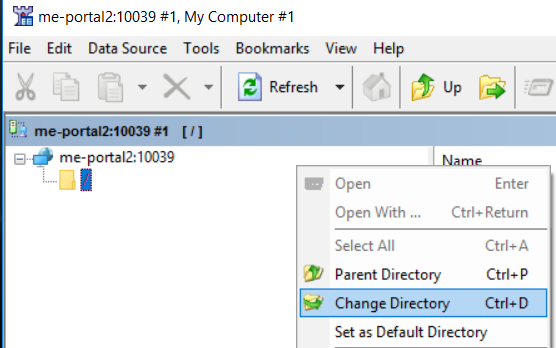
- After connecting, right click and select "Change Directory"
Depending on your contextroot, change directory to either...
-
/myapp/mycontenthandler/dav/fs-type1/
/wps/mycontenthandler/dav/fs-type1/It should show a listing of theme folders.

- For Cyberduck, click Open Connection. For connection type choose WebDAV (HTTP/SSL). For port use 10029. Under More Options, enter path.

Author: Michael Pareene
Home