11.1.4 Add the new Web server to the cell configuration
Perform the following steps to add the new Web server to your Network Deployment Manager cell configuration:
1.xxxx
Log on to your Network Deployment Manager as non-root_user.
2.xxxx
Change to the WebSphere Application Server installation directory (ND_Install_Dir, the default is /usr/IBM/WebSphere/AppServer on AIX, /opt/IBM/WebSphere/AppServer on Linux).
3.xxxx
Execute the following command on one line:
./wsadmin.sh -profileName DmgrProfileName -f
configureWebServerDefinition.jacl WebServerName IHS
'IHS_Install_Dir'
'WC_Install_Dir/instances/Instance_Name/httpconf/httpd.conf' 80
MAP_ALL 'WC_Install_Dir/instances/Instance_Name/httpconf/' unmanaged
WebServerNodeName WebServerHostName WebServerOS
For example, our Web server node 2 (srvb504.torolab.ibm.com, running on AIX) is added as webserver2 by the command shown in Example 11-1.
Example 11-1 Adding a Web server definition to the cell configuration
./wsadmin.sh -profileName Dmgr01 -f configureWebserverDefinition.jacl webserver2 IHS
'/usr/IBMIHS'
'/usr/IBM/WebSphere/CommerceServer60/instances/demo/httpconf/httpd.conf' 80 MAP_ALL
'/usr/IBM/WebSphere/CommerceServer60/instances/demo/httpconf/' unmanaged
srvb504.torolab.ibm.com srvb504.torolab.ibm.com aix

In the Network Deployment Manager administrative console, you should now see two Web servers when navigating to Servers Æ Web servers, as shown in Figure 11-2.

Figure 11-2 Web servers page
4.xxxx
For the new Web server, verify and change the configuration, and activate remote Web server management as described for the first Web server in Update the Web server configuration and Activate remote Web server management (optional). Do not propagate the plug-in configuration at this point.
5.xxxx
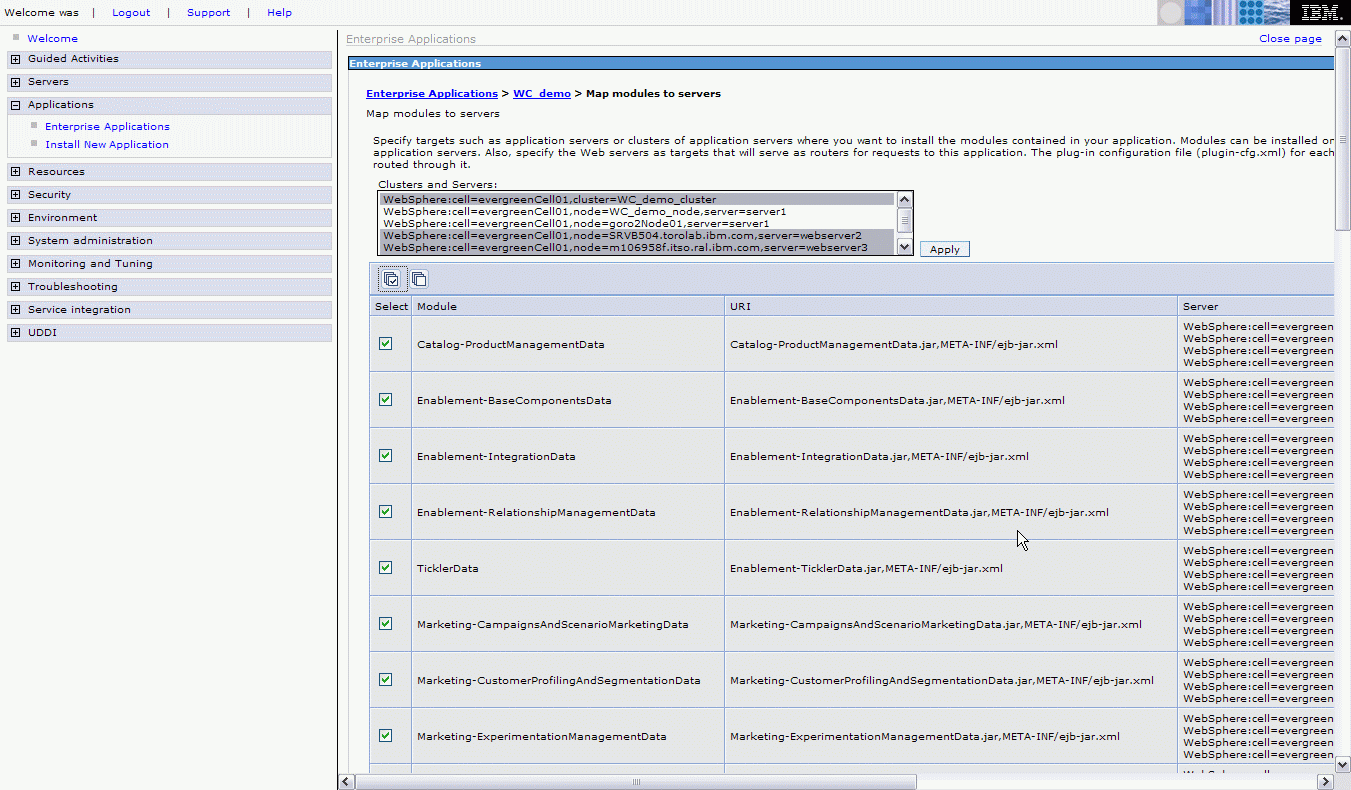
Verify the application mapping by navigating to Applications Æ Enterprise Applications Æ WC_<Instance_Name> > Map modules to servers. The modules of the WebSphere Commerce instance application (WC_demo in our case) should be mapped to all Web servers and to the application server cluster. This is shown for each module in the Server column, as shown in Figure 11-3.

Figure 11-3 Map modules to server panel - Server column
If this is not the case, perform the following steps:
a.xxxx  Select the cluster and all Web servers in the Clusters and Servers combo box, as shown in Figure 11-4. Select the cluster and all Web servers in the Clusters and Servers combo box, as shown in Figure 11-4.
Figure 11-4 Selecting the servers for mapping
|


