Step 5: Add entries to the main menu
Step 5 of this tutorial demonstrates how to add and rearrange entries in the main menu. We can change the options available to you in the main menu. The main menu provides direct navigation to top level pages in the site hierarchy. We can add new pages under the content root as one way to customize the options displayed in the main menu. In this phase of the tutorial, you will learn how to add a Career and Life page under the content root area of the site and how to rearrange the order of options displayed in the main menu.
- By having pages outside of the Home area of the site available from the main menu, we can reserve the Home area of the site for core pages and still provide others quick access to these site areas.
- Only pages under the content root not marked as hidden in Manage Pages are displayed in the main menu. If you do not want pages that you create under the content root to display as entries in the main menu, refer to XML configuration interface: reference for instructions on marking the pages as hidden.
To add an option to the main menu:
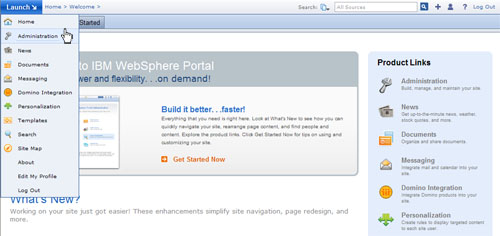
- Click Administration from the main menu.
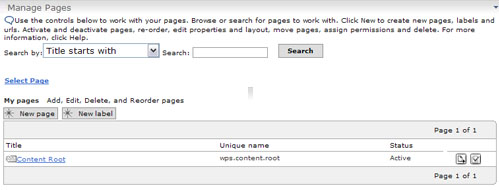
- Click Manage Pages directly from the navigation. Manage Pages presents you with the entire site hierarchy and lets you add, rearrange, and edit all of the pages in the site.
We can also access Manage Pages by clicking Portal User Interface > Manage Pages

- Click Content Root.
- The content root contains all of the top level site areas. You will learn how to control which of these top level site areas appear in the main menu during this phase of the tutorial.
- We can create pages, labels, or URLs under the content root. A page displays content such as subpages and portlets in a single area. A label can be thought of as notebook divider and functions only as an organizational container. A URL can launch external Web sites or pages in the site. In this example, you will learn how to create a page under the content root of the site.
- Click New page.

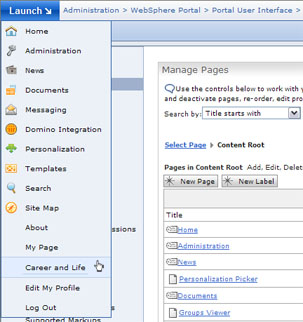
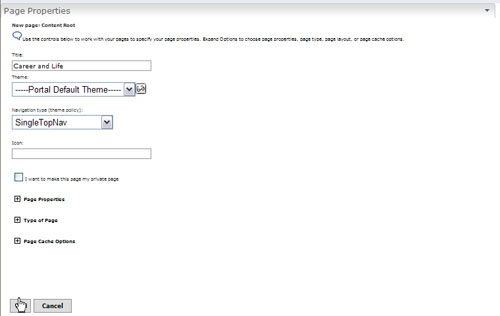
- In Page Properties, type in the name of the new page in the Title field and click OK. This page will display in the main menu. In this example, we can type Career and Life as the title of this new page.
We can specify other page properties such as theme, icon, page layout, navigation type, type of page, and caching options for the new page. For this example, we can use the default values for these page properties or try out different options. Refer to the portlet help for more detailed instructions for using Page Properties as you explore the various options.
- Navigate to the new page entitled Career and Life.
We can locate the new page in Manage Pages by:
- Entering a page number in the Jump to page field to aid you in locating the page.
- Increasing the number of top level site areas displayed in the table in Manage Pages. From the portlet menu, select Edit Shared Settings or Configure as appropriate.
- Paging through Manage Pages.
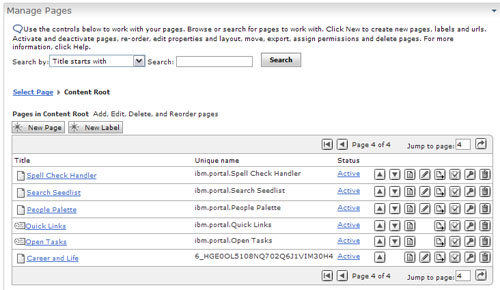
- We can rearrange the placement of the Career and Life entry in the main menu. Click
or
as appropriate to change the order of the Career and Life page in the main menu. The Career and Life page displays toward the end of the main menu if you do not reorder the placement of this page.
The main menu is a direct reflection of the top level site hierarchy. When you reorder the entries listed in Manage Pages, you are also reordering the entries displayed in the main menu.
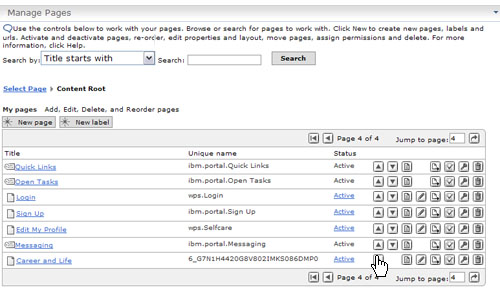
You have successfully added the Career and Life page to the main menu. Pay attention to the order of the pages listed in the main menu. In Step 7 of this tutorial topic, you determined the placement of this page in the main menu. We can also mark the page as hidden if you do not want it to display.