Set up Windows 2000 and Windows 2003 domain accounts for WebSphere MQ
The following information is aimed at Domain Administrators. Repeat Steps 1 and 2 below for each domain that has user names that will install WebSphere MQ, to create an account for WebSphere MQ on each domain:
On Windows 2003 Server
Create a domain group with a special name that is known to WebSphere MQ and give members of this group the authority to query the group membership of any account:
- Log on to the domain controller computer using an account with administrator authority.
- From the Start menu, open...
Active Directory Users and Computers
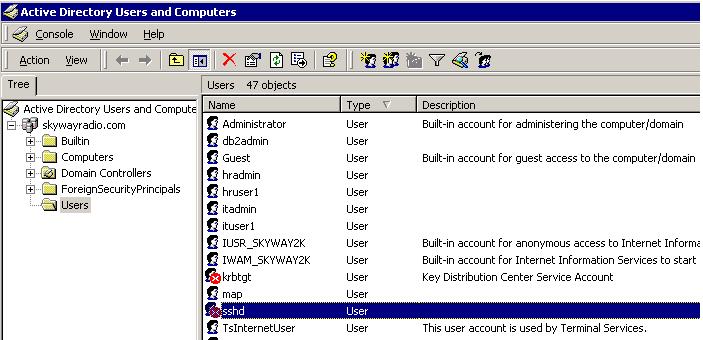
- Find the domain name in the navigation pane on the left, right-click it and select New Group.
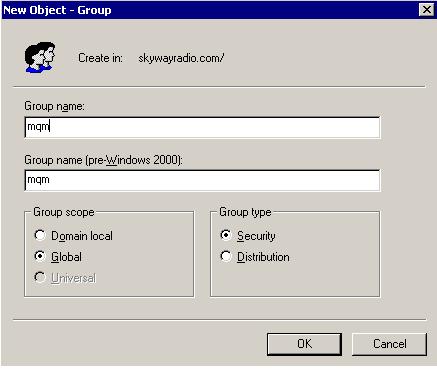
Type domain mqm, or the name of a group that is a member of the local "mqm" group. (If you are using domain mqm, this exact string should be used because it is understood and used by WebSphere MQ).
In Group scope select either Global or Universal.
In Group type select Security, and click OK.
- Find the domain name in the navigation pane on the left, right-click it and select Delegate Control.
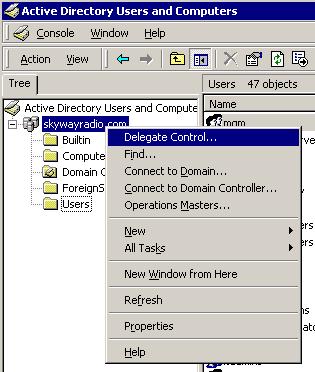
- Click Next.

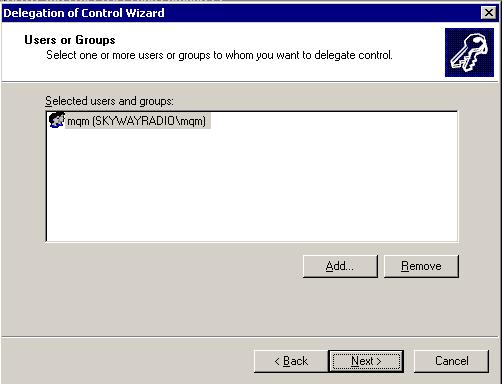
- At Selected Groups and Users, press Add, select domain mqm (or a group that is a member of the local "mqm" group)
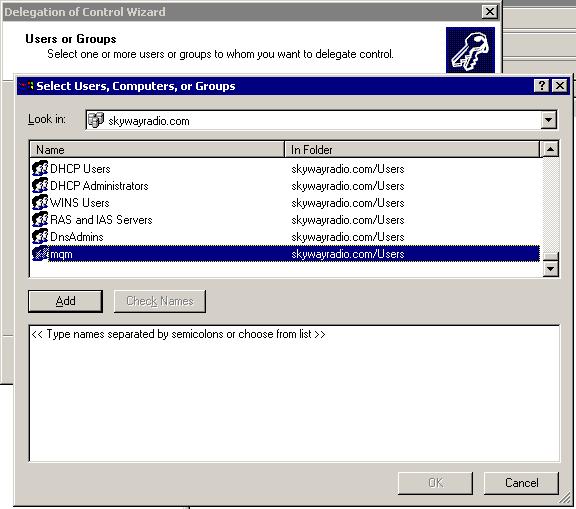
- Click Add. Click OK. Select domain mqm and click Next.
- Select Create a custom task to delegate and click Next.

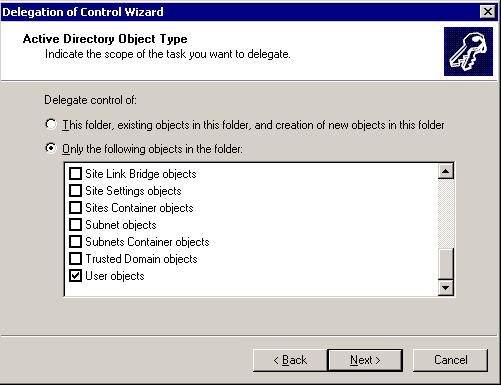
- Select Only the following objects in the folder,
and then check User Objects in the alphabetical list.
Click Next.
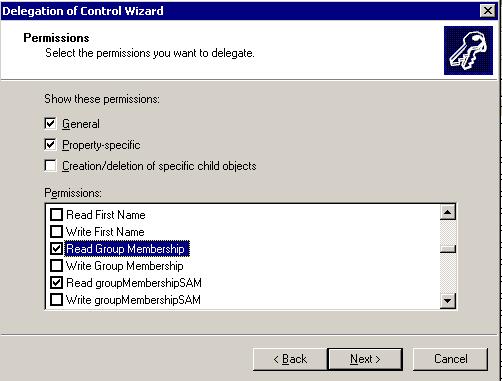
- Check Property-specific, then select
from the list the following options:
- Read Group Membership
- Read Group MembershipSAM
- Click OK to close each window.
On Windows 2003 Server
- Log on to the domain controller as an account with domain administrator authority.
- From the Start menu, open Active Directory Users and Computers.
- Find the domain name in the navigation pane on the left, right-click it and select New Group.
- Type domain mqm, or the name of a group that is a member of the local "mqm" group. (If you are using domain mqm, this exact string should be used because it is understood and used by WebSphere MQ).
- In Group scope select either Global or Universal.
- In Group type select Security, and click OK.
- View Active Directory Users and Computers in Advanced Features mode.
- Find the domain name in the left panel, right-click the domain name, then click Properties.
- Click the Security tab.
- Click Advanced.
- Click Add, then type domain mqm (or a group that is a member of the local "mqm" group) and click OK. A new dialog is displayed.
- Click the Properties tab.
- In the Apply onto box, change the view to User objects.
- Select the allow check box for the following
options:
- Read Group Membership
- Read Group MembershipSAM
- Click OK to close each window.
- In Active Directory Users and Computers, create a user account with a name of your choosing and add it to group "domain mqm" (or a group that is a member of the local "mqm" group).
- Repeat for all the accounts you want to create.
- Either use the same domain user account (as created in Step 1) for each installation of WebSphere MQ, or create a separate account for each one, adding each to the "domain mqm" group (or a group that is a member of the local "mqm" group).
- When you have created the account or accounts, give one to each person configuring an installation of WebSphere MQ. They should enter the account details (domain name, user name and password) into the Prepare WebSphere MQ Wizard. Give them the account that exists on the same domain as their installing userid.
- When you install WebSphere MQ on any computer on the domain, the WebSphere MQ install program detects the existence of the "domain mqm" group on the LAN, and automatically adds it to the local "mqm" group. (The local "mqm" group is created during installation; all user accounts in it have authority to manage WebSphere MQ). Thus all members of the "domain mqm" group will have authority to manage WebSphere MQ on this computer.
- However, you do still need to provide a domain user account (as created in Step 1) for each installation, and configure WebSphere MQ to use it when making its queries. The account details should be entered into the Prepare WebSphere MQ Wizard that runs automatically at the end of installation (the wizard can also be run at any time from the start menu).
- If you use just one account for all users of WebSphere MQ, consider making the password of the account never expire, otherwise all instances of WebSphere MQ will stop working at the same time when the password expires.
- If you give each user of WebSphere MQ their own user account you will have more user accounts to create and manage, but only one instance of WebSphere MQ will stop working at a time when the password expires.
If you set the password to expire, warn the users that they will see a message from WebSphere MQ each time it expires - the message warns that the password has expired, and describes how to reset it.
For more information, see the WebSphere MQ System Administration Guide.
Parent topic:
Configuring WebSphere MQ accounts