Workload management with the plug-in

To check the behavior of plug-in workload management:

1. Use the default settings in the plugin-cfg.xml file.

2. Open a browser and go to the URL:

http://<yourWebServer>/wlm/beenthere

where <yourWebServer> is the host name of your Web server.

3. Click the Execute button and observe the Servlet Server Name field.

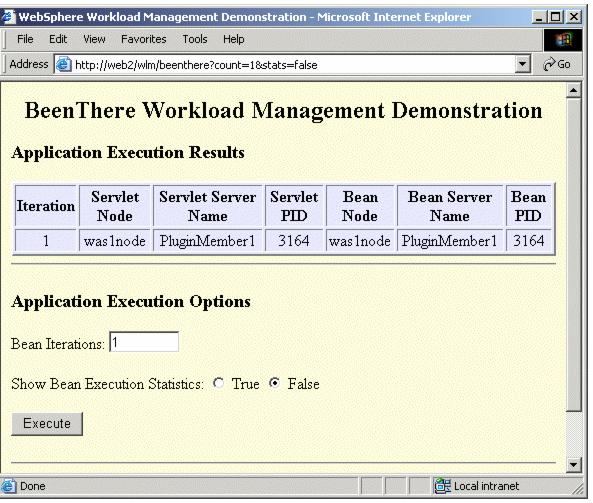
Figure 5-15 BeenThere first click of Execute

4. Click the Execute button as many times as you have cluster members, and see from the Servlet Server Name that each request (clicking Execute) is routed to a different cluster member. All cluster members will be cycled through as long as their weights are not set to 0.

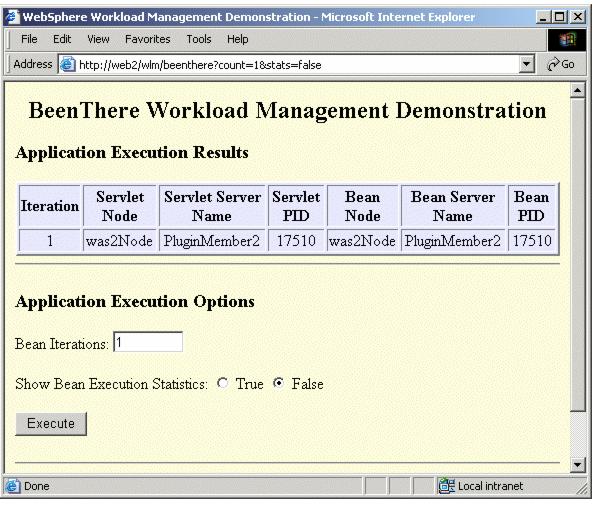
Figure 5-16 BeenThere subsequent click of Execute

Note: Changing the bean iteration will not round robin the servlet request. There is only one Web request and multiple EJB requests.

5. Open the plugin-cfg.xml file for editing.

6. Find the line that defines your cluster, the ServerCluster tag containing all your server definitions.

7. Change the line from:

<ServerCluster CloneSeparatorChange="false" LoadBalance="Round Robin" Name="PluginCluster" PostSizeLimit="-1" RemoveSpecialHeaders="true" RetryInterval="60">

to:

<ServerCluster CloneSeparatorChange="false" LoadBalance="Random" Name="PluginCluster" PostSizeLimit="-1" RemoveSpecialHeaders="true" RetryInterval="60">

8. Save and exit the plugin-cfg.xml file.

9. Restart the Web server or wait for the plug-in to reload the configuration file. Go back to the browser and click Execute again.

10. The requests will now be served in a random order, which could mean that multiple clicks of the Execute button go to the same cluster member.

  Prev | Home | Next


WebSphere is a trademark of the IBM Corporation in the United States, other countries, or both.


IBM is a trademark of the IBM Corporation in the United States, other countries, or both.