IBM BPM, V8.0.1, All platforms > Authoring services in Integration Designer > Testing modules > Component testing
Get started: Top-down testing of test cases
In component testing, you use the test suite editor and associated wizards to create and define test cases that consist of multiple operations, which enables you to automate and simultaneously test the operations in the integration test client. In top-down testing, you define test cases by selecting components and operations for testing and then you run the test cases in the integration test client. (In bottom-up testing, you use integration test client invocations to define test cases.)
To illustrate top-down testing of test cases, an example module named OrderEntry is used. The OrderEntry module is a basic order processing application that has three components: ProcessOrder, CheckData, and CheckAvailability. The ProcessOrder component accepts your order and calls the CheckData component to determine whether the specified purchase order is valid. If the purchase order is valid, the CheckAvailability component creates the order and automatically adjusts the current availability of any ordered items.
To perform top-down testing of test cases:
Procedure
- In the Business Integration perspective, select File > New > Component Test Project. The New Component Test Project wizard opens.
- In the Project name field, type the name that you want to assign to the new component test project.
- If you are testing a module that is part of a Process Application, the next window allows you to select a process application or toolkit that will be associated with the new component test project.
- Click Finish. The new component test project appears in the Business Integration view.
- In the Business Integration view, right-click the component test project and select New > Component Test Suite. The New Component Test Suite wizard opens.
- In the Name field, type the name that you want to assign to the new test suite.
- Click Next. The Select a Test Pattern page opens.
- In the Available test patterns list box, select Operation-level testing.
- Click Next. The Select the Operations to be Tested page opens.
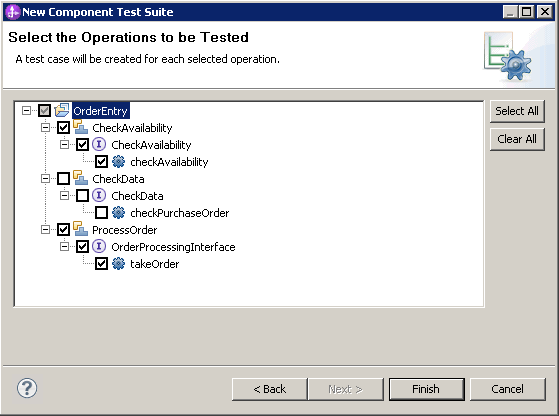
- In the Select the Operations to be Tested page, select the specific operations that you want to test, as shown in the following figure:
- Click Finish. The new test suite is added to the component test project in the Business Integration view. The test suite contains one component test case for each operation that was selected in the New Component Test Suite wizard. The test suite editor automatically opens to the Overview page for the new test suite created.
- In the test suite editor, click the Test Cases tab.
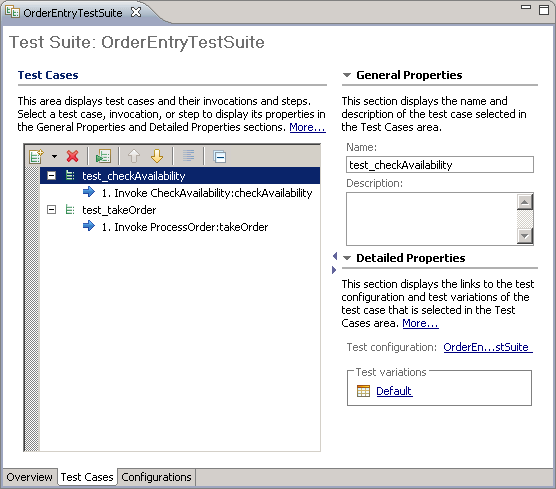
The Test Cases page opens and displays the properties for the first test case that is selected in the test suite, as shown in the following figure:
Below the Test Cases page, the Test Data Table view is displayed for the test case that is selected in the Test Cases page.
- In the Test Cases area of the Test Cases page, select the first invocation under the first test case, as shown in the following figure:
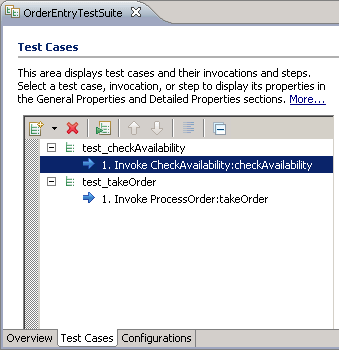
The Test Cases page changes to display the properties for the selected invocation, as shown in the following figure:
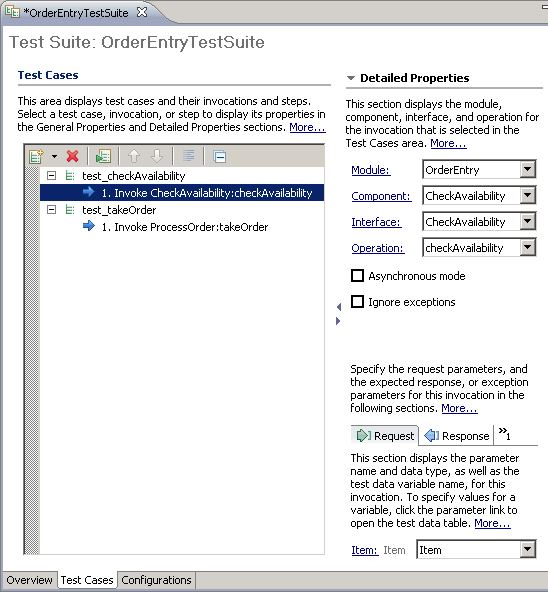
- In the lower right corner of the Test Cases page, ensure that the Request tab is selected.
- Under the Request tab, select New from the Item list. The New Data Table Variable window opens.
- In the Name field, type the name that you want to assign to the new data table variable.
- In the Type system section of the wizard, select either Java or XSD.
- Beside the Type field, click Browse and select the data type.
- In the Add field, select either Before or After to indicate the position where you want the new variable to appear in the data type table in relation to the variable listed in the unlabeled field to the right of the Add field.
- In the unlabeled field to the right of the Add field, select the existing variable that you want to position the new variable either before or after.
- In the Variable intent section, select Input parameter or Expected result. (This example assumes that Input parameter is selected.)
- Click Finish to add the new variable to the test data table. In the following figure, a new variable named Item2 has been added to the test data table:
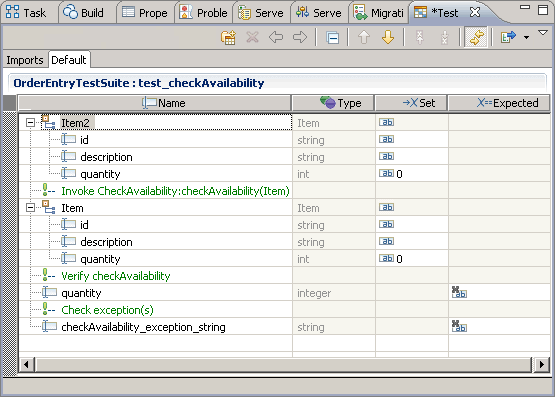
- In the Set column of the test data table, specify input values for the request by clicking a cell and typing a value and then pressing Enter. Or you can use the pop-up menu to set a value.
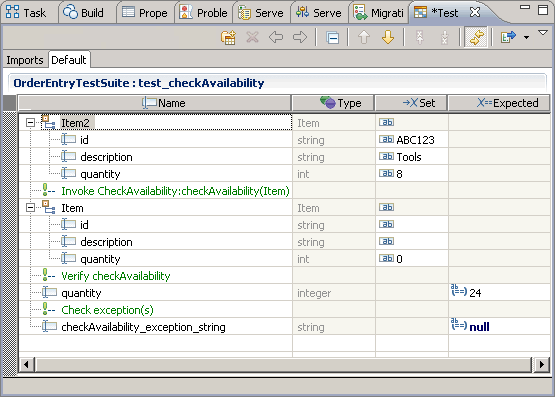
- In the Expected column of the test
data table, specify return values for the response by clicking
a cell and typing a value and then pressing Enter.
Or you can use the pop-up menu to set a value. The following figure shows some values that have been set in the test
data table:
- In the Test Cases area of the Test Cases page, select the next test case or an invocation under the next test case. The test data table view changes to reflect the variables and attributes for the operation associated with the selected test case.
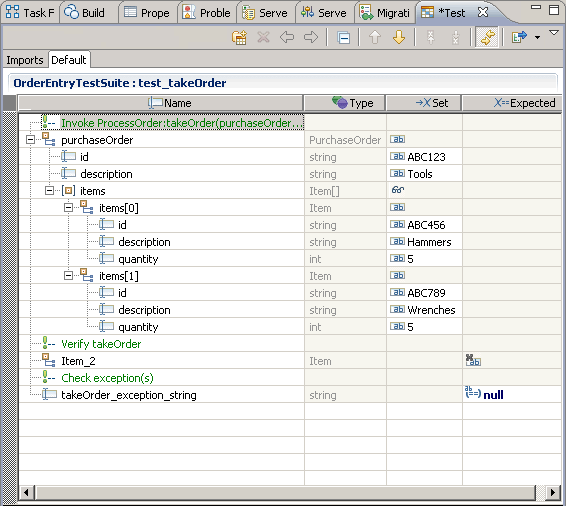
- In the test data table, right-click the items array and select Add Elements. The Add Element window opens.
- In the Enter the number of new elements to add field, type the number of elements that you want to add and click OK.
- In the test data table, specify some values, as shown in the following figure:
- Press Ctrl-S to save your changes.
- In the Business Integration view, right-click your test
suite and select Run Test Cases. The integration test client opens, as shown in the following figure:
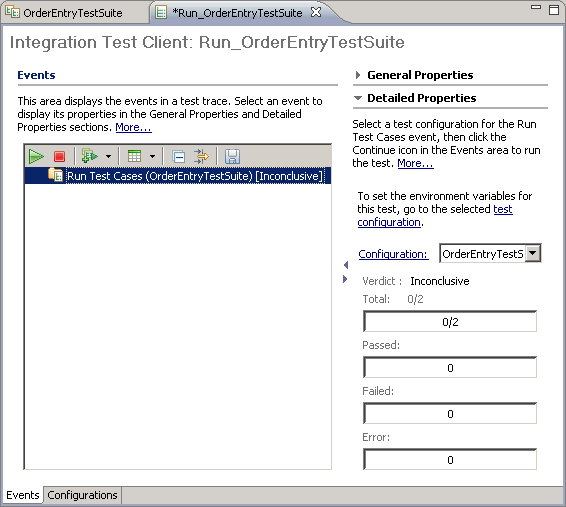
- In the Events area, click the Continue icon.
Depending on the current deployment state of your module, the Deployment Location wizard may open, as shown in the following figure:

- If the Deployment Location wizard opens, select the server where you want to deploy your module and click Finish.
- If the User Login window opens, type your administrative user ID and password into the User ID and Password fields.
The default user ID and password are both admin.
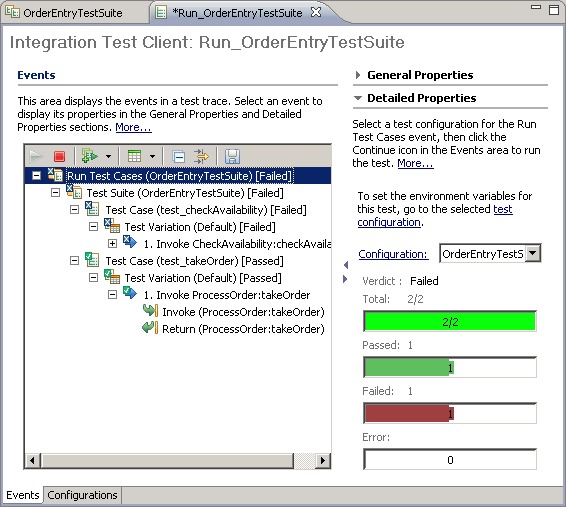
The test runs and completes, as shown in the following figure:
